The mortise and tenon is an essential joint in woodworking. It enjoys numerous variations and can be completed using a variety of techniques. The application of the mortise and tenon for frame joinery extends beyond the world of woodworking into house-building, although the time-consuming practice is very seldom used in that arena anymore. The mortise and tenon joint shown here is used in the construction of a basic table.
Step 1. Mark the line for the thick part of the tenon.
On the face side of the board, use the marking gauge to mark a line down the end of the rail board for the tenon. The marking gauge should still be set for the measurement used when marking for the mortise. In this case, the measurement is 5/16 of an inch.
Step 2. Set the height of the table saw blade.
Lay the rail board flat against the table saw. Set the height of the stacked dado blades to the marking line.
Step 3. Set the fence.
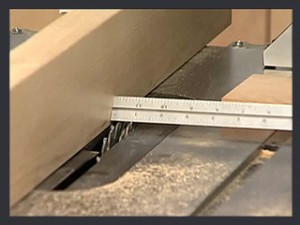
Set the fence for the depth of the mortise. In this case, the depth is 3/4 of an inch. It can help to set the fence a little under the depth for the first pass.
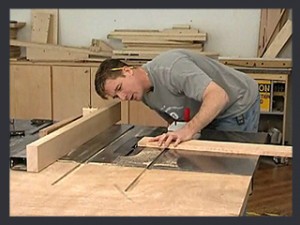
Step 4. Make the first cut.
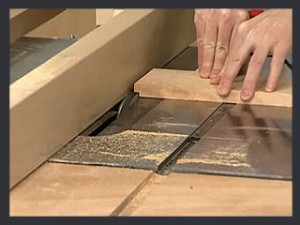
Be sure to use hearing and eye protection when operating a table saw. Turn on the saw and make two passes to cut the tenon. Be sure to move slow and steady when cutting out the back to avoid blow-out.
Step 5. Check the accuracy of the cut.
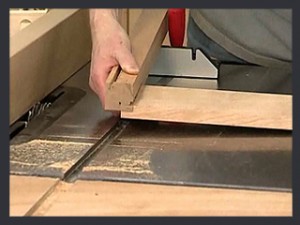
Put the check of the tenon up against the rail. The inside wall of the leg mortise and the uncut face of the rail should be on the same plane. If they are not, bring the height of the saw blade up slightly and make another two passes.
Step 6. Cut the back side of the tenon.

Set the blade height to cut out the back side of the tenon. This cut will be smaller than the first, but the exact measurement will depend on the thickness of the rail and the size of the mortise In this example, the rails are 3/4 of a inch, so the inside cheek will be an 1/8 of inch. As with the front side of the tenon, it’s a good idea to set the blade height a little short and make a few passes to incrementally remove material, pausing with every cut to re-check the fit of the tenon into the mortise and re-set the blade height to remove more material.
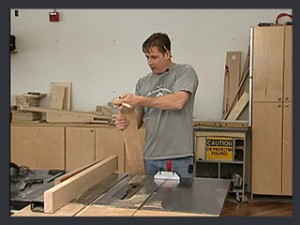
Step 7. Dry-fit the mortise and tenon edge

Check the fit by inserting a corner of the tenon into the mortise. It should be tight, snug fit.
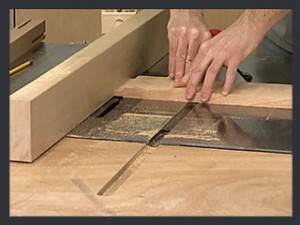
Step 8. Mark the location of the haunch.
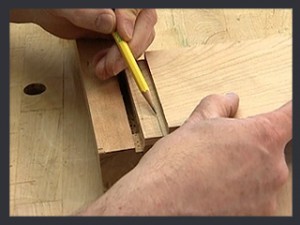
Lay the tenon down against the rail. Use a pencil to mark the location of the haunch and the material to cut out on the tenon.
Step 9. Make the first cut for the tenon haunch.
With the rail secured in a vice, use a hand saw to make the vertical cut for the haunch.
Step 10. Make the second and final cut for the tenon haunch.
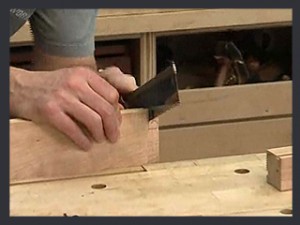
Re-adjust the rail in the vice. Use the hand saw to completely remove the material for the haunch.
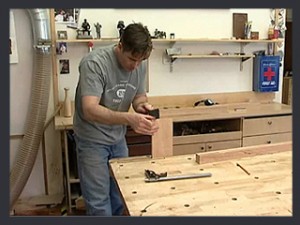
Step 11. Check the final fit and clean out as necessary.
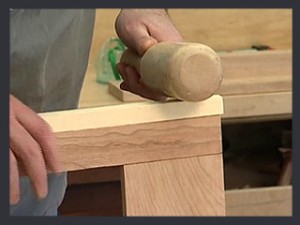
You will probably have to do some clean out of the mortise and minor touch up to the tenon. Dry-fit the two pieces together. If the leg is proud of the rail or vice versa you may have to clean it up with the hand plane.
If you are using mortise and tenon joints for a table or chair, you’ll have 7 more corners to do. Good luck and have fun!


