A spring joint takes advantage of wood’s natural flexibility. Use a spring joint when gluing board edges together to allow for the expansion and contraction of wood and to prevent cracking and separating. A spring joint is achieved by planing a curved cut into the middle edge of both boards so that when the boards are glued and clamped together the outside edges are brought tightly together. Watch this Video!
STEP ONE:
Clean mill marks from the material

Use a hand plane to clean the mill marks off the material. In this instance a high-angle #4 is used, but this choice is up to the individual. It is important to note that the goal is not to take off a lot of material but simply to remove mill marks.
STEP TWO:
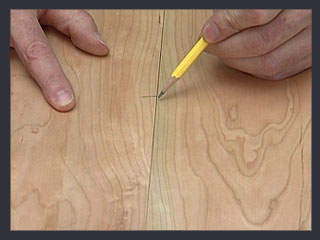
Mark the faces of the boards
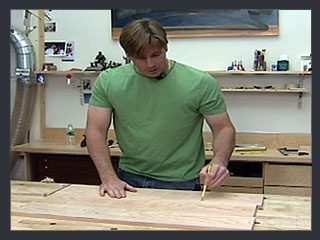
Use a pencil to mark the faces of each board.
STEP THREE:
Secure the boards in a vice
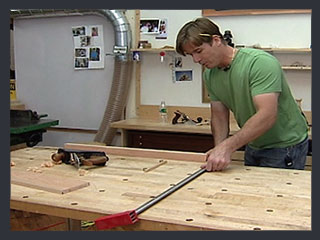
Position the boards together in a vice so that the two edges to be joined both face up. Make sure the boards are lined up and flush.
STEP FOUR:
Make a couple of passes along the board edges with the plane
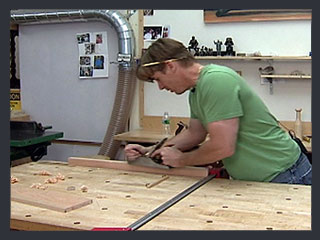
Be sure the hand plane blade is not offset to the right or left. Make a few even passes with the hand plane along both boards to ensure both edges are flat. By the final passes the wood shavings should be long. The goal is not to take too much material off, but simply to level the edges.
STEP FIVE:
Create the concave cut in the wood edges
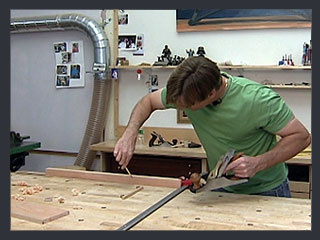
The small curve in the middle of the board edges is achieved by first making a cut with the hand plan over a smaller middle segment of both edges. Then make a longer pass over a slightly longer segment. Finally, make a third pass over an even longer segment (but not quite the full length of the board edges).
STEP SIX:
Check the cut
Remove the boards from the clamps and set them up on the bench to check the cut. When the edges are put together there should be a very small space between the two boards in the middle section.
STEP SEVEN:
Dry fit the boards together at the clamping station
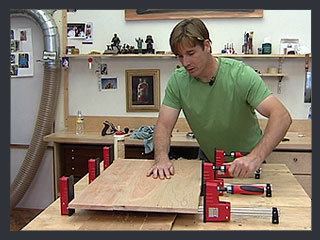
Position the boards together at the clamping station. Consider using a piece of cardboard under the panels to contain the glue. Clamp the middle section of the boards together first. The outside edges should be sprung together nice and tight.
STEP EIGHT:
Apply glue to one board edge

Apply wood glue to the edge of one of the boards.
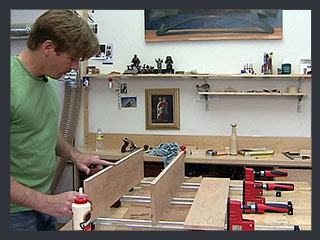
Spread the glue along the entire edge of the board. Try to keep most of the glue towards the inside of the edge, rather than simply mushing it down.
STEP TEN:
Apply glue to the edge of other boards to be joined
Follow steps #8 and #9 for remaining boards to be joined.
STEP ELEVEN:
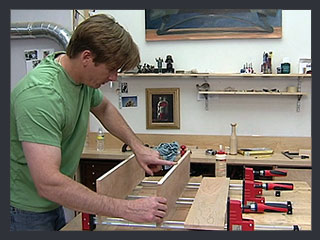
Clamp the boards into place

Place the boards down and position the edges together. Tighten the middle clamp first. Check to make sure the boards are flat and face is flush. Tighten up the outside clamps. Allow the wood to dry for the prescribed amount of time.


very good instructions as well as a great joint.
Why don’t you use dowels or biscuits between the boards?