
The dovetail is both a decorative mark of fine woodworking and a strong and long-lasting joint. In a through dovetail, both of the pieces go entirely through one another, leaving the joint visible on the outside.
With the pins cut and paired, it’s time to move onto tail layout. Watch this video!
STEP ONE:

Clamp the side piece with the cut pins to the board that will have the tails. Make sure the two boards are lined up properly on the side and that the side piece is vertical and stable.
STEP TWO:
Line up the pins with the marking gauge line
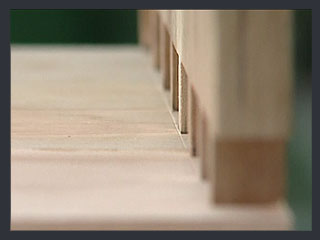
Make sure the inside of the pins is lined up perfectly with the marking gauge scribe line.
STEP THREE:
Mark the tails
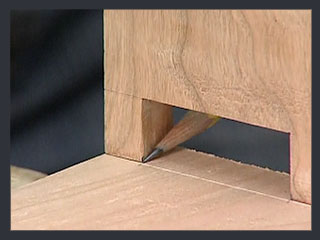
Using a pencil and the pins as your guide, mark the lines for the tails.
STEP FOUR:
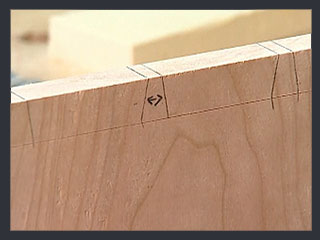
Transfer the line across the board edge

Use a square and a pencil to continue the line across the edge of the board. Continue all the way down the board.
STEP FIVE:
Remember to cut inside the line
As you prepare to cut the tails, remember that you want to cut inside the line, as shown.


