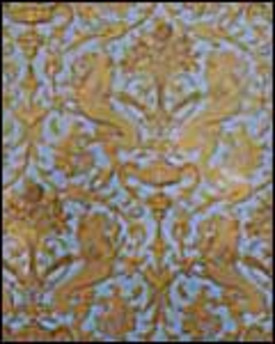
 Reproduction wallpaper from Brunswig & Fils, based on a pattern from the Society for the Preservation of New England Antiquities’ collection, is framed in an easy-to-build picture frame. |
Custom picture frames (and flea market finds) are a tried-and-true method of hanging artwork, images, and objects for wall display. But if mix-and-match profiles don’t suit your style, or budget limitations prevent handing a home’s worth of wall hangings to a professional picture framing shop, consider making your own frames.
Common workshop tools are all that are required to build picture frames. Making the 45 degree miter cuts is best accomplished with a table saw, radial arm saw, or compound miter saw, but a simple miter box used with care can create straight cuts and perfect 90 degree angles. Color options are limitless. Adding an antique finish to a newly made frame can give it a more classic look.
The thin glass face can be custom cut to almost any practical size. Look in the Yellow Pages under “glass” or “picture frames” for a local source. Consider using Plexiglas with UV protection for displaying valuable images or objects. Specialty glasses that minimize or eliminate glare, such as products from companies like Tru Vue and Denglas, can add a museum quality touch to a project.
![]()
| Step-by-step |
|||
 STEP 1: Joining two simple molding profiles creates the picture frame’s profile. The pieces are glued and allowed to dry overnight. Combine the two pieces to create a rabbet to support the picture and glass. |
 STEP 2: A table saw is used to make a 45-degree miter cut on the combined moldings. Measure and make cuts on the face of the rabbet that supports the picture and glass. |
||
 STEP 3: Glue is applied to the mitered end. Using glue in addition to nails creates a stronger joint. Join the two boards together and wipe away any excess glue. Allow the glue to dry overnight. |
 STEP 4: Two lengths of the frame are secured in corner clamps that hold the pieces at a 90-degree angle. A pilot hole is drilled, and then a 3/4-inch long 18-penny finishing nail is driven through both moldings. Drilling a pilot hole reduces the chance the nail will split the boards. Leave the nail head slightly exposed to avoid damaging the frame with the hammer’s face. |
||
 STEP 5: Use a nail set to recess the nail’s head into the frame. Wood putty can be used to cover the nail hole. If using putty, allow it to dry and sand it smooth. |
 STEP 6: Primer is applied to the bare wood frame. Primer can be sprayed on or applied with a brush. Use oil-based primers with oil-based paint, or a latex-based primer with latex paint. |
||
 STEP 7: After the primer dries, paint is applied. Apply two to three coats of paint. When using spray paint, be sure to work in a well-ventilated area away from any open flames. |
 STEP 8: An antiquing finish made from wax and pigment is brushed onto the dried paint surface. Use a slightly damp, stiff bristled brush to apply the finish. |
||
 STEP 9: After the wax is applied, use a slightly damp rag to wipe along the frame’s edges to create highlights. Finally, a clear spray-on lacquer should be applied to protect the finish. |
Supplies and materials courtesy Cape Cod Picture Framing; 508-385-5482.
Credit: Renovate Your World


