
Materials:
Step 1: Mark the location for the shelf
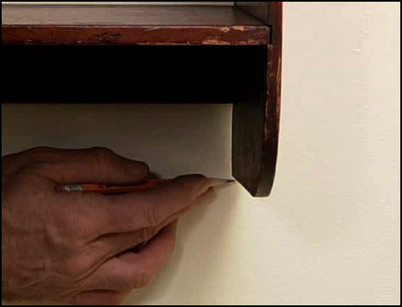
First determine where you will hang the shelf on the wall. Using a pencil, mark the location at the height and the edges of your desired position.
Step 2: Choose an installation method
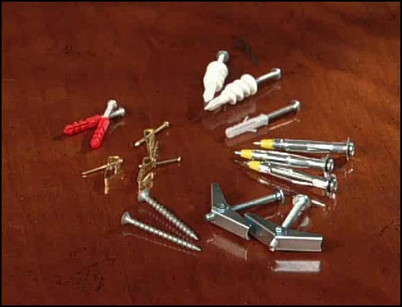
A shelf can be installed using one of three methods: On a wall into a stud using wood screws; into wallboard using wall anchors; or, in an old home, into lath using screws. A shelf will be able to bear more weight if it is screwed into the wooden studs behind the drywall.
Determine what type of screws will be used to attach the shelf to the wall.
Step 3: Find the studs and mark the drill points
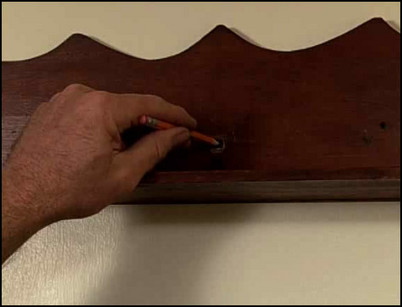
If installing into the wall studs, use a stud finder to locate the studs behind the drywall, or visually locate the studs using the nail heads in the drywall. Determine how many anchor points will be needed to mount the shelf. Use a spirit level to align the shelf, and mark the location where the bracket mounting screws will drive through the wall.
Mark the location where the screws will go through the wall.
Step 4: Drill pilot holes and install the wall fasteners
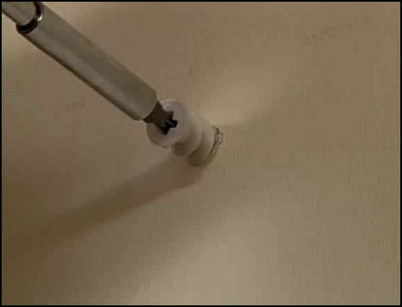
Drill small pilot holes where each mounting screw will go. Whether you are using a wooden screw or wall anchor, use a drill bit slightly smaller than the screw. If a wall fastener is being used to secure the shelf at any point, screw the fastener into the pilot hole in the wall.
Screw the wall fastener into the pilot hole.
Step 5: Secure the shelf to the wall with screws
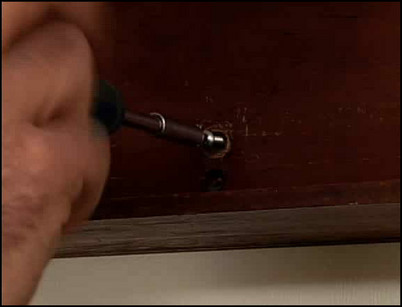
Line the shelf up with the mounting holes. Secure the shelf to the wall by screwing each screw through the holes in the shelf and into the wall behind. Use a wood screw if screwing into a wooden stud, and a fastener screw if screwing into a fastener in the wall.
Drive the screw through the hole in the shelf and into the pilot hole or fastener in the wall behind.


