
Materials:
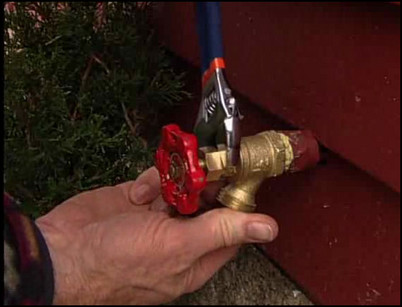
Step 1: Tighten the packing nut
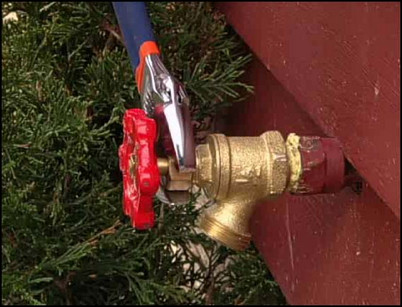
If the faucet is leaking around the stem, use a wrench to tighten the packing nut under the handle. If this doesn’t fix the problem, move on to the next step. (Editor’s note: Use a second wrench to hold the faucet in place where it connnects to the building when tightening the packing nut, which is not shown in the video.)
Use a wrench to tighten the packing nut.
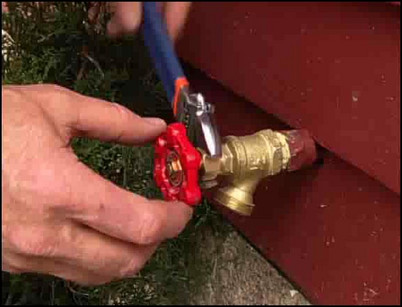
Step 2: Shut off the water supply
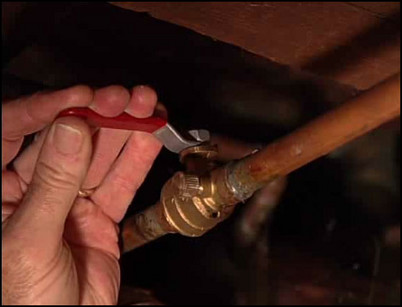
If the faucet is dripping from the spout, the faucet fixture will need to be removed. Shut off the water supply to the outside faucet by turning the valve handle.
Turn the water supply valve handle to shut off water.
Step 3: Remove the valve assembly

Open the faucet completely by turning the handle all the way open. Loosen the entire valve assembly by using an adjustable wrench on the section beneath the packing nut and above the spout. (Editor’s note: Use a second wrench to hold the faucet in place where it connnects to the building when loosening the section beneath the packing nut and above the spout, which is not shown in the video.) Remove the valve assembly.
To remove the valve assembly, use an adjustable wrench to loosen the section between the packing nut and the spout.
Step 4: Remove packing nut washer or graphite string
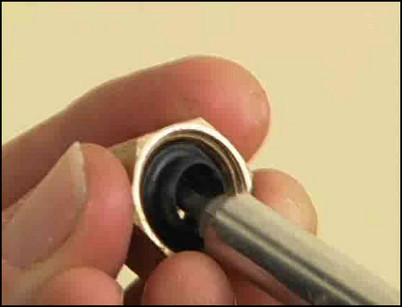
Using a socket wrench, remove the retainer nut that attaches the faucet handle. Unscrew the packing nut with an adjustable wrench, and remove the nut by sliding it up the stem. Use a screwdriver to pry out the packing washer or graphite packing string inside the washer.
Use a screwdriver to remove old packing nut washer.
Step 5: Replace the packing nut
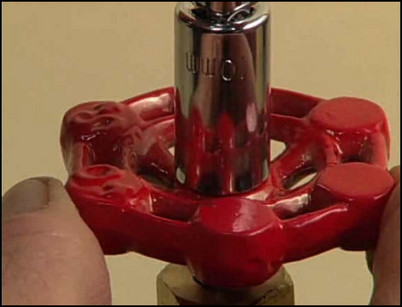
Replace the old packing washer or graphite string with a new matching washer or string. Slide the packing nut back over the stem and tighten with an adjustable wrench. Replace the handle and retaining nut or screw. Tighten the retaining nut with a socket wrench or screwdriver.
Tighten the handle retaining nut with a socket wrench
Step 6: For a leaking spout, remove the compression washer
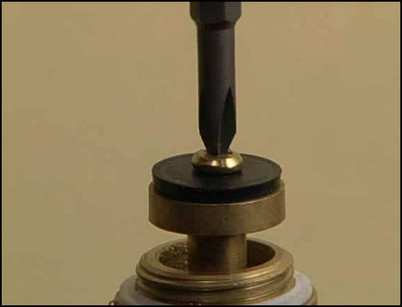
To stop water dripping from the spout, replace the compression washer inside the valve assembly. Using a screwdriver, unscrew and remove the retaining screw. Remove the worn compression washer with a small-bladed screwdriver.
Remove the retaining screw with a screwdriver.
Step 7: Replace the compression washer
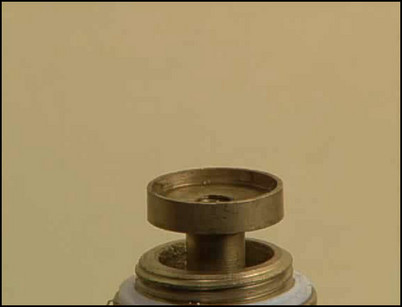
Remove the old compression washer and replace it with a new matching washer. Replace the retaining screw, and screw the new compression washer in place with a screwdriver.
Remove the old compression washer.
Step 8: Re-attach the valve assembly
Open the handle of the valve completely. Re-assemble the faucet by screwing the valve assembly into the faucet fixture. Tighten the valve stem assembly with an adjustable wrench. Be sure to hold the valve with your free hand while you tighten the valve assembly. The packing nut should remain loose. (Editor’s note: Use a second wrench to hold the faucet in place where it connnects to the building, which is not shown in the video.)
Tighten the valve stem with an adjustable wrench.
Step 9: Tighten the packing nut
Using an adjustable wrench, gently tighten the valve stem packing nut until snug. (Editor’s note: Use a second wrench to hold the faucet in place where it connnects to the building, which is not shown in the video.) Close the faucet valve handle and turn on the water supply to the faucet.
Tighten the valve stem packing nut with an adjustable wrench.


