
Materials:
Step 1: Prepare the wall
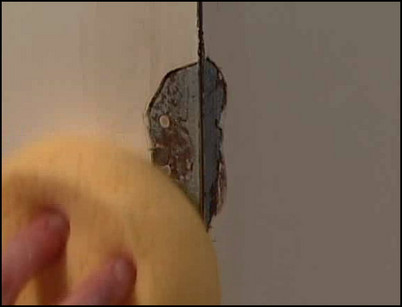
Spread a drop cloth to catch any debris. Use a putty or utility knife to chip away any loose plaster or wall material. Vacuum away any plaster dust and wipe the area clean with a damp sponge.
Chip away loose plaster and wipe down the area with a damp sponge.
Step 2: Apply the joint compound
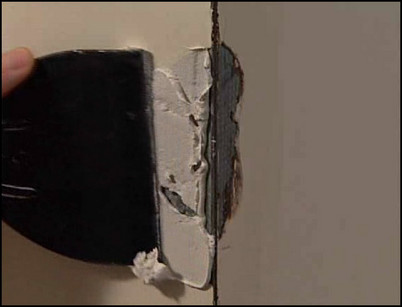
Use a small putty knife to apply joint compound to the damaged area. Work from one side of the corner out to the wall and then from the other side, smoothing the excess and feathering out the edges.
Use a small putty knife to fill in the hole and smooth out the edges.
Step 3: Sand and smooth the patch
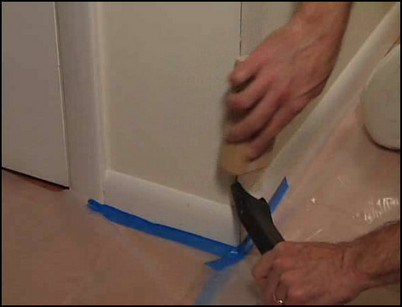
When the compound is completely dry, sand the area with 120-grit sandpaper until smooth. Vacuum the dust as you sand. Wipe the dust from the wall, prime, and paint the area to match the wall.
Sand the dry compound to a smooth finish.


