
Materials:
Step 1: Get the right faucet
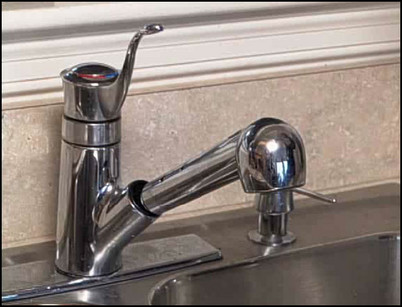
Before you buy a new faucet, study your sink and existing faucet to be certain you match the number of holes in the sink to the holes required by the faucet.
Study your faucet and sink connection carefully before you buy a replacement.
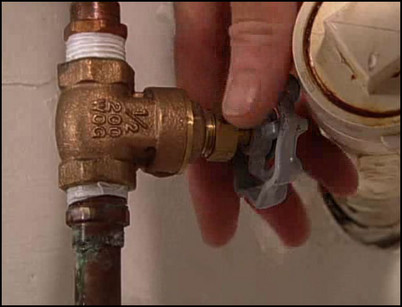
Step 2: Step 2: Shut off the water supply
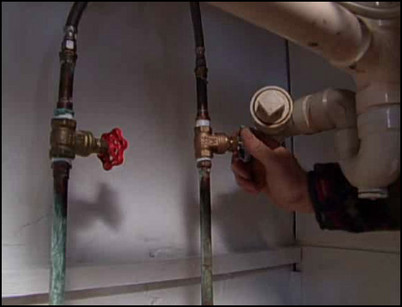
Cut the water supply to the faucet by turning the shut-off valves beneath the sink to the off position.
Turn off the hot and cold water supply using the shut-off valves under the sink.
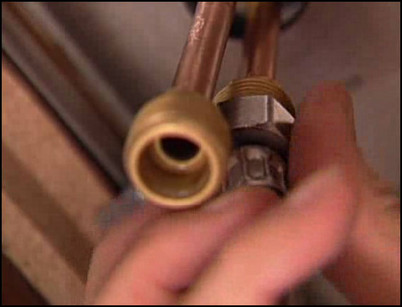
Step 3: Disconnect the feed lines
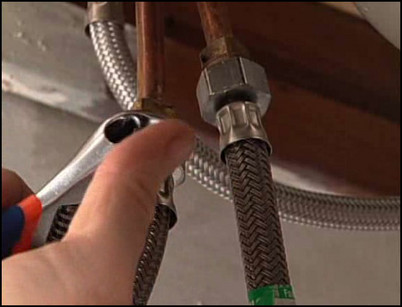
Open the faucet to drain any remaining water and release pressure from the line. Using an adjustable wrench, disconnect the hot and cold feed lines from underneath. Also disconnect the third line and coupling if you have a dish sprayer.
Disconnect the feed lines to the hot and cold water and the sprayer.
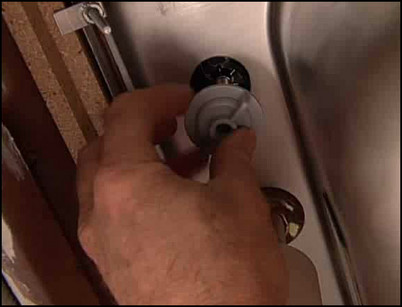
Step 4: Remove the old faucet
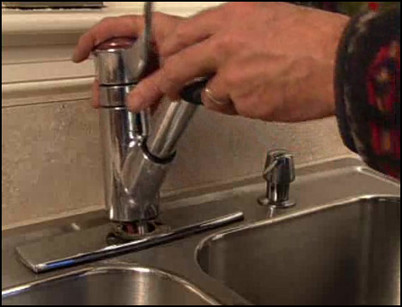
From underneath the sink, use a basin wrench to remove the two nuts that secure the faucet to the sink. Rock the faucet until it breaks away from the sink.
Remove the nuts and rock the faucet until it pulls free from the sink.
Step 5: Set the faucet and check the seal

Clean the surface of the sink so the new plastic or rubber gasket will seal firmly to it. Set the faucet squarely on the sink and check for a good seal.
A new faucet comes with a rubber or plastic gasket to form a tight seal with the sink.
Step 6: Center the Faucet and Check Fasteners
Center the faucet and loosely tighten the retainer nuts from underneath. Check the position of the faucet, reposition if necessary, and tighten the nuts completely.
Tighten the retainer nuts before you check the faucet position.
Step 7: Attach the hot and cold lines
Attach the cold water supply line to the right side of the faucet and the hot water supply to the left. Then attach each supply line to the proper water pipe. Hand tighten the fittings and then snug them tight with a wrench. Do not overtighten the fittings.
Scrape off the old wax ring.
Step 8: Remove the aerator and check for leaks
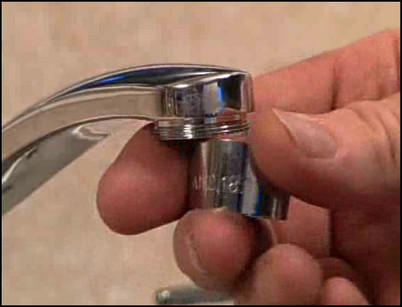
Remove the aerator so that any collected sediment will flow out of the faucet. Using the water shut-off valves, check the lines separately by turning on first the cold water and then the hot.
Remove the aerator to flush any sediment when the shut off valves are opened.
Step 9: Check for leaks and replace aerator
Check for leaks at all of the fittings and connections. Flush sediment by running the hot and cold water. Replace the aerator and get ready to use your new faucet.
Replace the aerator and enjoy your new faucet.


