
Materials:
Step 1: Turn off the water supply
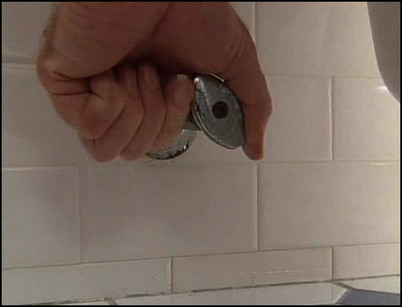
Turn off the toilet’s water supply valve just below the tank. Flush the toilet to empty the tank. Hold down the lever to allow most of the water to run out of the tank.
Turn the water supply handle clockwise to turn off the water supply.
Step 2: Remove any remaining water
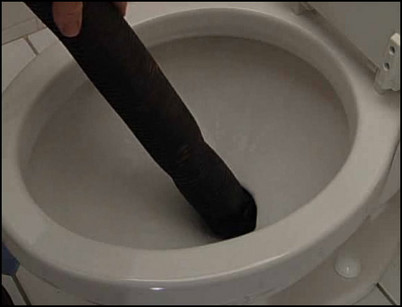
Remove the tank lid and use a wet/dry vacuum to suck out all remaining water in both the tank and in the bowl. If you don’t have a wet/dry vac use a sponge and a bucket.
A wet/dry vacuum makes short work of removing any remaining water from the tank and bowl.
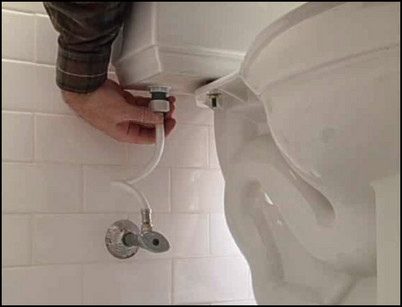
Step 3: Disconnect the water line
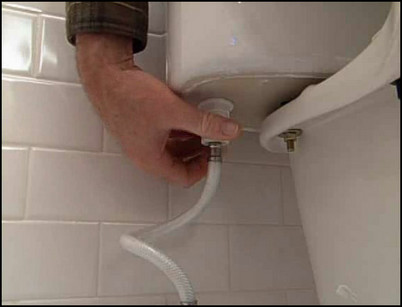
Disconnect the line between the toilet tank and its water supply just below the tank. With some tanks, you will be able to do this by hand; others will require an adjustable wrench.
Carefully remove the water supply from the toilet tank.
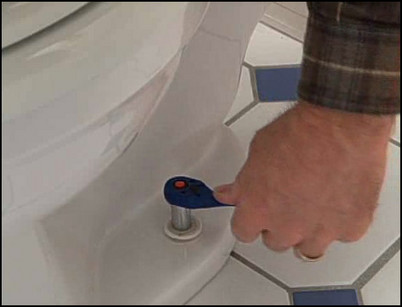
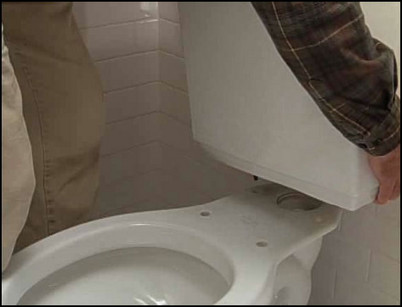
Step 4: Remove the tank
Use a wrench to remove the nuts located beneath the tank at the rear of the toilet bowl. You may have to keep the head of the bolt inside the tank from turning by using a screwdriver to hold it in place. If the bolts are frozen and will not loosen, cut them off with a hacksaw. Once you have removed the bolts, lift the tank straight up and clear of the bowl. Have a rag ready to catch any remaining water.
Remove the bolts securing the tank to the bowl.
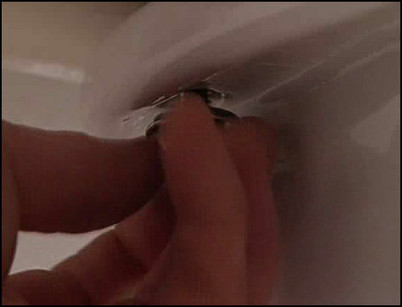
Step 5: Remove the flange bolts
The bowl is fastened to the floor with two nuts on either side of the tank. The nuts are hidden under trim caps along the bottom of the bowl. Pry or snap off the trim caps to expose the nuts. Use a socket wrench to remove the nuts and the washers that hold the bowl to the floor. Use a hacksaw to cut the bolts off if they are frozen. If you are discarding the old toilet, you can also simply break the base to remove the old bowl.
Use a socket or adjustable wrench to remove the flange bolts.
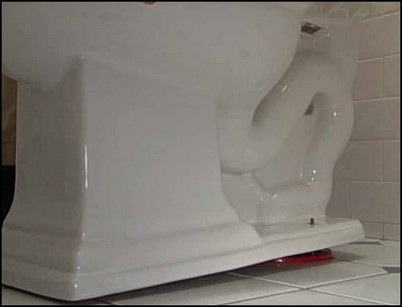
Step 6: Remove the toilet bowl
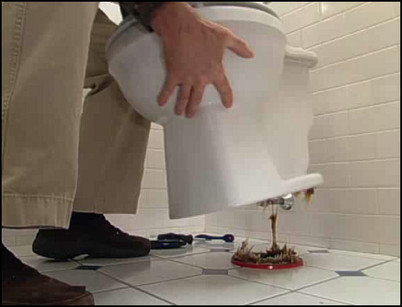
Make sure there is no plaster, caulking, or grout holding the toilet bowl to the floor. If there is, break it free by cutting gently but firmly with a putty knife. Loosen the bowl by gently rocking it back and forth to break the seal between bowl and the toilet flange, then lift the bowl clear of the drain pipe. The bowl is heavy. Use care when lifting and hold the bowl level to avoid spilling. Temporarily stuff a ball of newspaper in the toilet drain opening to keep sewer gases from coming into the room.
Lift the bowl free of the drain pipe.
Step 7: Remove the wax ring
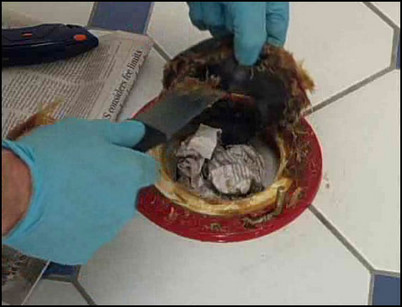
Wearing gloves and goggles, use a putty knife to remove the old wax ring and the rubber or plastic flange that was part of the old wax ring. Scrape and clean the floor thoroughly. Remove the old toilet flange bolt by sliding the bolt along the slot to the opening in the flange and lifting it out. Insert the new flange bolt into the slot and slide it into place. Line the two bolts up so that they are evenly spaced from the back wall. Check the alignment with a measuring tape.
Scrape off the old wax ring.
Step 8: Install a new wax ring
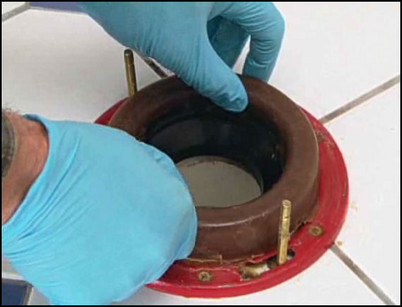
Remove the new wax ring from the packaging. Place the new ring on the floor flange over the waste hole. The plastic or rubber sleeve should face down into the waste hole. Press the new wax toilet ring on to the flange over the waste hole between the flange bolts.
Insert the new wax ring with the rubber sleeve facing down.
Step 9: Seat the new bowl
Hold the bowl upright several inches off the floor so its outlet horn is directly above the flange and new wax ring. Align the holes in the flange with the bolts so that they pass through the toilet bowl openings in the base. The wax gasket and toilet flange around the soil pipe should line up exactly. Press down gently until the bowl is both seated and level.
Align the new bowl’s drain with the drain pipe and set the new bowl in place.
Step 10: Secure the new bowl

Place the base of the plastic trim cap on the flange so that the ridge that clips into the cap is facing up. Place the trim cap base, the washer, and the nuts on the flange bolt and gently tighten the bolts, alternating side to side until both are snug. Be careful not to over tighten, as the bowl can crack. Cut the retaining bolts with a hacksaw just above the nuts and snap on the trim covers.
Secure the bowl to the flange bolts and remove the excess bolt material with a hacksaw.
Step 11: Attach the new tank
If they are not pre-installed, insert the rubber washers around the flush valve opening on the outside of the tank base and around the bolts that are inserted through the holes in the tank. Gently lower the tank into place and, while holding the tank, tighten the washers and nuts, alternating from one side to the other, until the tank is firmly seated on the rubber washers and level. Be careful not to over tighten these nuts; the rubber washers create a water-tight seal. Place the cover on the tank and attach the seat to the toilet by inserting the bolts into the holes at the back of the seat and through the bowl.
The rubber washer will form a watertight seal between the tank and bowl.
Step 12: Re-attach the water supply and test
Re-attach the water supply line to the new tank. Replace the old feed line with a new flexible feed line if the old one does not reach. Tighten by hand until snug. Slowly turn on the water and look for leaks. Finish where the toilet meets the floor with grout or caulking.
Re-attach the water supply line to the new tank.


