
Materials:
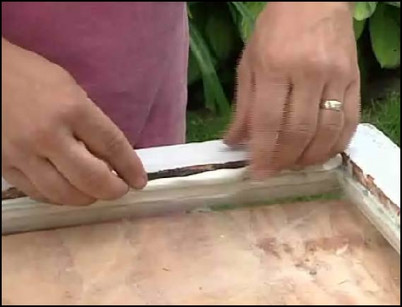
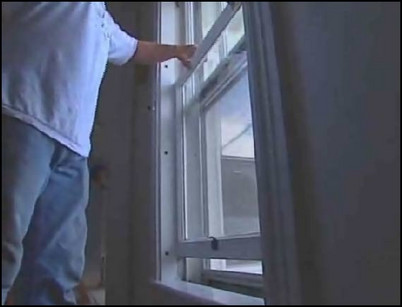
Step 1: Score paint along one of the stops
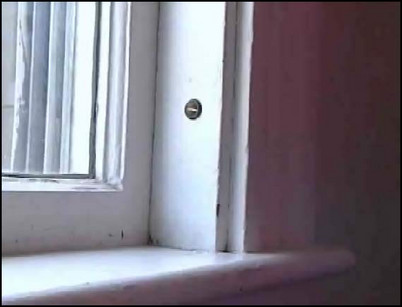
To repair broken window glass, the sash must be removed and transported to a safe, flat work area. To remove the sash, one of the stops will need to be removed. Use a utility knife to score the paint along one of the stops.
Score the paint along one of the stops to prevent it from cracking.
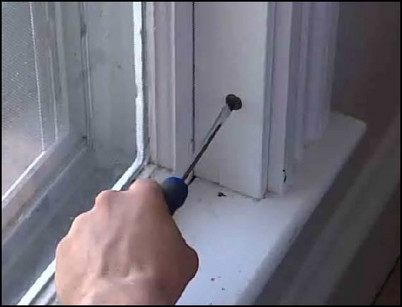
Step 2: Remove one of the stops

Depending on how your stops are attached to the window casing, use either a chisel to pry the stop from the casing or a screwdriver to unscrew the stop from the casing. Remove the stop using either method.
Use a screwdriver to unscrew the stop.
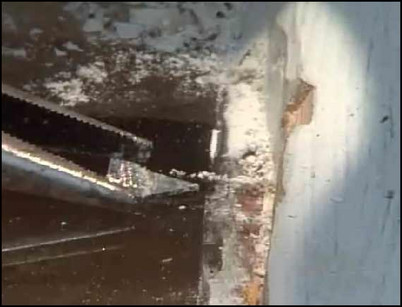
Step 3: Remove the window sash
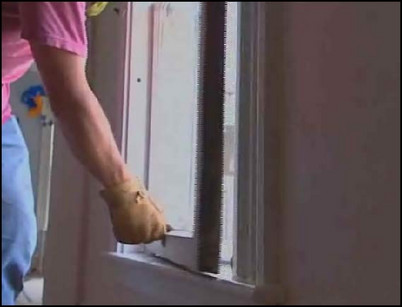
With one of the stops removed, slide the sash up and out of the window frame. If there are counterweights, remove them.
Slide the sash up and out of the frame.
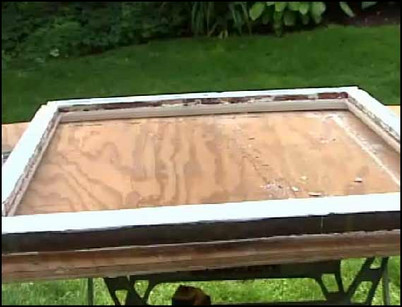
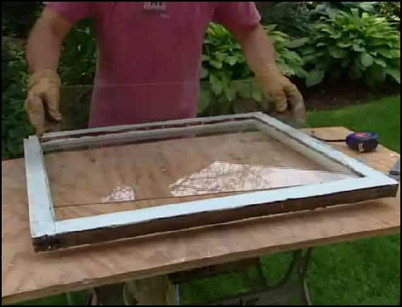
Step 4: Prepare the sash on the work area
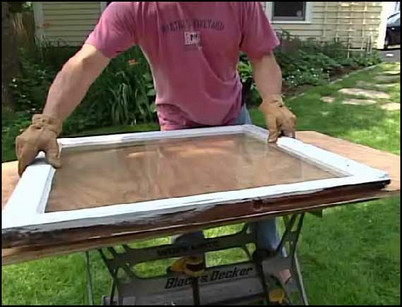
Lay the sash with the outside up on a solid, level surface.
Use a solid, level work area.
Step 5: Chisel away the hardened putty
The old glass is set in place by hardened putty. Use a chisel to chip the putty away.
Chip away the old, hardened putty.
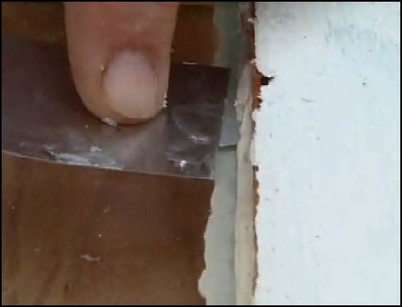
Step 6: Remove metal glazier’s points as you go
Metal glazier’s points can be found every few inches. Remove these by prying them loose with a screwdriver or removing with long nose pliers.
Remove the glazier’s points with pliers.
Step 7: Remove the old glass
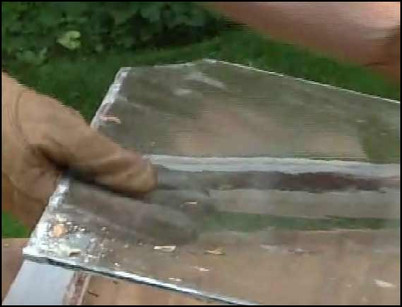
Wearing safety glasses and heavy work gloves, remove the old glass and dispose of it properly and safely.
Carefully remove the old, broken glass.
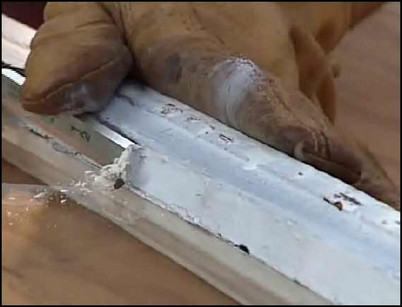
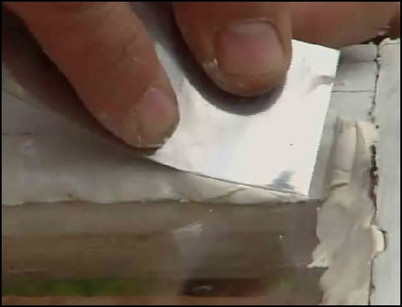
Step 8: Scrape off remaining putty
Use a utility knife to remove all traces of the old putty. Use care to avoid damaging the wooden frame.
Scrape off all the old putty with a utility knife.
Step 9: Measure the opening
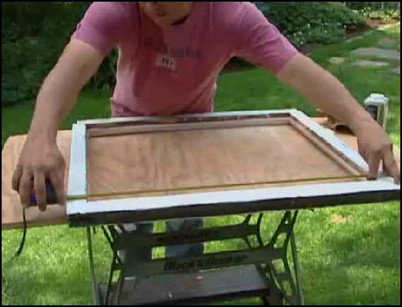
Use a tape measure to measure the height and width of the opening. Make sure the opening is square. Remember to subtract an eighth of an inch from both the height and width of the opening when ordering the new glass.
Measure the height and width of the opening.
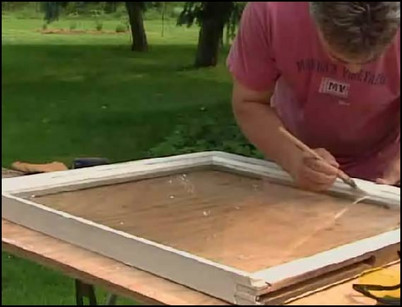
Step 10: Prepare the inside of the frame
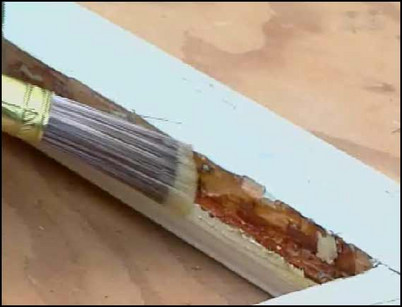
Use a brush to apply linseed oil to the inside of the frame. This will keep the glazing compound from drying and cracking.
Apply linseed oil to the inside of the frame.
Step 11: Prepare glazing compound
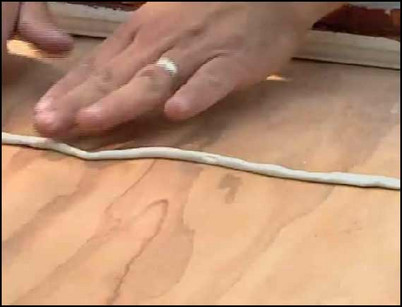
Knead a ball of glazing compound in your hand to soften it. Roll the ball into a thread an eighth of an inch in diameter.
Roll the compound into a thread.
Step 12: Apply glazing compound
Press the thread of glazing compound along the edge of the window to form the bed that the new glass will rest on. Apply glazing thread along the whole edge.
Press the thread along the edge of the window.
Step 13: Position the new glass into place
Press the new glass into the bed of glazing compound to seal it into place.
Press the glass into the glazing compound.
Step 14: Secure the new glass with metal glazier’s points
Press metal glazier’s points into place every four to six inches around the glass. Firmly insert the glazier’s points into the window frame using a stiff putty knife or chisel.
Press the glazier’s points with a chisel.
Step 15: Prepare and apply more glazing compound
Soften more glazing compound in your hand, and roll it into strands three-eighths of an inch in diameter. Start in the corner and press the putty along the edge of the window frame.
Roll and apply more strands of compound.
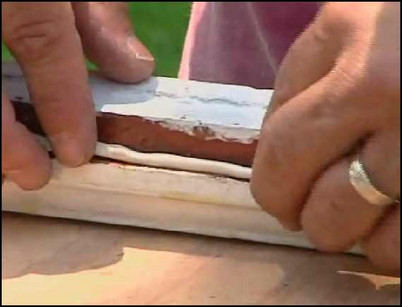
Step 16: Smooth the putty
Using a clean putty knife dipped in turpentine to smooth the putty along the edge of the window frame. Hold the knife at an angle, using its edge as a guide as you smooth the putty into a neat, beveled edge. Remove any excess putty as you go, and make sure the putty is not visible from inside the window.
Smooth the putty holding the knife at an angle.
Step 17: Paint the putty to match the window
Allow the putty to dry for a day. Paint the putty to match the existing color.
Paint the putty.
Step 18: Replace the window sash
Replace the window sash by wiggling it into the stop and swinging it into place.
Swing the window into place.
Step 19: Replace the stop
Use the screws or fasteners to replace and secure the stop.
Screw the stop back into place.


