
Materials:
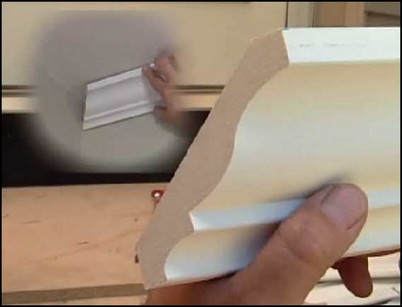
Step 1: Choose a molding style and measure room dimensions
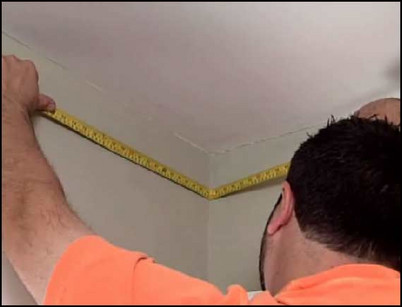
Choose a style of molding for the room. If possible, bring home samples to decide. Use a tape measure to find the dimensions of the room and calculate the number of linear feet of crown molding you will need to complete the job. Add at least 10% to the tally for practice cutting and waste.
Measure the room dimensions.
Step 2: Know your tools and cutting method
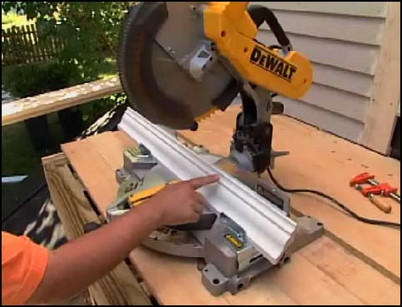
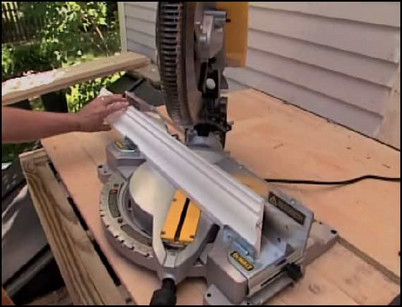
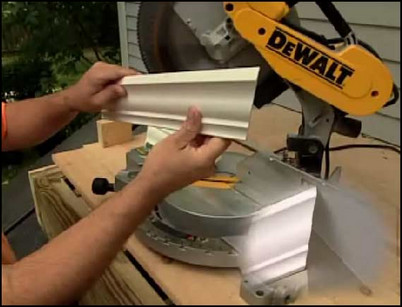
The two most important tools for crown molding installation are an accurate protractor and a compound miter saw. The protractor is necessary for measuring the angle of the walls since most walls aren’t perfectly even. The blade of the compound miter saw must be big enough to cut the selected molding. A 10″ saw will cut 5″ molding, but for bigger molding you will need a bigger saw. The method of cutting used in this project is called cutting “in place.” The molding is placed in the miter saw upside down against the fence. The fence of the compound saw represents the wall of the room. The top of the molding rests on the table, which represents the ceiling. The saw’s fence stops hold the molding so that the edges of the molding lie flat against the fence and the table. When cutting in place, simply take the angle of the corner measured with the protractor and divide it in half to set the miter saw angle. A 90-degree corner would therefore require setting the miter saw angle to 45 degrees.
Place the molding upside down against the fence.
Step 3: Practice Cuts – #1
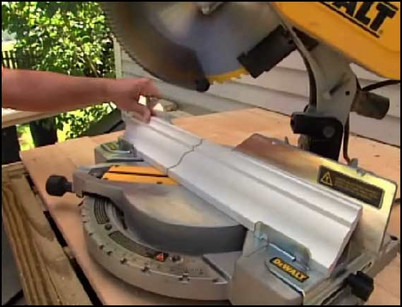
Use one-foot pieces of scrap molding to make practice cuts. To cut the right side of an inside corner, place the molding upside down with the bottom against the fence stop. Set the miter for a left-hand, 45-degree angle. Make the cut. The molding is on the left of the saw with the correct angled cut on the end.
The left piece is cut for the right side of an inside corner.
Step 4: Practice Cuts – #2
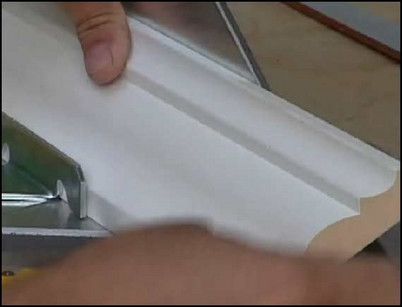
To cut the left side of an inside corner, place the molding upside down with the bottom against the fence stop. Set the miter to a right-hand, 45-degree angle. Your molding is on the right side of the blade with the correct angled cut on the end. Make the cut. Now try the two pieces of cut molding in place against the corner of the room to check the fit. The edges should fit tightly. If there is a crack, you may have to adjust the angle of the cut by a small fraction to get the two sides to fit tightly.
Test fit the two pieces of cut molding.
Step 5: Cut stock molding – left inside corner
Now you can begin to cut your stock molding. Be sure to get accurate measurements of the corner you are cutting for. To cut the left side of the inside corner, place the molding with the bottom against the fence and set the miter to a left-hand, 45-degree miter angle. The molding stock will be on the right of the cut with the correct angled cut on the end.
The saw is set to cut the left inside corner piece.
Step 6: Cut stock molding – right side of an inside corner
To cut the right side of an inside corner, place the molding upside down. With the bottom against the fence at the proper angle, set the miter for a right-hand, 45-degree angle and make the cut. The molding stock is on the left side of the saw.
Right inside corner cut – after the cut, right side up.
Step 7: Cut stock molding – left side of an outside corner
For the left side of a 90-degree outside corner, set the miter for a left-hand, 45-degree cut with the bottom against the fence in position. The molding stock is placed upside down on the right-hand side of the blade.
The stock after the cut – right side up.
Step 8: Cut stock molding – right side of an outside corner
For the right side of a 90-degree outside corner cut, set the miter angle for a right-hand, 45-degree cut. The molding stock is placed upside down on the left-hand side of the blade.
The left-hand side of the blade is the cut stock, positioned upside down.
Step 9: Cut stock molding – walls over 10-feet long
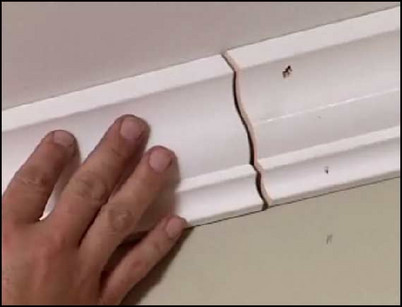
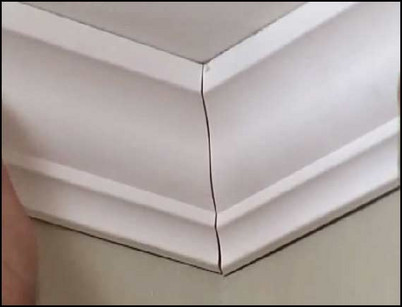
If the length of the wall is over 10 feet, you will need to splice together two or more lengths of molding together. You cut two ends of the molding together with an angled cut called a scarf. To make a scarf, set the miter angle to 45 degrees. Hold the molding flat against the fence and make a 45-degree angle cut on each end of the two lengths of molding. Scarfs used to join lengths of molding are held together and nailed on both sides of the scarf to form a tight joint. After sanding and painting, the joint is generally invisible.
The two adjoining ends are cut at 45-degree angles to form a scarf.
Step 10: Fasten the molding in place
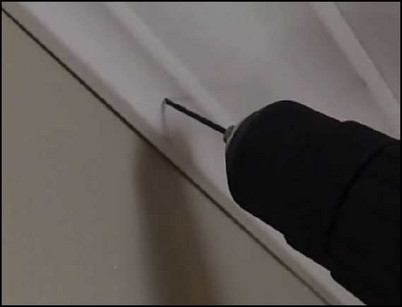
You will fasten the molding to both the wall studs and ceiling joists using a hammer and nails or a nail gun. Use a stud finder to locate wall studs. The ceiling joists will be adjacent to the studs. If you choose to use hammer and nails, first select a drill bit slightly smaller than an 8 or 10 penny finishing nail, depending on the size of your molding. Drill pilot holes at an angle for each nail used to fasten the molding. This will prevent the molding from splitting when you drive the nails. Nail the molding in place. Use a nail set to set the nail below the surface of the molding.
When using a hammer and nails, drill pilot holes at an angle into the molding.
Step 11: Putty, sand and paint
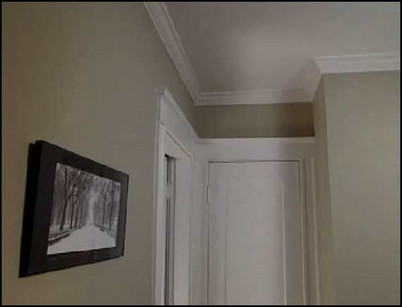
Use putty to fill the nail holes. Gently sand the joined sections of molding. Paint the molding as desired to finish the job.
Putty, sanding and paint will disguise the holes.


