
Materials:
Step 1: Remove the window casing and sash
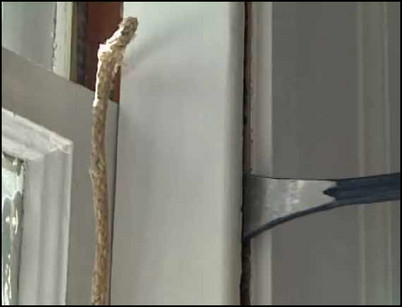
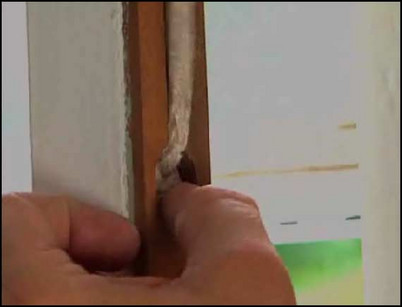
The window casing, or front stop, conceals the door to the window weight and holds the sash in place. To remove the casing, first use a utility knife to cut the paint along the edge of the front stop. Use a screwdriver to remove any screws that hold the stop in place, and then use a hammer and flat pry bar to slowly work the front stop away from the frame. With the stop removed, rotate and remove the lower window sash. Remove the old sash cord from the channel on both sides of the window sash.
Use a pry bar to work the front stop away.
Step 2: Replace old sash cord with a new cord
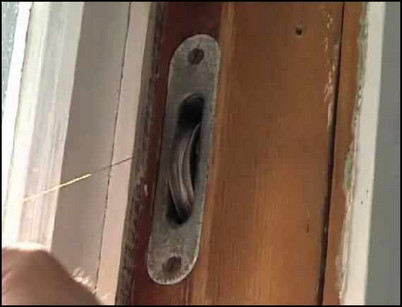
There will be a pocket cover under the front stop. Remove the cover to expose the window counter-weight in the well. Remove the weight from the well and set it aside. Tie a fishing weight to a fishing line, and slide the weight and the line over the pulley and into the well. Tie the new sash cord to the end of the fishing line inside the well, and pull the fishing line with the new sash cord up and out of the well. Be sure to replace the sash cord on both sides of the window.
Pull the fishing line and new sash cord over the pulley.
Step 3: Replace counter-weight
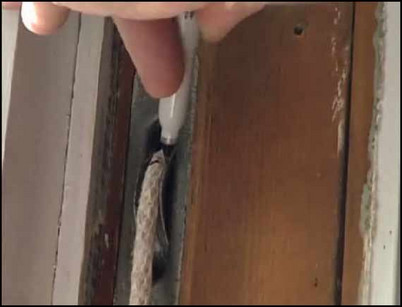
Tie the counter-weight to the end of the new sash cord. Replace the counter-weight inside the well. Pull the sash cord to raise the weight 3-4″ from the bottom of the window well, and mark the location on the sash cord where it leaves the pulley.
Mark the sash cord where it leaves the pulley.
Step 4: Cut the sash cord to size
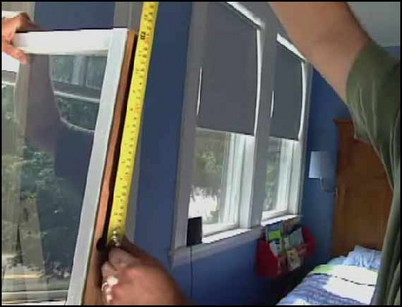
Measure the distance of the channel in the window sash. Add this distance to the sash cord from the marking made in step #3, and make a new marking. Tie a knot just below this new mark, and use a utility knife to cut the excess rope below the knot. Replace the cover to the well pocket.
Measure the distance of the channel and add this length to the sash cord.
Step 5: Set the sash cord in the sash channel and replace the sash
With one person holding the sash, push the sash cord and knot into the sash channel. Slide the sash back into the window.
Push the new sash cord into the channel.
Step 6: Lubricate friction points and replace front stop
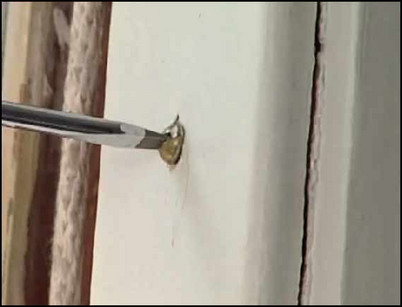
Use beeswax to lubricate any surfaces that the window sash slides up against. Gently press the front stops back into position. Replace the screws to set the stops in place. The window should rise and fall easily, and the window weight should not hit the bottom of the well when the window is fully raised. Touch up the trim with some paint, and the project will be complete.
Replace the screws in the front stop.


