
Materials:
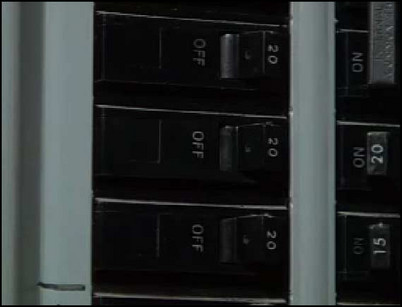
Step 1: Turn off the circuit breaker
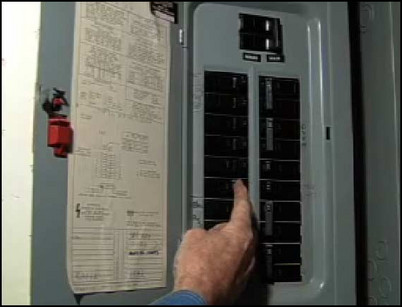
Before working on a circuit, turn off power to the circuit at the main circuit breaker. Use a circuit tester on the outlet to ensure that the circuit is dead.
Shut off power to the outlet.
Step 2: Remove and disconnect the old outlet
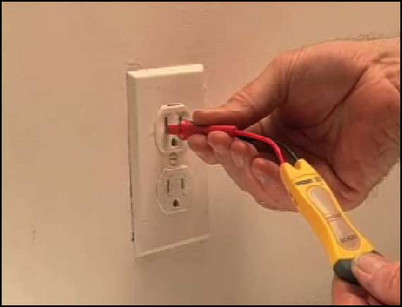
Use a screwdriver to remove the screws to the cover plate over the old outlet. Remove the cover plate. Unscrew the top and bottom screws that hold the outlet to the electrical box. Carefully remove the outlet from the box and use a circuit tester on all the wires attached to the outlet to make sure there is no voltage present anywhere on the outlet. Make careful note of which wire is connected to which terminal. Also note the orientation of outlet. The new outlet will be installed exactly the same way. Use a screwdriver to unscrew first the black, then white, then bare copper ground wires. Always remove the ground wire last.
Test the outlet terminals for voltage.
Step 3: Evaluate and adjust wires
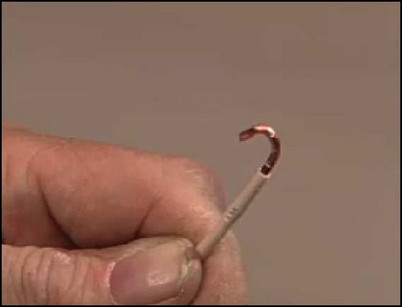
Check the outlet box wires for signs of wear or damage. If necessary, use wire cutters to clip the ends of worn wires. Use a wire stripper to remove the recommended amount of insulation from the end of the wire. Bend the wires into shape with needlenose pliers.
Bend the wires in shape.
Step 4: Connect wires to the new outlet
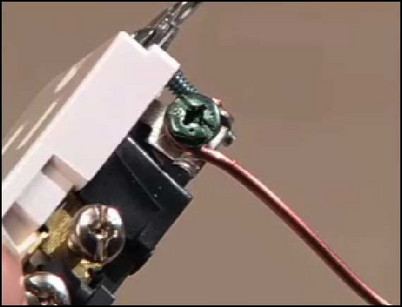
First attach the copper ground wire to the green terminal screw of the new outlet receptacle. Attach the white wire to its proper terminal on the outlet receptacle. Attach the black wire to its proper terminal. The stripped wires should bend 3/4 of the way around the terminal in a clockwise direction. Make sure the terminal screws are all tight. Cover the terminals in electrical tape, taking care to cover the connections completely.
Connect the ground wire first.
Step 5: Install outlet receptacle to the wall
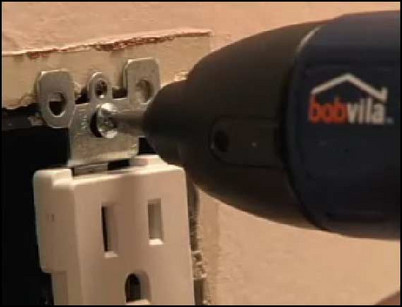
Taking care that bare ends of the wires do not touch the electrical box, carefully place the receptacle back in the electrical box. Tighten the attaching screws to the box. Replace the cover plate, and screw it into place.
Tighten the outlet receptacle screws.
Step 6: Restore power to the outlet
Turn the circuit breaker back on to restore power to the circuit. Use a circuit tester to test the receptacle for proper voltage. Your new outlet is now ready for use.
Test the outlet for proper voltage.


