
Materials:
Step 1: Protect the existing faucet with an insulated cover.
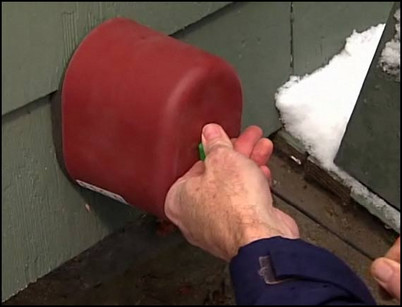
For a quick solution, use an insulated faucet cover to protect the outdoor faucet from the cold. To install, slide the inner loop around the faucet handle. Position the cover in place. Now, pull on the loop to seal the cover against the wall and slide the clip up against the cover.
Pull the loop and slide the clip against the cover.
Step 2: Replace the existing faucet with a freeze-proof faucet.
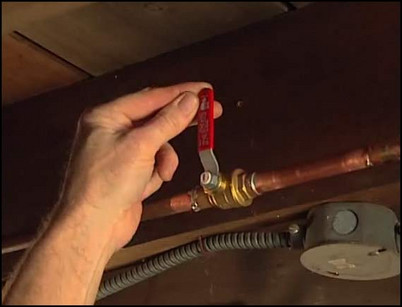
Replace the existing outdoor faucet with a freeze-proof faucet for a better guarantee against freezing. The valve assembly on a freeze-proof faucet is located inside the house, protecting it against the cold. To replace your existing outdoor faucet with a freeze-proof one, first find the water supply valve and shut it off. Open the existing faucet and let all the water drain.
Turn off the water supply to the faucet.
Step 3: Remove the old faucet.
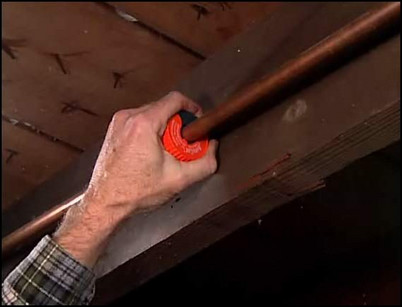
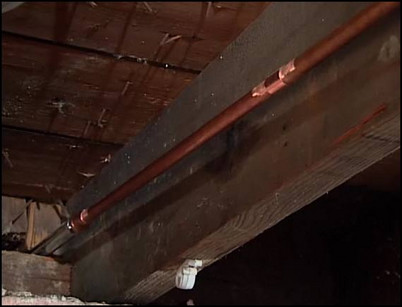
In the crawl space or basement, loosen the support brackets of the copper pipe that supplies the outdoor faucet. Pull the pipe as far away from nearby surfaces as you can. Use a circular pipe cutter to cut the copper pipe leading to the outdoor faucet. Cut the pipe at a convenient location close to the outside wall. Now, go outside and unscrew the fasteners that hold the existing faucet to the wall and pull the old faucet and pipe out.
Use a circular pipe cutter to cut the copper pipe.
Step 4: Prepare a hole for the new faucet.
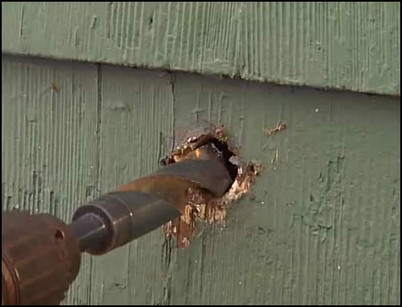
The new freeze-proof faucet may require a 1-inch hole to install. If so, use a twist drill bit to drill the 5/8-inch hole in the wall to a 1-inch hole. Slide the new freeze-proof faucet into the hole and temporarily secure it in place with a screw.
Drill a 1-inch hole.
Step 5: Dry-fit and cut the new pipes to size.
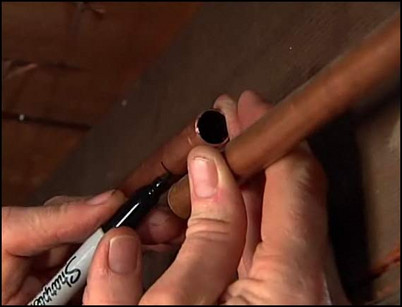
Fit a threaded coupler onto the end of a new section of 1/2-inch copper pipe. Screw the threaded coupler onto the threads at the end of the freeze-proof faucet pipe. The new length of copper pipe and the existing supply pipe should overlap. On the new pipe, draw a mark 1/8-inch back from where the two pipes overlap. This will allow for space inside the coupling. Remove the new length of pipe from the freeze-proof faucet and secure it in a vise. Use the circular pipe cutter to cut the pipe at the mark.
Draw a mark 1/8-inch mark back from where the pipes overlap.
Step 6: Prepare the copper pipes.
Use emery paper to thoroughly sand both ends of the new copper pipe. Make sure the sanded area is shiny and bright. Solder will only adhere to freshly exposed, shiny copper. Sand the end of the existing copper pipe in the same fashion, making sure that all sides on the end of the pipe are completely free of oxide. Now, dry-fit the threaded coupling end of the new pipe with the freeze-proof faucet pipe. Dry-fit the other end of the new pipe with a coupler, and dry-fit that end to the existing copper pipe. There should be a good, tight fit. Make sure the new faucet is now securely fastened to the outside wall, using any fasteners that might have come with the unit.
With the ends of the pipes sanded, dry-fit the assembly to check for a tight fit.
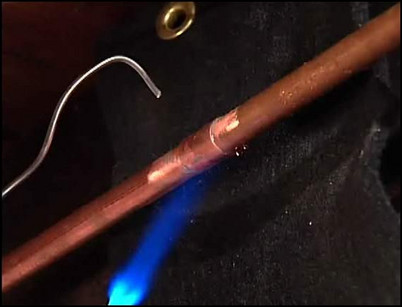
Step 7: Solder the coupler and the new copper pipe.
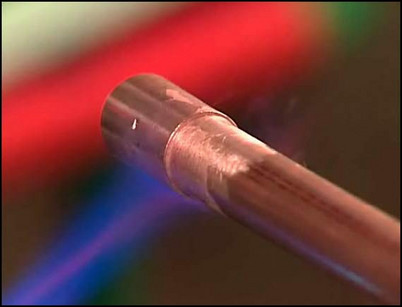
Place the new length of copper pipe back into the vise. Use a flux brush to apply a coating of flux to the end of the pipe. Apply flux coating to the insides of both ends of the coupler as well. Put the coupler on the end of the copper pipe, and use a torch to heat the coupling. When the flux starts to melt, rub solder against the edge of the joint. As soon as the solder starts to melt, remove both the solder and the torch. Do not continue to heat the joint.
Rub solder against the edge of the joint when the flux starts to melt.
Step 8: Solder the threaded coupler to the new copper pipe.
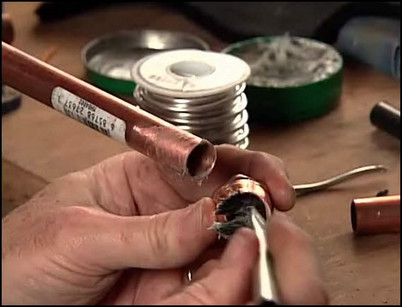
Following the same directions in the previous step, apply flux to the other end of the copper pipe and to the inside of the threaded coupler. Slide the threaded coupler onto the flux-coated end of the copper pipe. Heat the coupling with a torch and apply solder once the flux begins to melt. Allow the solder to cool.
Apply flux to the end of the new copper pipe and the inside of the threaded coupler.
Step 9: Attach the new pipe to the end of the new faucet.
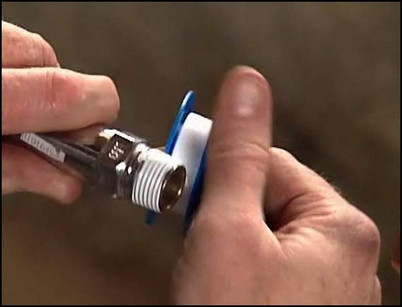
As the copper pipe assembly cools, remove the new freeze-proof faucet assembly from the wall and bring it to your work station. Wrap two layers of plumber’s tape around the threads on the end of the new freeze-proof faucet. Now, screw the end of the freeze-proof faucet onto the end of the new copper pipe with the soldered threaded coupler. Use a wrench to gently tighten. Re-install the new faucet assembly through the wall, and fasten it into place with screws. Be sure to open the valve on the new faucet.
Wrap two layers of plumber’s tape around the threads on the end of the new faucet.
Step 10: Solder the existing copper pipe and the new copper pipe together.
Back inside, apply flux to the inside of the coupling on the new copper pipe and to the outside end of the existing copper pipe. Slide the existing pipe into the coupling. To prepare the surrounding area for soldering, first wrap the coupling with plastic. Use a spray bottle to saturate the surrounding area with water. Remove the plastic. Insert a fireproof cloth to the area directly behind the pipes where you will be soldering. These cloths can be purchased at a plumbing supply store and can be screwed to the joists. Follow the directions in the previous steps to solder the coupling, using a torch and solder. Allow to cool for five minutes.
Solder the two copper pipes together. Note the fire-proof cloth hanging behind the pipes.
Step 11: Open the water supply valve.
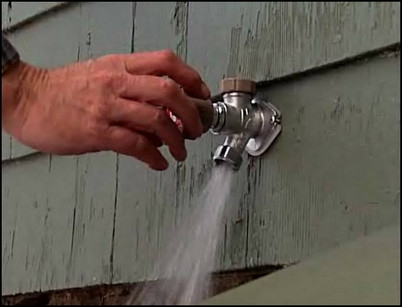
Once the joints have cooled, open the water supply valve. The new faucet is finished.
With the water supply valve open, the new faucet is finished.


