
Materials:
Step 1: Shut off the water supply and drain the water.
Find and shut off the water supply to the leaking water valve. There may be a valve close to the water supply, or you may have to shut off water to the whole house. Now, drain off the water from the pipes. To do this, locate all the faucets that are at the same level or below the valve you are going to replace. Open these faucets to let the water drain out, preferably into a bucket. To accelerate the process, open up some faucets above the valve you are going to replace. This will let air rush in, breaking any vacuum and forcing water out.
Shut off the supply of water to the leaky valve.
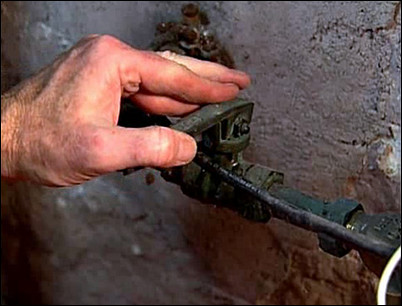
Step 2: Cut away the leaky pipe.
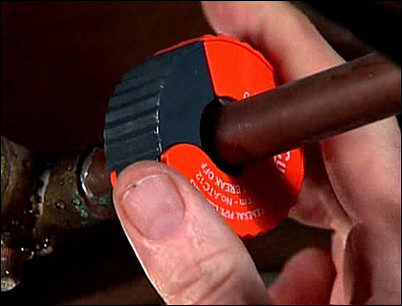
Open the leaky valve completely. Loosen any support brackets and try to pull the pipe as far away from nearby surfaces as you can. Pick a spot a few inches to the left of the valve and place a circular pipe cutter around the pipe. Turn it in a circular motion until it cuts the pipe. It is smart to have a bucket handy to catch any remaining water that might spill from the cut pipe. Now, pick a spot a few inches to the right of the valve and use the pipe cutter there, too, to completely remove the valve.
Cut the pipe with a circular pipe cutter.
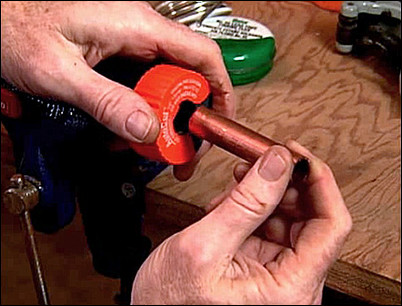
Step 3: Sand the two ends of pipe.
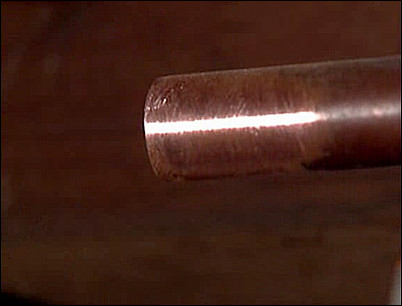
Use emery paper to sand the circumference of one inch of pipe until it is shiny. Do this for both pipes. You might consider using a special tool made to remove the oxide from the copper pipe. These tools have wire brushes that will clean both the outside and insides of a pipe to ensure that the solder adheres properly.
Use emery paper to sand the pipe until the copper is shiny.
Step 4: Measure the new pieces to fit.
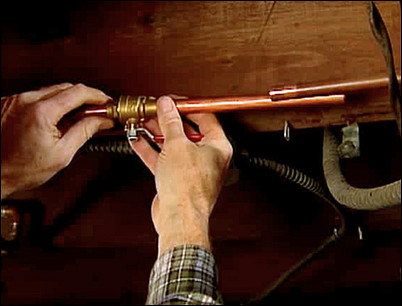
Temporarily slide a small length of copper pipe to a new gate valve. Slide the new valve into the end of the existing pipe. Hold the other end of the new pipe up against the other existing pipe. Notice where they meet. Mark a location on the new pipe 1/8″ back from the end of the existing pipe. This will leave room for the coupler.
Notice where the new length of pipe and the existing pipe meet.
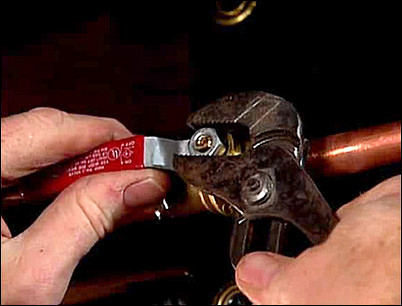
Step 5: Cut and sand the new pipe.
Use the circular pipe cutter to cut the new pipe at the mark. Use emery paper to sand both ends of the new pipe until they are shiny. Clean and sand the inside edges of the new pipe to remove all traces of oxide. Clean and sand the inside edges of the new valve as well as the inside of both ends of the coupling you will need to connect both ends of the pipe.
The mark indicates where the new pipe will be cut.
Step 6: Dry-fit all the pieces together.
Spread the pipes apart and dry-fit all the pieces together to check for a good fit.
Dry-fit the assembly.
Step 7: Solder the new pipe and coupling.
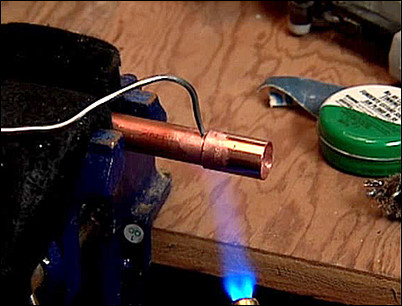
Once you’re satisfied that the pipes will fit, disassemble them. Use a flux brush to apply a light coating of soldering paste to the cleaned ends of all the copper pipes. Also apply to the insides of both sides of the new gate valve and the coupling. Reassemble the length of new pipe and the coupling. Using a propane torch, guide the blue tip of the flame along the end of the coupling until the flux starts to melt. Lightly rub the end of the solder along the edge of the coupling until the solder begins to melt and flows freely under the coupling. Immediately remove the solder and the torch and allow the area to cool.
Touch the solder to the coupling when the flux begins to melt.
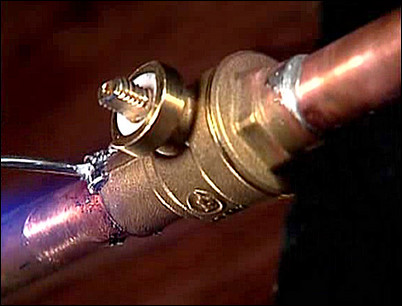
Step 8: Solder the gate valve and the new pipe.
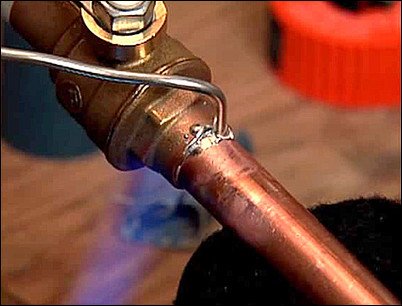
Connect the gate valve and the new pipe. Temporarily remove the valve handle. Follow the same directions as in Step #7 to heat the flux until it melts. Rub the end of the solder along the edge of the joint until the solder flows freely into the connection. Immediately remove the solder and the torch.
Remove the solder and torch when the solder flows freely into the connection.
Step 9: Prepare the area around the existing pipe.
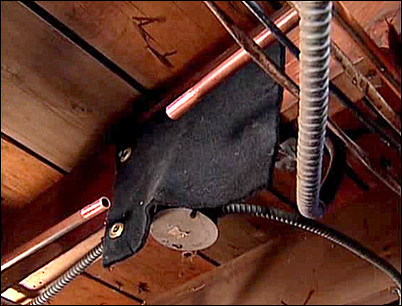
Use a spray bottle to wet the wood joists and the areas around the existing pipe. Fasten a fireproof cloth to the area directly behind where you will be soldering. You can purchase these at a plumbing supply store. You should now apply flux to the remaining four surfaces: the outsides of both the existing pipes, the inside of the new gate valve and the inside of the exposed end of the soldered coupler.
Attach a fireproof cloth to the area behind where you will be soldering.
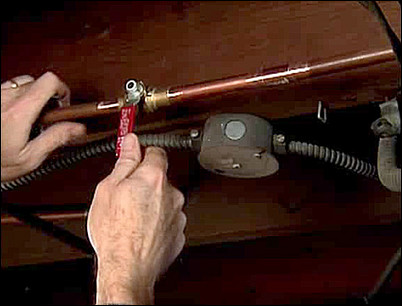
Step 10: Assemble and solder the remaining connections.
Fit the soldered valve and pipe assembly into place, twisting and pushing until it is tightly in place. Turn the valve to the open position and make sure the handle is temporarily removed. Follow the direction in Step #7 to heat the coupling until the flux melts. Rub the solder to the heated joint until it melts and flows freely, and remove the solder and heat. Repeat this process for the valve end of the assembly. Be sure to avoid exposing the valve mechanism to direct heat. Once both ends are soldered and cool, you can use a wet rag to smooth the joint and remove excess solder.
Rub the solder to the joint at the heated gate valve end.
Step 11: Restore the water supply.
Allow the joints to cool for five minutes. Be sure to close all the faucets that had been previously opened to allow the water to drain. Attach the valve handle and close the valve. Turn on the water supply, and enjoy your new valve.
Attach the handle back to the valve.


