
Materials:
Step 1: Familiarize yourself with the table saw.
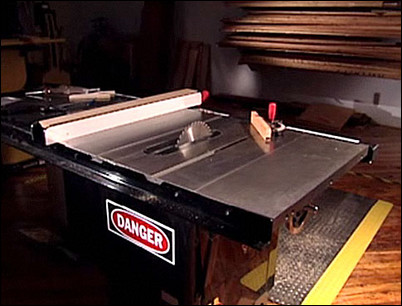
Take the time to learn the different parts of the table saw. Use the instructions that came with the unit to understand the different functions of each part. Important parts to know include: the table, the circular blade, the table insert, the miter slots, the miter gauge and the ripping fence.
Learn the different parts of the table saw.
Step 2: Adjust the table saw blade height.

Locate the saw blade height adjustment wheel. It should have a lock. Practice raising, lowering and locking the saw blade height.
Practice using the saw blade height adjustment wheel.
Step 3: Adjust the table saw blade angle.
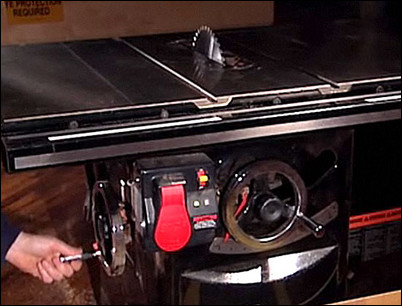
Like the height adjustment wheel, your table may have a saw blade angle adjustment wheel. If it does, it should also have a lock. Practice adjusting and locking the angle of the saw blade. If you make any adjustments to the angle of the blade, be sure to use a square to check that the re-set blade is square to the table.
Find and practice using the saw angle blade adjustment wheel.
Step 4: Know the table’s safety features.
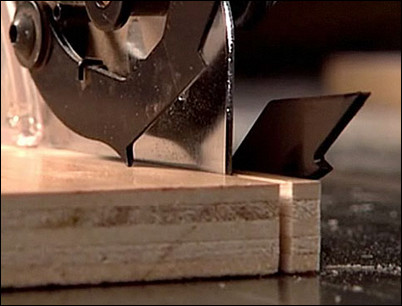
Table saws can come with important safety features. This particular table saw has a blade cover, a splitter and an anti-kickback device. The blade cover prevents flying chips from injuring the user. The splitter keeps the cut wood separated so it does not bind. The anti-kickback device protects the operator from stock flying back in the event that the wood catches in the saw. You must never remove or defeat these safety devices.
The splitter keeps the wood separated, and the anti-kickback device prevents flying wood.
Step 5: Set the height of the blade to prepare to rip a board.
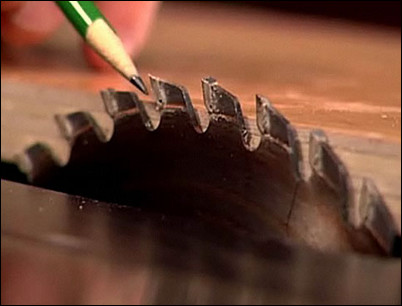
Ripping is when you cut with the direction of the grain of the wood or along the long edge of a piece of plywood. To rip a board, first set the height of the blade. Do this by setting the stock along the side of the blade. Lower the blade until the stock appears halfway up the valley, or gullet, of the blade. This will keep the blade from overheating on long cuts.
Lower the blade until the stock appears halfway up the valley.
Step 6: Set the ripping fence in place.
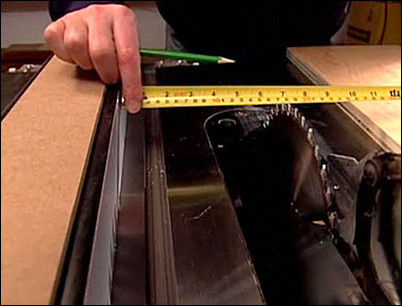
With the blade height adjusted and locked, move the ripping fence until the distance between the fence and the inside of the blade equals the dimension of the board you wish to cut. The blade should be set to just outside the dimension you wish to cut. Once the fence is set, lock it in place.
Measure and set the distance between the ripping fence and the blade by adjusting the fence.
Step 7: Follow the six safety steps before making the cut.

There are six important safety steps to follow before making a cut with a table saw. First, make sure there is no debris near your feet. Tuck in any loose clothing. Stand to one side of the blade, and keep your idle hand on the edge of the table when not in use. Your working hand will control the pushing stick that guides the stock through the saw. Always wear safety glasses and ear protection when using a table saw.
Stand to one side of the saw, resting your idle hand against the table edge and using the other to guide the stick.
Step 8: Start the cut to rip the board.
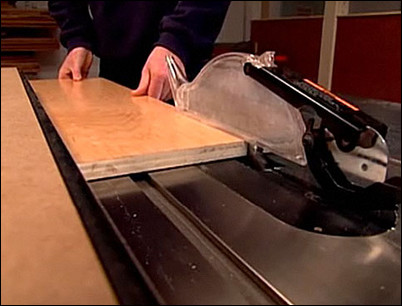
Start the saw. Rest the stock against the ripping fence. Slide the stock forward under the safety cover. Push the stock past the blade with the pusher. Never use your hands. Rest your other hand on the rear edge of the table.
Use the pushing stick to guide the stock through the saw.
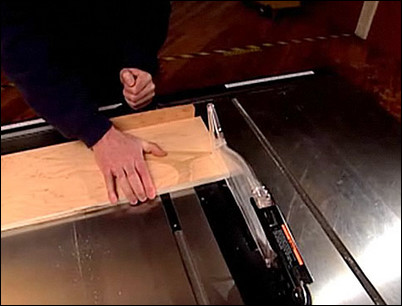
Step 9: Prepare to make a cross-cut.
A cross-cut is used when cutting across the grain or on the short end of the board. In a cross-cut, the stock is guided by a miter gauge. The miter gauge allows you to make a cross-cut at an angle between 60 and 90 degrees. When setting up to make a 90-degree cross-cut, always check that the miter gauge is set to exactly 90 degrees by using a square. When making a cross-cut across the short end of the stock, always remove the ripping fence and replace it with a miter gauge. Never make a cross-cut with the stock resting against or being guided by the fence, which is very dangerous.
Remove the fence and set the miter gauge into the miter slot.
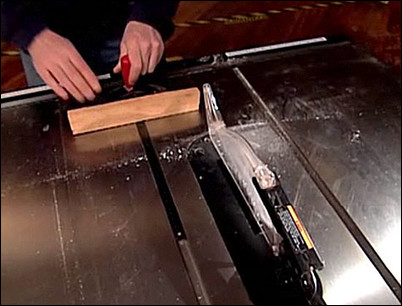
Step 10: Set the blade height and make the cut.
Follow the same process in Step #5 to set the height of the blade so that the stock is half the height of the valley, or gullet, between the teeth of the blade. Stand to the outside of the blade, with one foot slightly in front of the other and in a stable position. Securely hold the stock against the fence of the miter gauge, and use the gauge to gently push the stock through the saw.
Use one hand to hold the stock firm to the gauge and the other to push the gauge.


