
Materials:
Step 1: Remove the old carpet.
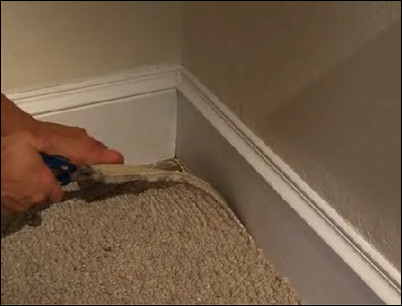
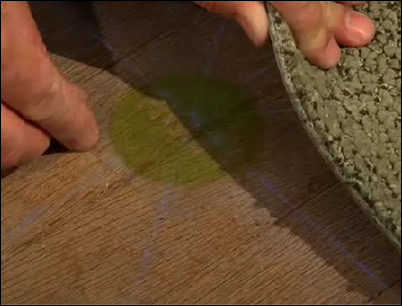
To remove the old carpet in the room, go to a corner and grasp the edge with either your fingers or pliers. Pull back the carpet from the corner and away from the wall. Roll the carpet up as you go, and be sure to remove any registers. Use a utility knife as necessary to remove sections. Wearing work gloves, carefully remove any tack strips and nails that may be underneath the old carpet.
Use pliers to pull up the corner of the carpet.
Step 2: Clean the floor beneath the carpet.
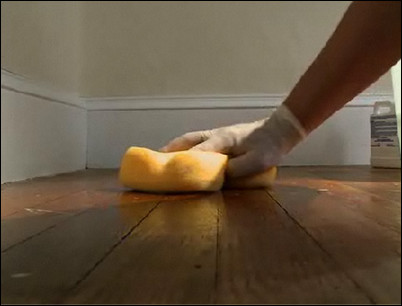
If the wood floor under the carpet has ever been waxed, use a wax-stripping cleaner and a sponge to remove the wax. Vacuum the entire surface and wash with a mop. Be sure to let the floor dry completely before moving to the next step. The floor should be smooth, clean and wax-free.
Wash the surface with a wax-stripping cleaner.
Step 3: Snap chalk lines to find the center of the room.
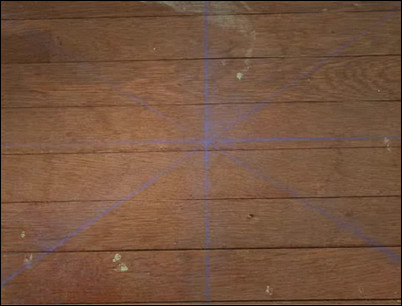
To install carpet tiles, you must first find the center of the room. To do so, first snap a chalk line from one corner of the room to the opposite corner. Repeat for the opposing corners. The center of the room is where the lines cross. Use a tape measure to find and mark the centers of each of the four walls. Then snap two more chalk lines from the opposing centers of the four walls, starting with the longer side of the room first. The cross-pattern that is made by the chalk lines will be in the center of the room.
The resulting cross-pattern indicates the room’s center.
Step 4: Lay tiles in an XY pattern.
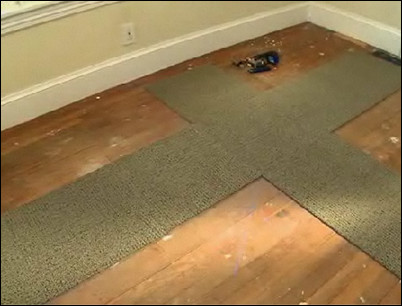
Temporary lay a set of tiles to form the X and Y axes of the room, using the chalk lines as guidelines. This baseline row should be tightly aligned to the edges of the X and Y lines. Stand at the main entrance of the room to see if the pattern needs adjusting. Shift the baseline tiles to avoid any awkward rows.
Adjust the pattern if necessary.
Step 5: Begin installing carpet tiles.
Once you are satisfied with the layout, refer to the directions that came with the tiles to attach the baseline tiles to each other using the adhesive dots that come with the carpet tiles.
Attach the tiles to each other with the adhesive dots.
Step 6: Build out the tiles toward the walls.
Continue to build out the tiles toward the four walls. Bring each new tile tightly up against a tile on the X and Y axes. While holding the tiles tightly together, place an adhesive dot sticky side up on the floor and press the tiles firmly down on the adhesive dots. Each adhesive dot will join four carpet tiles on each adjoining corner. The adhesive is designed to allow you to pull the tiles apart if you make a mistake. The adhesive bond actually gets stronger after a few hours.
Each dot joins a corner of four adjoining tiles.
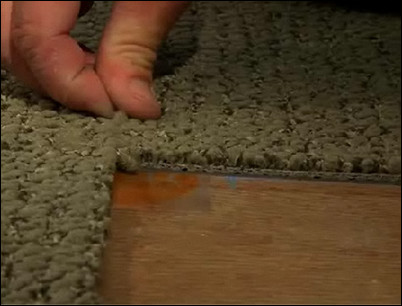
Step 7: Measure for the edge sections of tile.
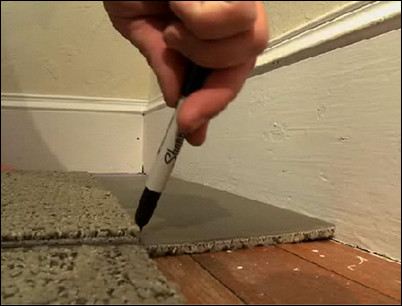
When you get to the edges of the floor, you will probably have to cut some of the tiles to fit between the last row of full-sized carpet tiles and the wall. Slip a carpet tile, face down, under the last tile in the row. Make sure that the tile is snug against the wall. The arrows on the tile’s backside should face the same direction as the tile next to it so the pattern remains the same. Using the edge of this adjoining carpet tile, make a mark on the bottom on either side of the tile to be cut.
Mark the bottom of the edge tile where it will be cut.
Step 8: Cut the edge tile to fit.
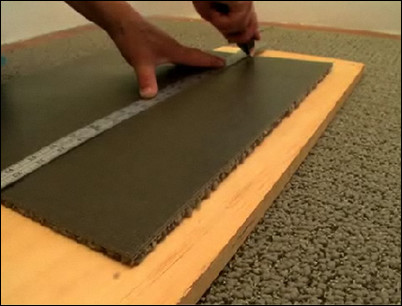
Place the marked edge tile on a board with the bottom side facing up. Use a utility knife to make several light cuts along or between the marks. Make sure you cut away from your body.
Cut between the marks with a utility knife.
Step 9: Install the edge tile.

Once the tile is cut, use an adhesive dot to stick the newly cut tile to the last full tile in the row. Repeat for all four baseline row ends. Continue to work outward to each of the four walls, filling in the four quadrants with the remaining tiles.
Use adhesive dots to install the edge tiles.
Step 10: Mark and cut holes in tiles for registers.
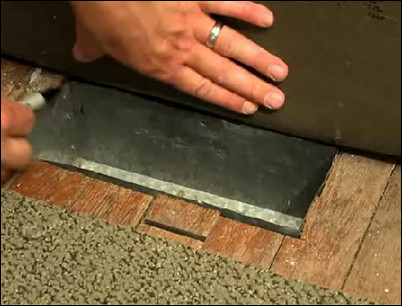
To prepare a tile for installation over a register, bend the carpet tile over the hole for the register and mark the four corners of the register duct on the back of the tile. Following the outline for the four corners, cut out the carpet. The hole will allow the register to fit into the register duct.
Mark the location of the register on the back of the folded tile.
Step 11: Make any additional special cuts.
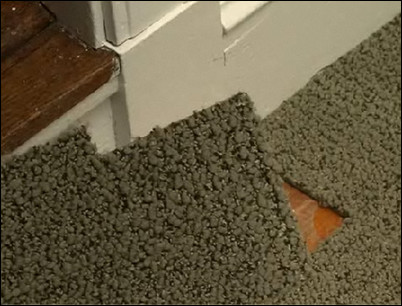
For tiles that will install around door moldings and similar features, cut the tile so it fits to the edge of the wall and then measure and cut out the indentation for the molding. Take the time to measure twice so you only have to cut once, and the carpet tile will drop right in place.
Measure twice and cut once to make the tile fits.


