
Materials:
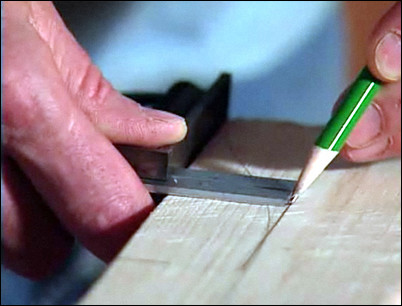
Step 1: Half Lap Joint. Mark the center of the stock.
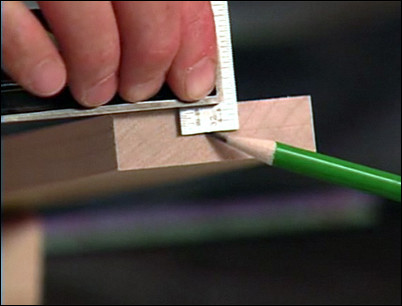
To make a common Half Lap Joint, find the center of the stock and mark it.
Mark the center of the stock.
Step 2: Set the dado blades.
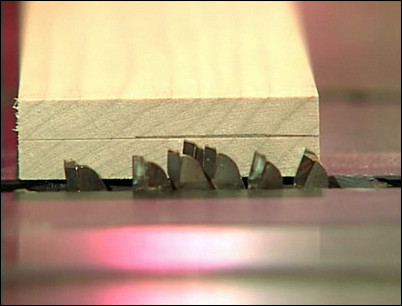
Set the height of the dado blades to half the width of the board.
Set the height of the dado blades.
Step 3: Set the fence.
Set the fence to the inside dimensions of the stock you wish to remove.
Set the fence.
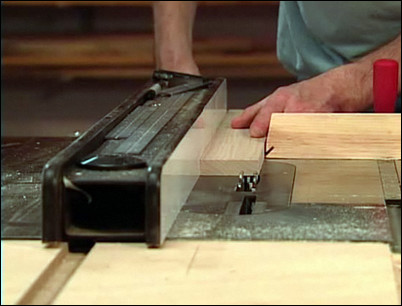
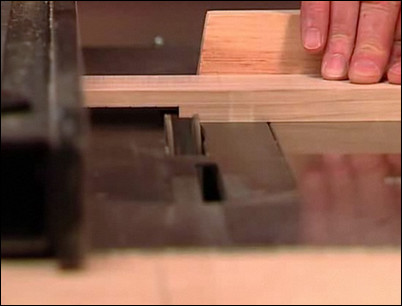
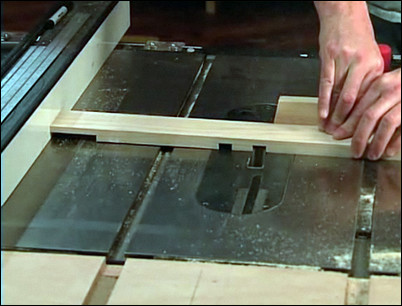
Step 4: Make the cuts.
Using the miter fence as a push block, run the stock through to cut the inside segments. Cut in segments until the stock touches the fence.
Make cuts until the stock touches the fence on the left.
Step 5: Make the same cuts on the other piece of stock.
On an identical piece of stock, cut the same lap using the table saw with the dado blade set up. This will form the other side of the joint.
Make the same cuts on an identical piece of stock.
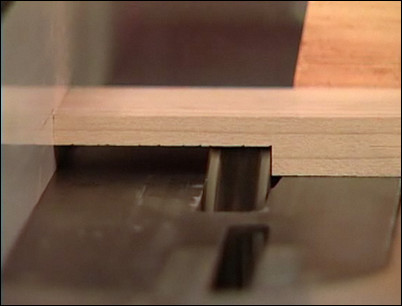
Step 6: Put the two pieces together.
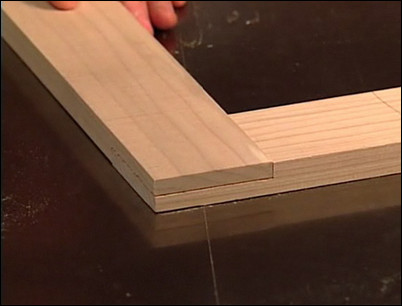
Slide the two lap ends together to form a half lap joint.
Put the two laps together to form the half lap joint.
Step 7: Cross Half Lap Joint. Mark the width of the lap.
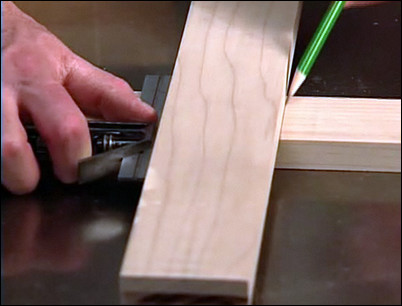
To make a Cross Half Lap Joint, first mark the width of the lap on both pieces of stock.
Mark the width of the lap.
Step 8: Set the table saw fence.
The dado blade depth is already set from the last cut. Re-set the fence so the blade will cut on the inside edge of the lap.
Set the table saw fence to cut along the inside edge.
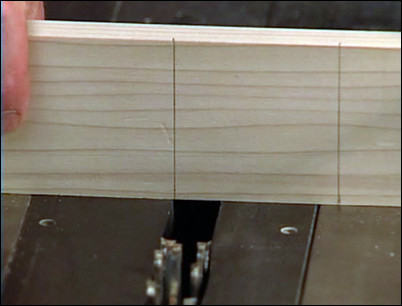
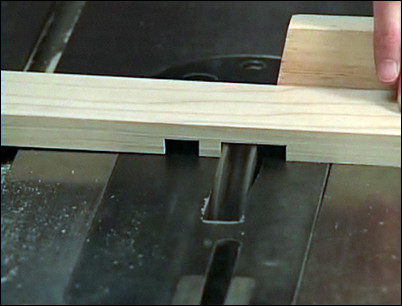
Step 9: Make the first cut.

With the fence set, make the first cut along the inside edge of the lap, following the markings that you made on the stock.
Cut along the inside edge of the lap.
Step 10: Re-set the fence for the outside edge and cut.
Now, re-set the fence so the blade will cut at the outside edge of the lap. Make the cut.
Cut along the outside edge of the lap.
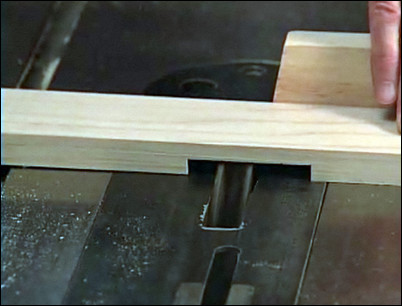
Step 11: Finishing cutting the lap.
With the inside and outside edges cut away, continue cutting until the remainder of the stock is cut away to form the lap. This will complete the first half of the cross half lap joint.
Cut away the rest of the stock to form the lap joint.
Step 12: Cut the lap joint on the second piece of stock.
Following steps #7 to #11, make the mark for the width of the lap, set the fence and cut away the stock to form an identical lap joint.
Repeat steps #7 to #11 to make the second lap joint.
Step 13: Put the pieces together.

With lap joints cut from each piece of stock, you can put the two pieces together to form the cross half lap joint.
Make the cross half lap joint.
Step 14: Edge Joint. Mark the depth and height.
To make an edge joint, first mark the depth and height of the material that will be removed.
Mark the depth and height.
Step 15: Clamp the board in place and make the first cut.
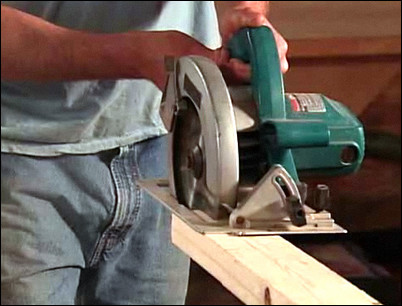
Use a vice to clamp the 2×4 in place. Use a circular saw to make the first vertical cut of the joint.
Make the first vertical cut.
Step 16: Make the horizontal cut.
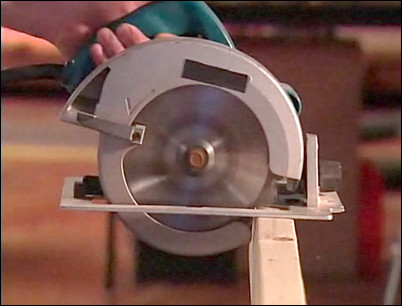
Rotate the board, re-clamp it and use the circular saw to make the second, horizontal cut.
Make the horizontal cut.
Step 17: Use a hand saw to finish the cut.
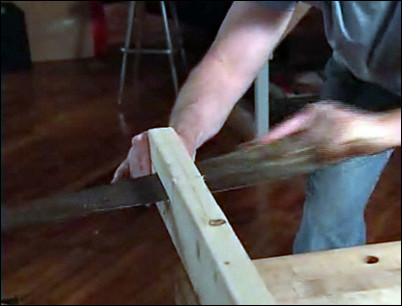
Finish the cut for the lap with a hand saw.
Finish with a hand saw.
Step 18: Use the 2×4 with the edge joint as needed.
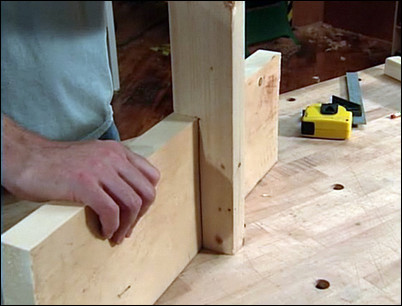
With the edge joint made, you would typically use lag bolts to fasten the post to a joist.
Use the edge joint at your discretion.


