
Materials:
Step 1: Assess what is underneath the flooring.
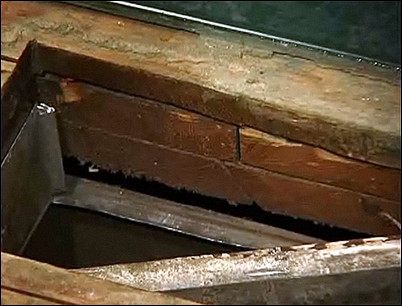
Before removing any old flooring, assess what is underneath the old flooring. Go down to the basement to look up at the sub-floor. Examining the area around the floor register can also reveal details about the sub-floor. In this case, there are two older floors under the tile. We will be removing both the tile flooring and one glue-covered wooden floor beneath it.
Inspecting the floor register reveals two additional older floors.
Step 2: Take precautions to protect the area from dust.
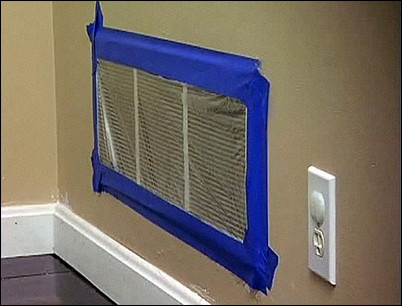
To prepare for dusty work, begin by covering air return ducts so dust does not get blown throughout the home. Remove closet bifold doors and cover the doorways with plastic sheeting. Place an exhaust fan in one exterior window to suck the dust out. You should also set up an area as close to the work site as possible to dispose of the old flooring. Consider placing a dumping location outside one of the room’s windows. A debris container or a Bagster® disposal bag works well.
Cover air return ducts.
Step 3: Remove molding.
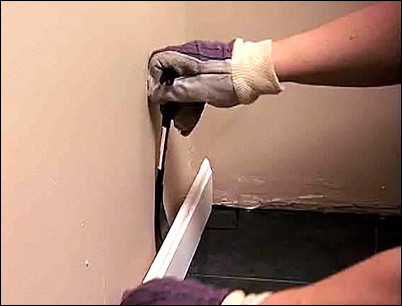
Starting at a doorway, pry away the molding. If you work gently, you can preserve the molding and reuse it once the new floor has been installed. If the molding doesn’t pull away easily, it is a good idea to rest the pry bar on a small piece of wood to protect the wallboard.
Pry away molding.
Step 4: Crack and remove old tiles.
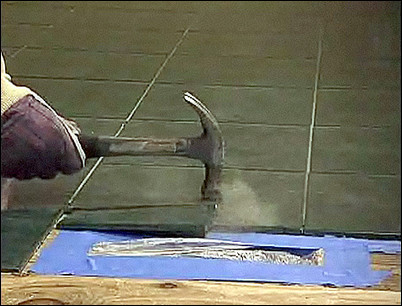
For this tile floor, we first need to use a hammer to crack the tile. Then, begin to remove by hand or by prying. Continue across the room, discarding the debris into your disposal container as you go.
Crack the tile with a hammer.
Step 5: Start removing the flooring.
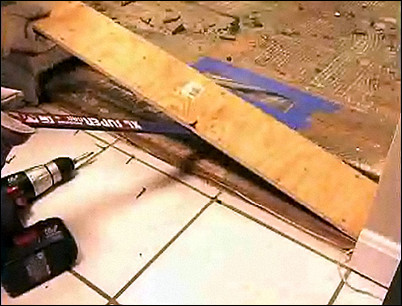
To begin to remove the flooring, first pry up a doorway threshold, and whatever else you discover underneath it, until you reach the sub-floor. Be sure to stuff a rag into the ducts of floor registers to prevent dust and debris from falling in.
Remove the doorway threshold until you get to the sub-floor.
Step 6: Use a circular saw to cut into the flooring.
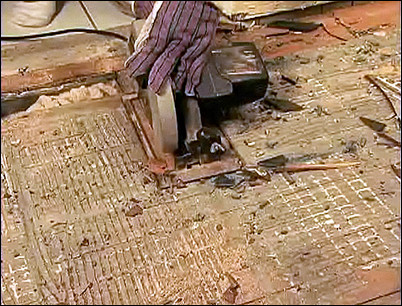
Using a circular saw with the blade set to the depth of the floorboards, cut across four rows of floorboards. Be prepared for the fact that you may hit a nail in the process of cutting the boards free.
Cut across four rows of floorboards.
Step 7: Pry up the floorboards.
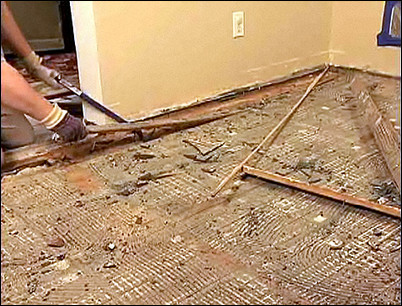
Use a pry bar to pry up the cut floorboards. Work your way down the boards and across the room, carefully prying up the floorboards. Be very careful to remove all the nails that do not come up with the floorboards so that you do not step on them when walking around the work area. In addition, carefully put aside the old floorboards so there is no danger of stepping on the old rusty nails. Use a hammer when necessary. Clean up as you go, disposing of all the old floorboards and nails.
Use a pry bar to loosen and remove old floorboards.
Step 8: Remove the paper barrier.
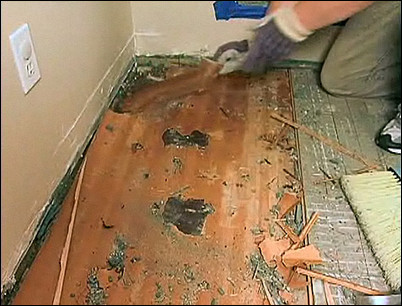
You should find a paper barrier underneath the floorboards. Pull this barrier up to remove it.
Remove the paper barrier with the old floorboards.
Step 9: Begin planning for the new floor.
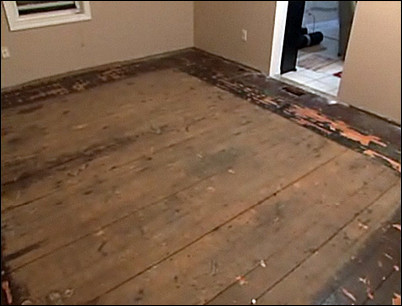
The old original floor, which is now exposed, is smooth enough to use as a base for our new floor. In newer houses, the new floor would be laid over the sub-floor, which is usually plywood, OSB or particle board.
Admire your work.


