
Materials:
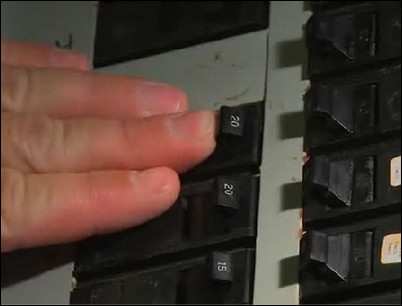
Step 1: Cut power to the circuit.
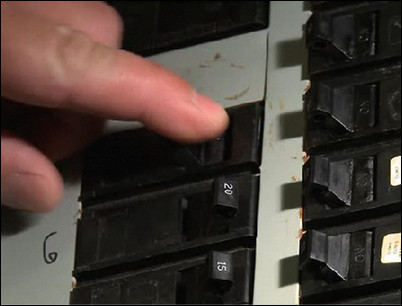
At the electrical panel, find the circuit break switch for the existing lighting fixture. Flip the switch to cut power to the circuit.
Flip the circuit breaker switch.
Step 2: Remove the old bulbs.

Unscrew and remove the old bulbs from the existing fixture.
Remove the bulbs.
Step 3: Test for voltage.
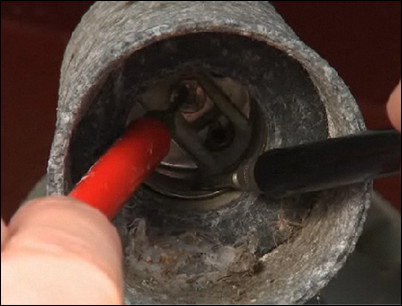
Use a voltage tester to test for voltage. Place one test prong on the brass threads on the side of the socket and the other test prong on the center metal tab at the bottom of the socket. There should not be voltage present.
Test the fixture for voltage with a voltage tester.
Step 4: Remove the old fixture cover.
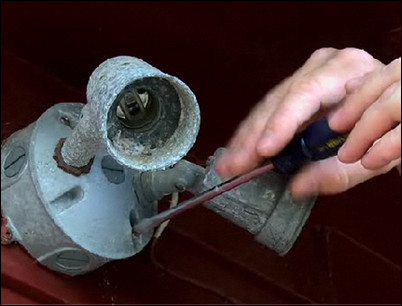
Use a screwdriver to remove the screws that hold the cover of the old fixture to the base. With the screws removed, pull the cover from the base.
Remove the screws to the old cover.
Step 5: Re-test for voltage.
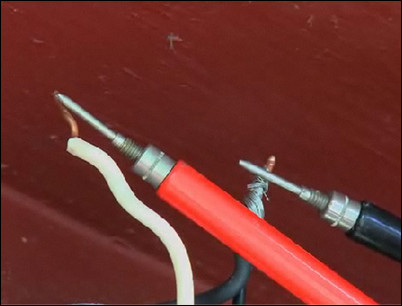
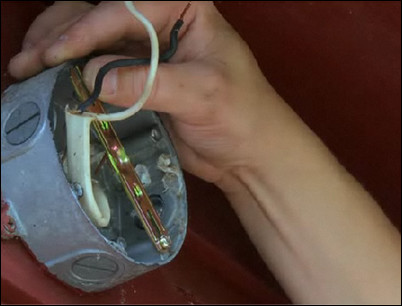
With the cover removed, you should see the wires that connect the lighting fixture to the home’s electrical supply. Carefully untwist any wire nuts to expose the wires. If there is any electrical tape covering the wires, remove it as well. Be careful not to touch the bare wires. With the wires exposed, use the voltage tester again to be sure that the circuit is dead.
Test the exposed wires for voltage.
Step 6: Remove the old fixture completely.

Disconnect all the wires and remove the old fixture. If an old motion detector is attached to the house separately, use a screwdriver to unscrew and remove the old motion detector.
Disconnect and remove the old lighting fixture.
Step 7: Add any necessary mounting straps.
Some spotlights with motion detectors, like this one, require special mounting straps to be installed inside the electrical box. Be sure to follow the instructions that come with your fixture for proper assembly and installation.
Install the mounting strap.
Step 8: Hang the watertight gasket.
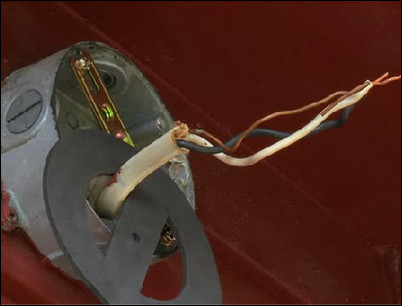
Hang the watertight gasket over the supply wires that come from the house before you connect the wires to the new fixture.
Hang the gasket.
Step 9: Install the ground wire.
First, install the bare copper ground wire to the green grounding screw on the inside of the new light. Form a loop in the wire in a clockwise direction so it binds to the screw as you tighten.
Install and screw the bare copper ground wire into place.
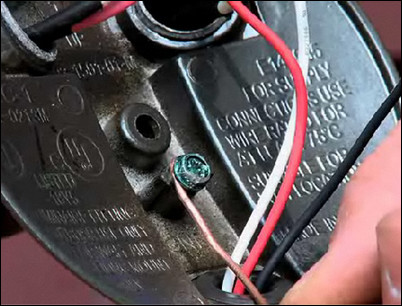
Step 10: Connect the wires together.

Slide a wire nut over each pair of wires, and twist the wires from the house to the matching color wire on the fixture. Connect white wire to white, black wire to black or as indicated by the instructions. Screw wire nuts tight onto the twisted wires. Wrap electrical tape around the bottom of each nut if you are at all uncertain that they are tight enough.
Connect the wires together with wire nuts.
Step 11: Attach the fixture cover to the base.
Attach the new fixture cover to the base with the supplied screws. Carefully line up the watertight gasket to form a tight seal between the fixture and the electrical box. Screw the spotlights into the sockets.
Attach the cover to the base.
Step 12: Attach the fixture cover to the base.

Attach the new fixture cover to the base with the supplied screws. Carefully line up the watertight gasket to form a tight seal between the fixture and the electrical box. Screw the spotlights into the sockets.
Attach the cover to the base.
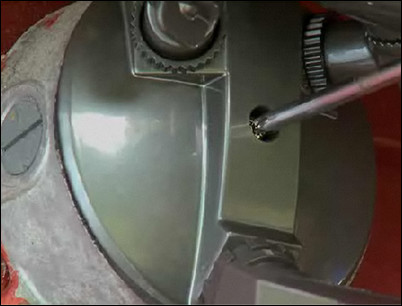
Step 13: Aim and adjust the spotlights.
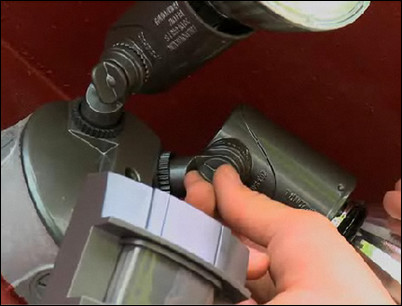
Focus the spotlights to cover the area you wish to light. The angle of the fixture is adjusted with a screw. Loosen it to change the angle. Tighten it to lock the spotlight in place. There are also small lock nuts on the threads of the fixtures to help lock the sockets precisely into position. You can usually tighten the lock nuts with your fingers, but sometimes tapping on them with a screwdriver and a hammer can tighten them further if they slip.
Tighten the lock nuts to secure the spotlights.
Step 14: Set the motion sensor sensitivity and delay time.
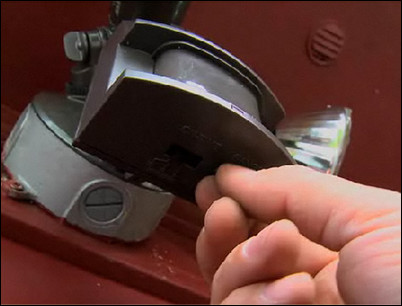
Referring to the instructions, set the motion sensor sensitivity and delay time. These controls are usually found on the base of the motion detector. The motion sensor should be pointed toward the area you want to cover.
Aim the motion sensor, and set the sensitivity and delay time.
Step 15: Restore power to the circuit.
Turn the spotlight circuit breaker back on. Adjust the settings as necessary on the motion detector until just right. Once set, your new spotlight and motion detector is ready to go.
Turn the power to the circuit back on.


