
Materials:
Step 1: Prepare the surface.
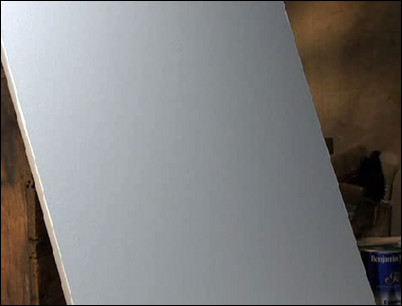
Single-process vertical strie can be achieved with just two colors of paint. Before starting, make sure the surface of the wall is clean and smooth. It is a good idea to prime the surface even if it is already in good condition. We’ve applied two coats of primer to this demonstration section of drywall.
Make sure the surface is clean and smooth.
Step 2: Apply the base coat.
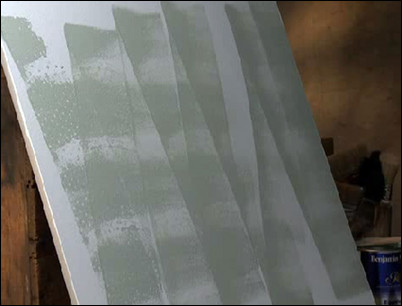
In this version of strie, we will be applying a darker coat over a lighter base. For the base, you should always use either satin or semi-gloss finish. We are using a latex paint here for easy application and cleanup. To apply the base paint, use a roller. Distribute the paint over a two- or three-foot section of wall, painting in a “W” pattern.
Paint in a
Step 3: Fill in the base coat.
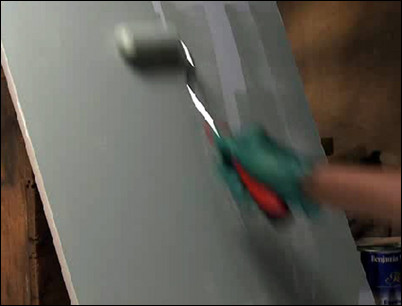
With the “W” pattern applied over a two- or three-foot area, use the roller to fill in the spaces between. Remember that the side of the roller closest to the metal handle will carry the most paint. You may consider applying two coats of the base paint.
Fill in the spaces of the base coat.
Step 4: Mix the strie color.
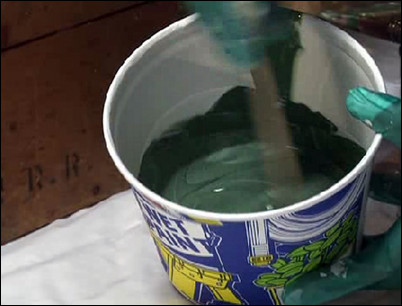
The strie color is made up of the latex, gloss, semi-gloss or eggshell color paint that you want for the stripes, mixed with a latex glaze. The glaze is a clear carrier that you use to make the strie color more transparent. It also allows you enough time to lay down the pattern. The mixing ratio is five parts of latex glaze to one part of latex paint. The glaze looks milky white, but it dries clear. Measure and pour the glaze into the mixing bucket first, and then measure and pour in the paint. Stir the glaze and the paint thoroughly.
Mix the glaze and the paint thoroughly.
Step 5: Apply the first vertical run of strie color.
Using a quality 4-inch latex brush, apply the single-process color to the wall in the direction you want the stripes to run. In this case it will be applied vertically. Apply enough paint to the first run to cover two widths of the strie brush that you will be using. Leave a little paint at the top of the run to pull down with the strie brush.
Apply a first run as wide as two widths of the strie brush.
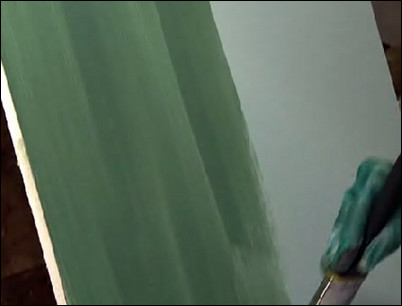
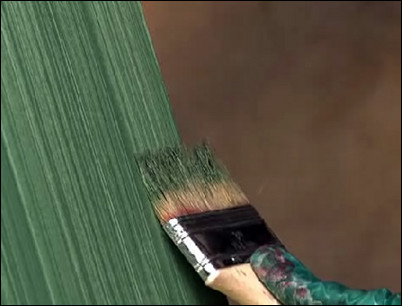
Step 6: Pull the strie brush down the wall.
The strie brush is designed specifically for strie. Hold the brush flat to the wall. Pressing down slightly, pull the strie brush slowly and steadily down the wall.
Pull the brush slowly and steadily down.
Step 7: Finish the bottom of the first pull.
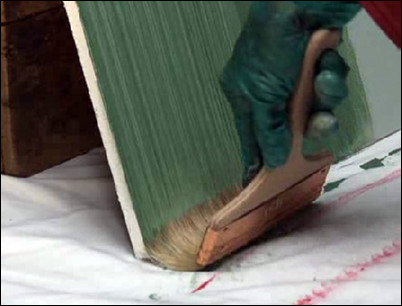
As you get to the bottom of the wall, rotate the brush handle upward to carry the pattern all the way to the bottom edge.
Rotate the brush to carry the pattern all the way down.
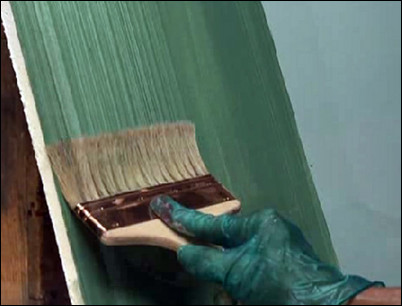
Step 8: Make the second pull.
Bring the brush back up to the top of the wall and begin the second pull down. The brush should overlap the first pull by about a 1/4-inch. The second pull should finish the first vertical run of the strie color.
Overlap the first pull by 1/4-inch.
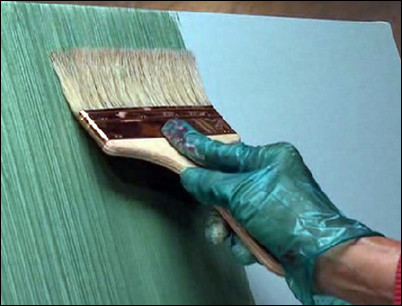
Step 9: Continue the strie process.

Following Steps #5 to #8, apply another run of the single-process strie color to the wall, using the latex brush. Make the pulls with the strie brush to form the vertical lines. After two or three passes, wipe off excess paint from the strie brush with a lint-free, cotton rag.
Wipe off the strie brush after two or three passes.
Step 10: Use a different brush at the wall corners or edges.
When you reach a corner or edge of a wall, the strie brush may be too wide to use. Instead, you can use a natural bristle chip or stipple brush to create the same vertical strie pattern.
Use a natural bristle chip or stipple brush at the edges.


