
Materials:
Step 1: Check the first course of flooring.
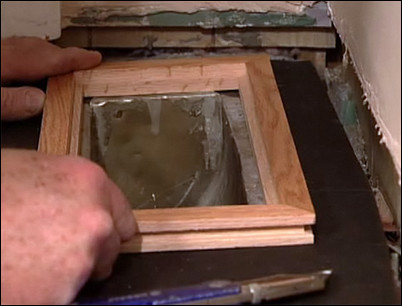
If there is a heating register near the wall to work around, you will need to make sure that the first course of flooring will clear the trim of the register. With the trim of the register dry-fitted in place, place a piece of floorboard between the trim and the wall to make sure it will fit.
Check that the first course will clear the trim of the register.
Step 2: Set the position of the snap line.
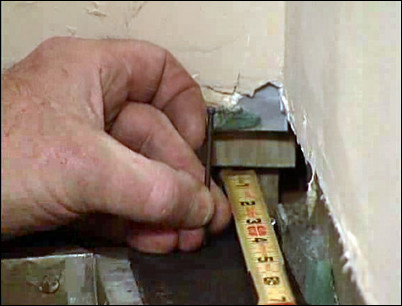
Measure the width of the floorboard and add 3 inches to allow room for the snap line.
Measure and set the position of the snap line nail.
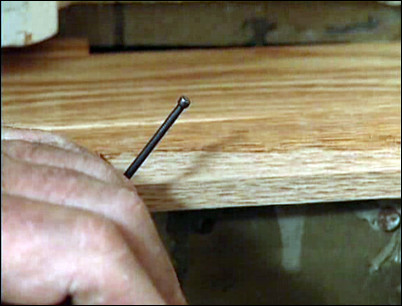
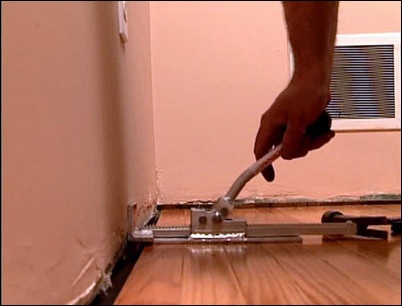
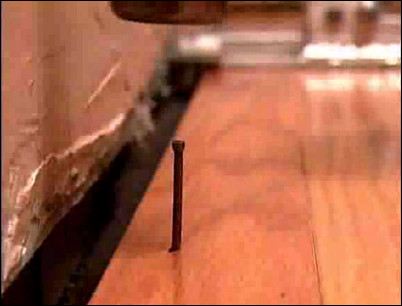
Step 3: Set the snap line.
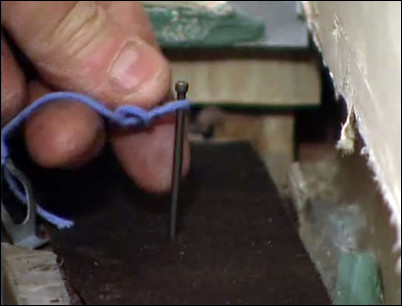
Hammer a nail in place, leaving room for the first course of flooring to go in. Attach the snap line to the nail.
Attach the snap line to the nail.
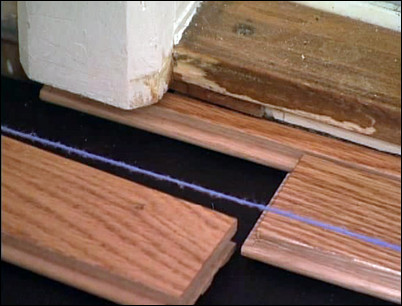
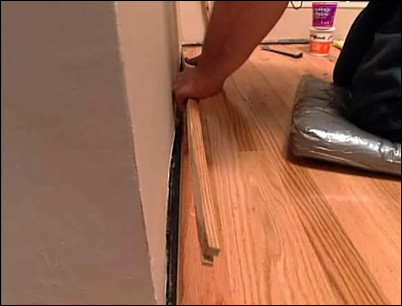
Step 4: Line up the starter boards.
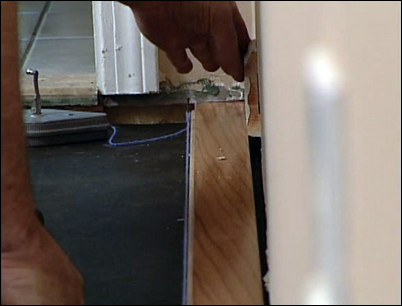
With the snap line in place, set down the first line of starter boards. Check that the width of the molding will be wide enough to cover the inside edge of the floorboard. In this particular case, a bowed wall requires the starter line of boards to be one-quarter inch closer to the wall. Line up the entire starter line to prepare it for nailing.
Make sure the molding will cover the inside edge of the floorboard.
Step 5: Check the thresholds.
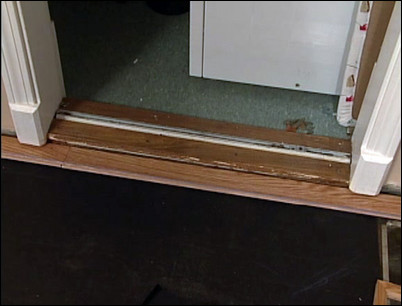
The threshold of this closet cannot be covered with molding, so we will cut a filler piece of floorboard to fit. With the starter course in position across the threshold, measure the space between the course and the threshold to determine the width of the filler.
Measure the space between the course and the threshold.
Step 6: Cut the filler piece.
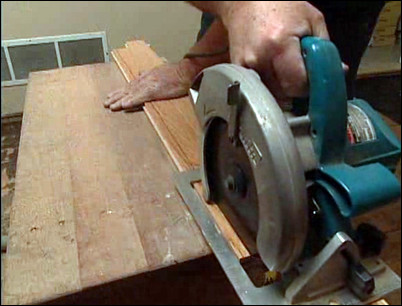
Transfer the measurements to a piece of floorboard. Use a circular saw to cut the filler piece.
Use a circular saw to cut the filler piece.
Step 7: Set the filler in place.
Set the filler piece in place between the starter course and the threshold.
Set the filler piece in place.
Step 8: Dry-fit the register trim.
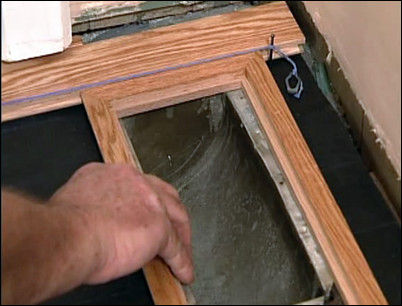
Dry-fit the trim for the register vent. In this case, no adjustment is necessary.
Dry-fit the trim for the register vent.
Step 9: Drill pilot holes.
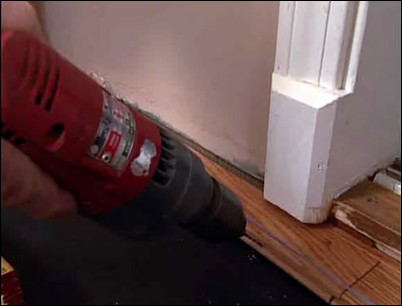
With the starter course set up and aligned, drill pilot holes into the back of the boards where the boards do not touch the wall. For the rest of the boards, drill pilot holes at a 45-degree angle into the tongue of the board. In all cases, it is best to be nailing through the boards and into the floor joists.
Drill pilot holes into the tongue of the front course.
Step 10: Nail the first course into place.

Hammer 8-penny finishing nails into each pilot hole. Use a nail set to set the nails flush with either the tongue of the floorboard or the face of the floorboard, depending on where you are nailing. Remember, in sections where the board comes off the wall, drive a nail through the pilot hole toward the back of the board and set it flush with the board face. These nails will be covered by the molding in the end. You can save time by drilling all the pilot holes first then driving all the nails in.
Drive nails into the pilot holes.
Step 11: Set the second course of floorboards.
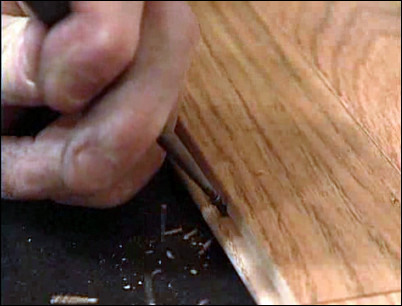
Set up and nail into place the second course of floorboards. Just as with the first course, this second course will be “blind-nailed” by hand. Drill pilot holes at roughly a 45-degree angle into the tongue of the boards and drive 8-penny finishing nails into each hole. Remember to countersink each nail with a nail set.
Use a nail set to countersink each nail.
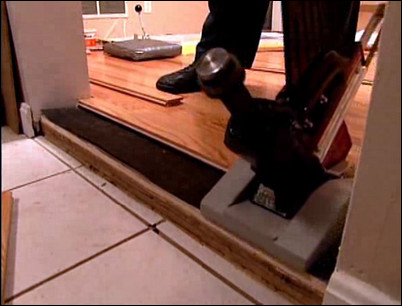
Step 12: Set the third course in place with a Powernailer®.
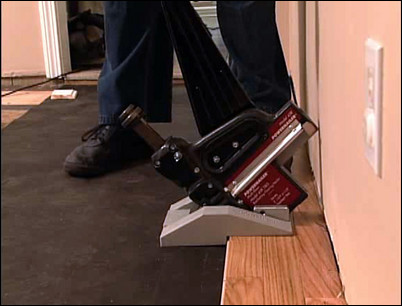
For the third course of floorboards, use a Powernailer®. A Powernailer® is designed to drive blind-nails into the tongue of a floorboard with one or two blows from a mallet.
Use a Powernailer® for the third course of floorboards.
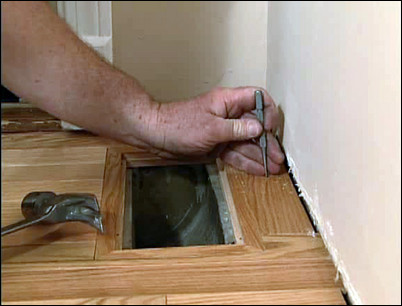
Step 13: Cut and fit the section around the register.
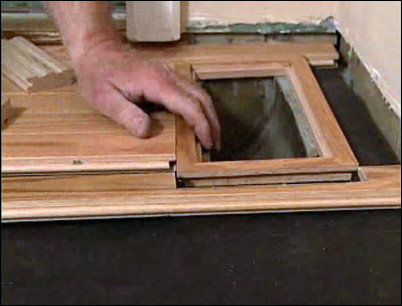
For the floorboard that overlaps with the floor register trim, measure and cut out the section of floorboard to fit around the trim.
Fit the piece for the other side of the register.
Step 14: Nail the register trim into place.
Drill pilot holes into the register trim. Nail the register trim into place. Be sure to set the nails with a nail set.
Nail the trim into place.
Step 15: Install the flooring behind the register.
Hand nail the last piece of flooring behind the register. This will most likely have to be measure and cut to fit. Set the nails with a nail set.
Set the nails for the last piece of flooring behind the register.
Step 16: Set the register in place.
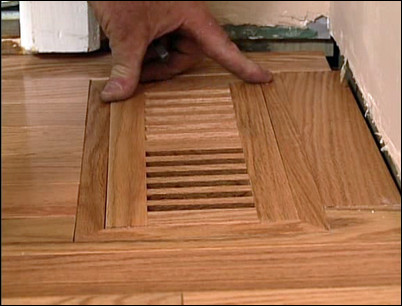
Insert the register over the vent.
Insert the register.
Step 17: Clean as you work.
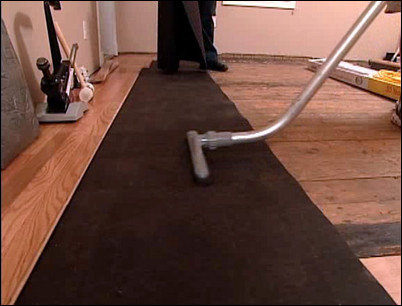
Use a vacuum to clean as you install the floorboards to ensure a smooth surface.
Vacuum as you work.
Step 18: Overlap the felt paper.
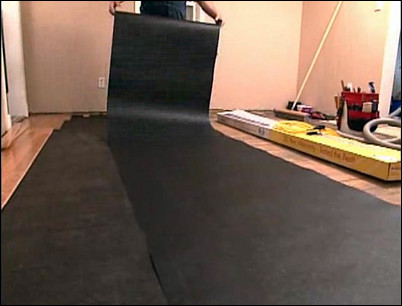
As you unroll the next line of 15-pound felt paper, be sure to overlap the seams at least 4 inches.
Overlap the seams of the felt paper.
Step 19: Stagger the floorboards as you install them.
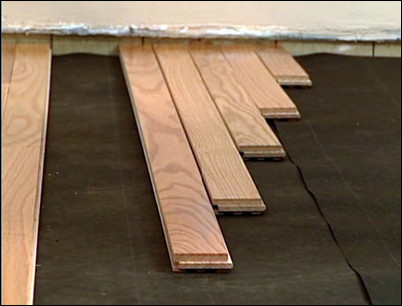
Floorboards should be staggered or “racked.” This means that the ends of one length of floorboard should be at least 6 inches from a joint in the previous row.
Stagger your floorboards as shown.
Step 20: Continue installing the floorboards.
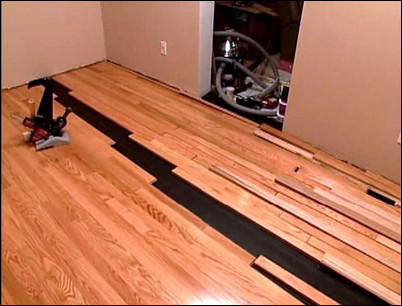
Use the Powernailer® to continue installing the floorboards. It is wise to have the next few courses of floorboards laid out and ready to be installed.
Lay out the next course for a faster installation.
Step 21: Blind-nail by hand for the final courses.
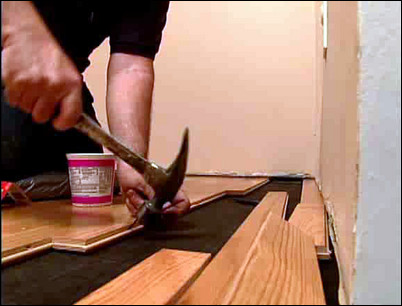
Eventually you will run out of space to use the Powernailer®. At this point, switch back to blind-nailing by hand. Be sure to drill pilot holes first, and set each nail with a nail set.
The final few courses will be blind-nailed by hand.
Step 22: Use a Powerjack™ to press the last three courses into place.
For the last three course, use a Powerjack™ to press the courses into place.
Use a Powerjack™ on the last three courses.
Step 23: Top nail the last course into place.
For the final course, drill pilot holes and top nail each board into place. Position the nails toward the back of the board so the molding will cover the nail.
Top nail the final course.
Step 24: Fill out the doorway pieces.
Use a Powernailer® to install the two last pieces in the doorway.
Use the Powernailer® on the doorway pieces.
Step 25: Install the bullnose edge.
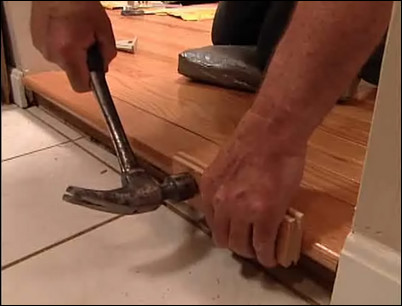
The final piece for the doorway will be an oak bullnose edge. Tap the piece into place using a mallet and a piece of scrap wood as a buffer. Drill pilot holes and drive and set each finishing nail into place.
Install the bullnose to finish the doorway.
Step 26: Fill the final space.
There is still a space between the final course of floorboards and the wall. Measure and cut a length of wood to fit into the space. Tap it into place using a hammer and a scrap of wood as a buffer. Use a pry bar to pull the piece snug with the last course of floorboard and drill pilot holes into the strip. Drive 8-penny finishing nails into each pilot hole.
Use a measured and cut strip to fit the space.
Step 27: Install the molding.
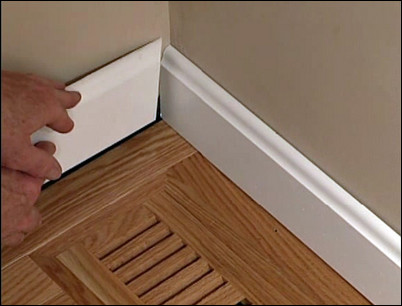
Cut and fit the molding into place. Drill pilot holes and drive each nail into place. Use a nail set to set the nails. The nails should be driven into the studs behind the wall.
Install the molding.
Step 28: Enjoy the room’s new flooring.
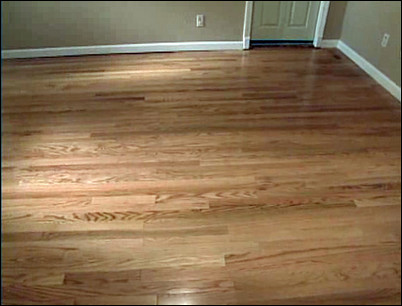
With the molding in place, the new wooden floor is installed and ready for use.
The new floor is installed and ready for use.


