
Materials:
Step 1: Clean and prime the walls.
Your wall should be clean, sanded and smooth. Even if the existing paint is in good condition, it’s a good idea to prime the room again.
Prime the walls.
Step 2: Apply the base coat.
Start by applying your base coat. The base coat should always be either a satin or a semi-gloss finish, never a flat or gloss finish. We are using latex paint for both an easy application and cleanup. Apply the base coat over the primer coat with a roller. Cover just a two- or three-foot section of the wall at a time, filling in the space between. In this example, we will be applying darker wash over this lighter base. Based on your curtains and upholstery, you can experiment to determine what combination of colors will work well for your room. As you finish an area of your wall, go back, if necessary, to even the application of the base coat with overlapping passes of the roller. When you have evenly covered the entire wall, allow the paint to thoroughly dry. After the base layer dries, you will often find areas missing paint called “holidays.” You will get better overall results if you give the walls another even coat of base paint. Allow the paint to thoroughly dry.
Apply the base coat with a roller.
Step 3: Mix and prepare the two process colors.

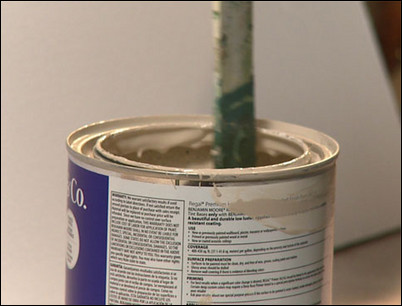
After the base coat is completely dry, it’s time to prepare the faux effect colors. This effect is made up of two glazes, each made with a different color latex paint. The first layer of glaze is made up of one part latex paint for the color mixed with four parts of latex glaze. The latex glaze is a clear carrier that you use to make the wash transparent and to allow you enough time to lay down the effect. Thoroughly blend the glaze and paint together. Although the glaze may look milky-white now, it will become transparent when it dries. Put aside the first process color and get ready to prepare the second process color. The second color is prepared just like the first. Mix the second process latex color in a ratio of one part latex paint to four parts of latex glaze. You can use the paint manufacturer’s coverage recommendations to determine how much glaze and paint you will need to cover an entire wall.
Thoroughly mix the paint and glaze together.
The first glaze is a darker brown, on the right, and the second glaze features a reddish tint, on the left.
Step 4: Apply the first glaze.
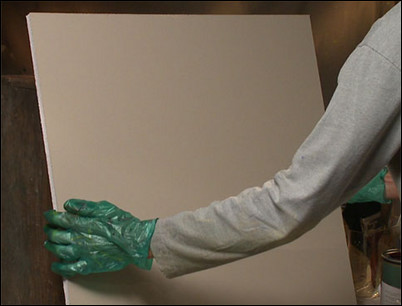
Start with a two-foot by two-foot section of wall and apply a very thin layer of your first glaze over the base coat. Roll the first glaze on the wall with a random pattern, letting the base coat show through. This random pattern of applying the first glaze is an attractive faux effect all by itself.
Apply the first glaze with a roller in a random pattern.
Step 5: Apply the second glaze.
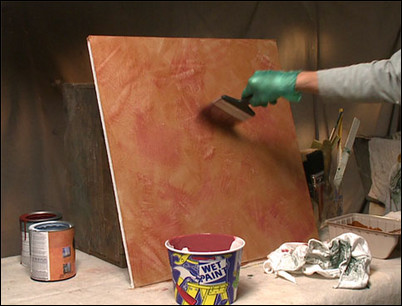
With the first glaze freshly applied, take a four-inch, latex paintbrush and dip it into the second glaze color. Wipe off the excess paint on a clean cotton rag then randomly spread the second color glaze over the wet first color glaze. Here’s where the artist in you takes over. Apply the second process color and feather it over the first process glaze in a way that pleases you, applying as much or as little second color as you wish. The trick is to keep your strokes random so the effect looks abstract. Each time you add more second color glaze to the brush, wipe off the excess with a rag to keep from over-applying the effect. From time to time, step back and look at your work. If there is an area that is too light, simply feather in more color until the effect is even.
Use a latex brush to add the second glaze.
Step 6: Use a cheesecloth to lighten the effect.
If there is too much effect or too much color, wad up a handful of cheesecloth and lightly blot the area until the effect is softened to your liking.
Lightly blot the area with a cheesecloth to soften the effect.
Step 7: Add more base coat to even the effect.
Another trick to removing color is to apply some base coat. Use a brush to feather it over the glaze.
Feather in more base coat to lighten the effect, if necessary.
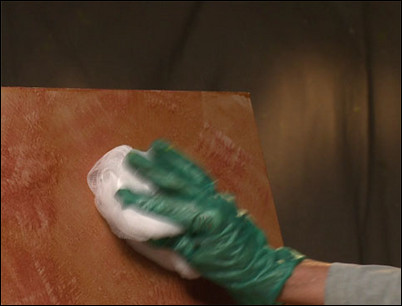
Step 8: Use a damp cotton rag for the washed effect.
To get a soft washed effect, dampen a clean cotton rag with water. Using a gentle circular motion, wipe off the gaze. Depending on how firmly you press, you can vary the effect to your liking. It’s important to note that the glaze will only stay workable for 15 to 20 minutes, so it’s critical to work quickly.
Create the washed effect with a damp rag.
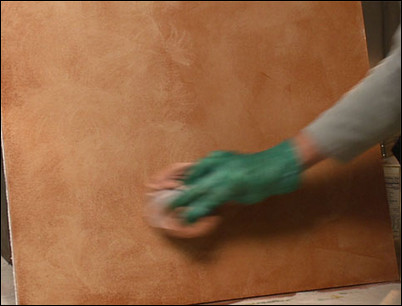
Step 9: Continue working.
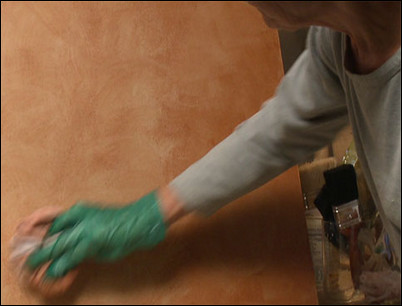
Keep rinsing and re-dampening the cotton rag as you go. If this washed effect is what you are going for, you won’t need to spend a lot of time getting the second glaze effect perfectly balanced. Just add the second glaze and start wiping down the glaze with a damp rag. Depending on how much you work the surface, this wash effect can produce an illusion of anything from a sandstone wall to a watercolor effect. It is a very expressive faux painting technique.
Wipe down the surface with the damp rag.
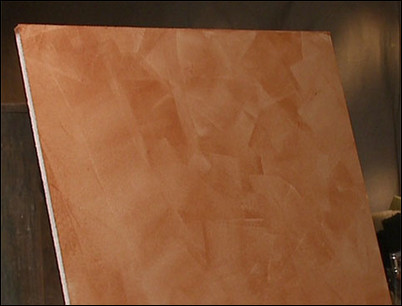
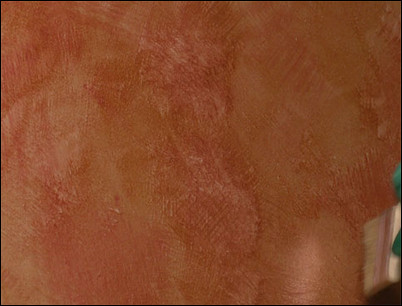
Step 10: Enjoy the look of the color wash walls.
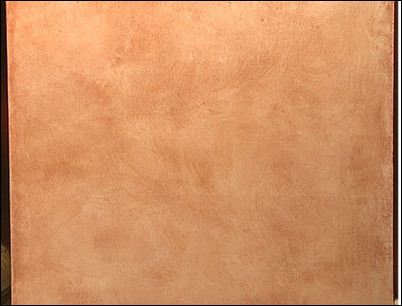
Using a base color and just two glazes, you can produce three effects: a richly angular effect using the base and one glaze (steps #1 to #4), an effect with more depth and dimension by randomly adding the second glaze (steps #1 to #5) or a soft, washed effect by wiping down the glazes with a damp cloth (steps #1 to #9). Whichever effect you choose, you can be sure the results will add rich detail and sophistication to your home.
The color wash effect gives the appearance of sandstone or watercolor.


