
Materials:
Step 1: Prime the walls.
Your wall should be clean, sanded and smooth. Even if the existing paint is in good condition, it’s a good idea to prime the room again as paint will adhere to the surface more easily.
Prime the walls.
Step 2: Apply the base coat.
Start by applying your base coat. The base coat should always be either a satin or a semi-gloss finish, never a flat or gloss finish. We are using latex paint for both easy application and cleanup. Apply the base coat over the primer coat with a roller. Cover just a two- or three-foot section of the wall at a time, filling in the space between. In this example, we will be applying a darker color over this lighter base. Based on your curtains and upholstery, you can experiment to determine what combination of colors will work well for your room. As you finish an area of your wall, go back, if necessary, to even the application of the base coat with overlapping passes of the roller. When you have evenly covered the entire wall, allow the paint to thoroughly dry. After the base layer dries, you will often find areas missing paint, which are called “holidays.” Rather than trying to touch up these area where the paint is thin, you will get better overall results if you give the walls another even coat of base paint before you start. In addition to covering the holidays, the second coat adds depth to the color.
Apply the base coat with a roller.
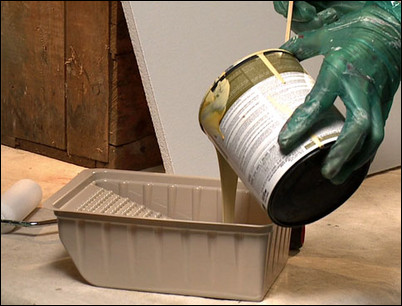
Step 3: Prepare the first process color.
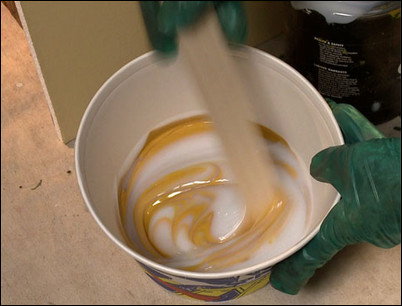
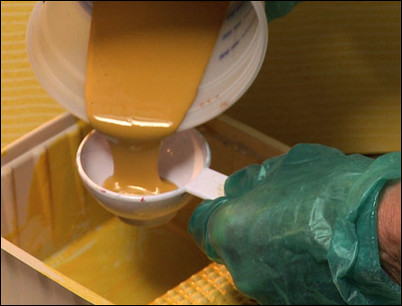
The first process layer of combing color is made up of one part latex semi-gloss or eggshell in the color you want for the combing effect and four parts of latex glaze mixed together. The latex glaze is a clear carrier that you use to make the combing color more transparent and to allow you to have enough time to lay down the combing pattern. For combing, the mixing ratio is four parts of latex glaze to one part of eggshell latex paint. The glaze looks milky white but dries clear. The glaze will provide a transparency and a depth of color that are characteristic of faux painting effects. Stir the glaze thoroughly to blend the glaze and paint together.
Stir the glaze thoroughly.
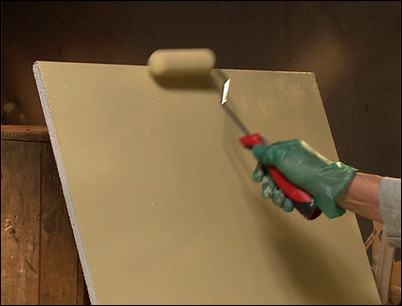
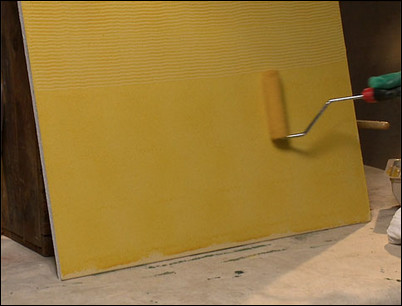
Step 4: Apply the first process color to the wall.
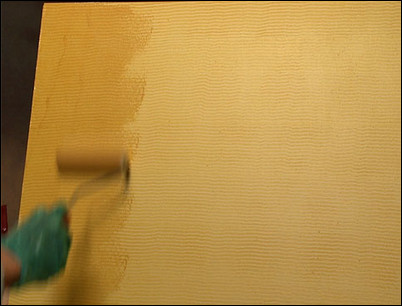
Use a roller to apply your first process glaze in a stripe about two feet high and along the entire length of the wall. It is important to cover the entire length of the wall because you can’t stop the combing effect mid-way along a wall. You have to run a stripe of paint down the entire length of the wall to apply the combing effect.
Use a roller to apply a two-foot high stripe down the width of the wall.
Step 5: Use the comb to create the effect.
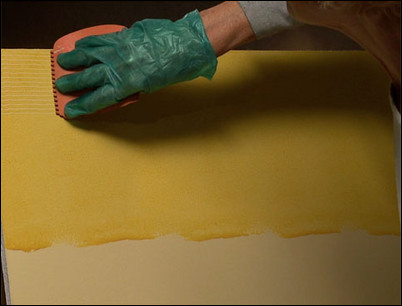
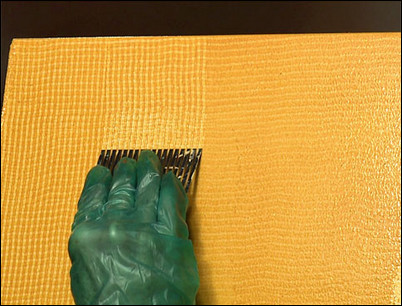
The combing effect is created with either a rubber combing tool with different sized combs on the edges to produce different effects or a single-width metal comb, which is the traditional tool. Starting at the upper corner, drag the comb over the wet glaze with a firm and steady pressure. After each pass of the comb down the full length of the wall, wipe the paint off the comb with a clean, lint-free, cotton rag.
Drag the comb down the length of the wall.
Step 6: Continue applying the glaze and using the comb.
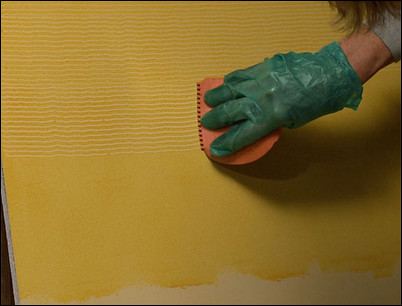
Roll a second stripe of glaze down the entire length of the wall. With the clean comb, align the teeth with the pattern created with the last pass and start your next pass down the wall. Pull the comb slowly and evenly with a steady pressure. Continue working your way down the wall, applying the combing effect to the freshly applied glaze. After each pass, wipe the excess paint off the comb so that the pattern stays crisp.
Use the comb after applying another stripe of glaze.
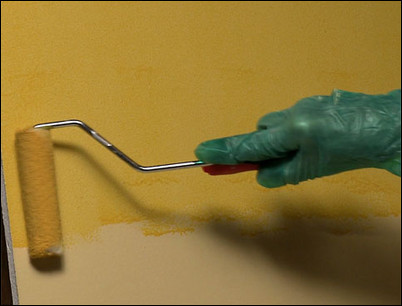
Step 7: Align the roller properly.
Here’s a tip: When applying new glaze to the width already glazed, orient the roller so that the far end, or feather end, overlaps the glaze already on the wall. The near end of the roller applies new glaze to the wall. Orienting the roller in this way creates a feathering effect, hiding where the glaze overlaps.
Overlap the previous stripes with the far end of the roller.
Step 8: Complete the single process combing effect.
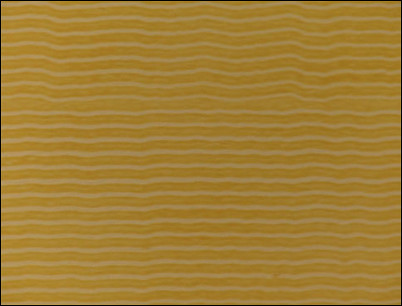
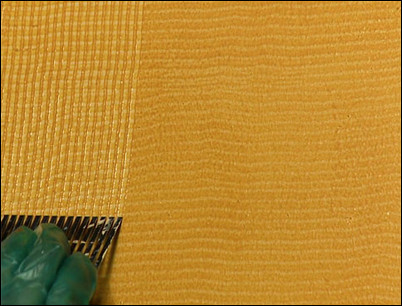
Continue to add more glaze as you work your way down the wall. Don’t add more glaze than you can comb out in a few minutes because the glaze will start to set. Using a comb tool, match up the teeth with the pattern already on the wall. Using a steady pressure, slowly pull the comb over the wet glaze. When the entire wall has been combed, allow the wall to dry overnight.
The single comb effect will look like this.
Step 9: Adding a second color , mix the second glaze.
A second process color added to the first will add dimension to the wall. We’ve selected a second, darker latex paint that complements the first color. We are going to mix this new, second color in a ratio of one part latex paint to four parts of latex glaze. When you paint a large wall, these colors would be mixed in proportionally larger quantities based on the area of the space. Mix the second process color glaze thoroughly.
Mix the second process glaze thoroughly.
Step 10: Apply the second color glaze.
Roll the second color glaze over a two-square-foot area. For this demonstration, only the left half of the board will be covered to illustrate one specific effect.
Roll the second color over the two-square-foot area.
Step 11: Use the comb to create a vertical comb effect.
Use the comb and steady pressure to apply a vertical combed effect over the horizontal lines of the first color.
Make vertical combed lines over the horizontal lines.
Step 12: Continue adding the second color glaze and using the comb.
Continue applying the vertical combed effect to the wet glaze with either a rubber or a metal comb. The result is a checked pattern formed by two colored glazes combed in opposite directions. This faux pattern is classic and works well in many homes.
This checked pattern is a classic faux painting effect.
Step 13: Combing variations: Let the artist take over.
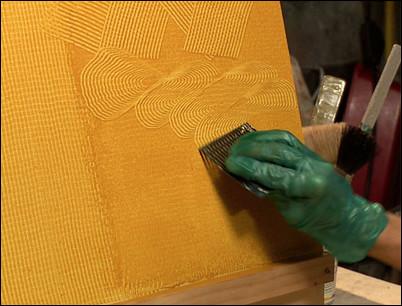
In addition to a single horizontal combed effect and the checked pattern formed by horizontal and vertical combed lines, you can have fun with the second process color by allowing your inner artist to take over, creating visually stunning and unique patterns by combing in any variety of manners.
Using the comb, you can randomly apply short, combed patterns for an abstract effect. Or, you can create more sweeping patterns if you wish. Additionally, you can alter these combed effects by simply changing the colors you chose. Just remember that whatever pattern you pick, you will need to apply it evenly to the entire wall. With one tool and one or two glazes, you can quickly create fun, combed faux patterns that will add rich handmade detail to your home. The texture and artistry will be uniquely your own, something that wallpaper will never match.
More artistic patterns are possible using the comb.


