
Materials:
Step 1: Clean and prime the walls.
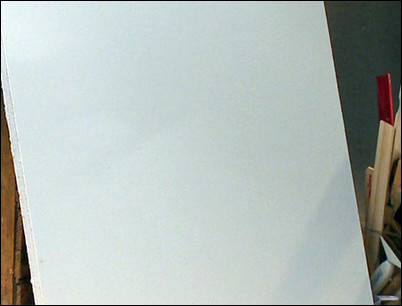
Your wall should be clean, sanded and smooth. Even if the existing paint is in good condition, it’s a good idea to prime the room again.
Prime the walls.
Step 2: Apply the base coat.
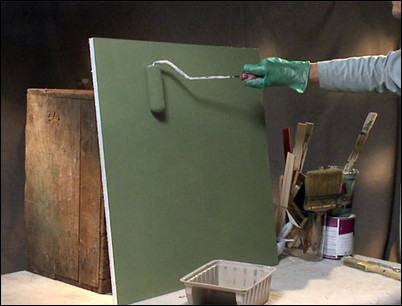
Start by applying your base coat. The base coat should always be either a satin or a semi-gloss finish, never a flat or gloss finish. We are using latex paint for both an easy application and cleanup. Apply the base coat over the primer coat with a roller. Cover just a two- or three-foot section of the wall at a time, filling in the space between. In this example, we will be applying a darker pattern over this medium green base. Based on your curtains and upholstery, you can experiment to determine what combination of colors will work well for your room. As you finish an area of your wall, go back, if necessary, to even the application of the base coat with overlapping passes of the roller. When you have evenly covered the entire wall, allow the paint to thoroughly dry. After the base layer dries, you will often find areas missing paint called “holidays.” You will get better overall results if you give the walls another even coat of base paint before you start. Allow the paint to thoroughly dry.
Apply the base coat with a roller.
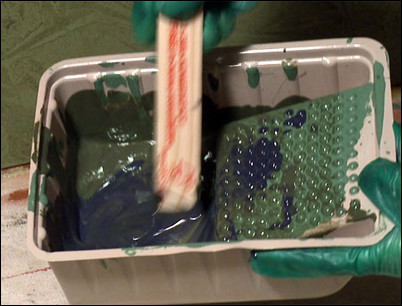
Step 3: Mix the first glaze.
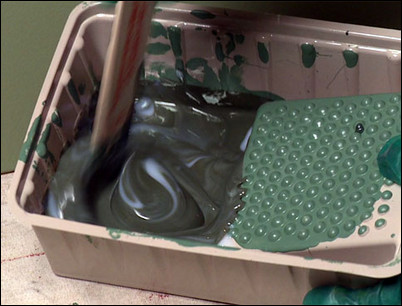
The first glaze is made up of one part of the semi-gloss latex color you have chosen mixed with four parts of a latex glaze. The glaze is a clear carrier that you use to make the color more transparent and to allow you enough time to lay down the leather pattern. This mixing ratio is four parts of latex glaze to one part of latex paint. Stir the glaze thoroughly to blend the glaze and paint together.
Stir the glaze thoroughly.
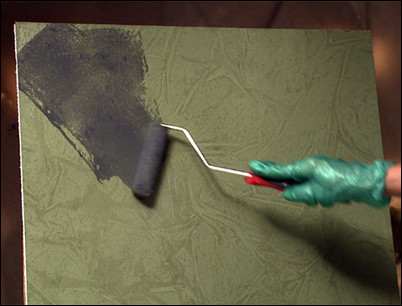
Step 4: Apply the first glaze.
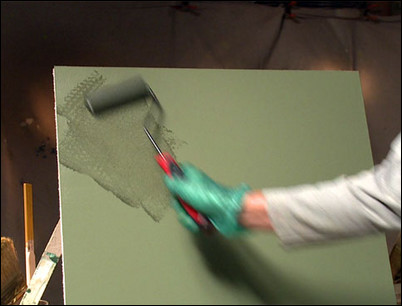
Using a medium roller, apply a generous coating of the mixed glaze to about a two-foot-square section of the wall. Roll the glaze in a random pattern.
Roll the first glaze on.
Step 5: Press plastic wrap onto the glaze.
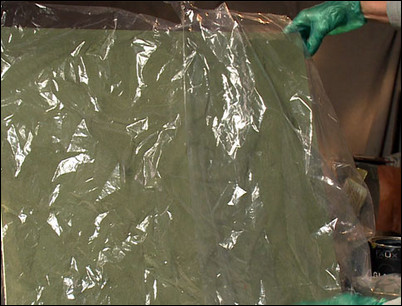
Crumple up a two-foot-square section of clear plastic wrap. Lay it out flat and very lightly press the plastic into the glaze coating. Press with the flat of your hand so that you don’t transfer finger marks to the pattern. If there is more wet glaze to cover, apply an additional section of crumpled plastic wrap until all the wet glaze is covered.
Cover the wet glaze with plastic wrap.
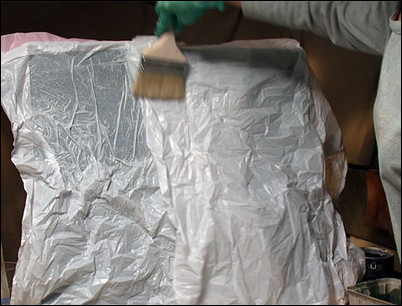
Step 6: Use a stipple brush to press the plastic into the glaze.
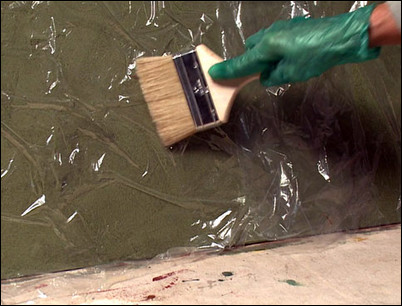
Taking a dry chip or stipple bush, lightly press the plastic wrap into the glaze. The random wrinkles produced by lightly brushing the plastic produces the faux leather pattern.
Lightly press the brush into the wrap.
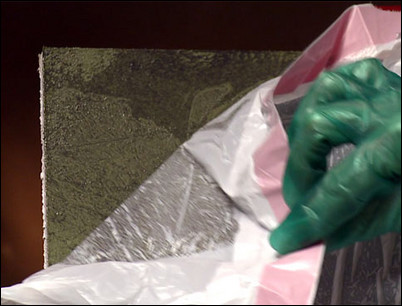
Step 7: Peel off the plastic wrap.
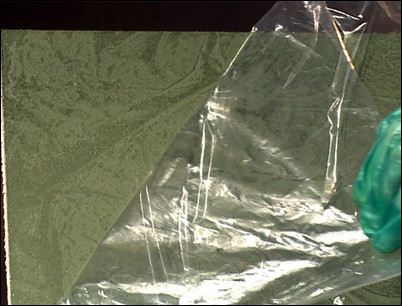
With the pattern set, slowly peel away the plastic wrap. Be careful not to touch the wall. The texture should be immediately apparent.
Remove the plastic sheeting.
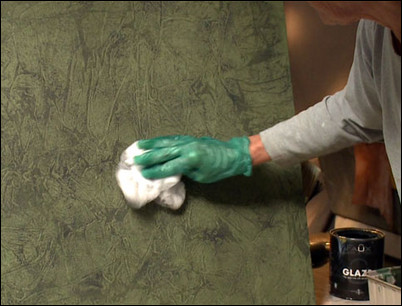
Step 8: Use damp cheesecloth to soften the look.
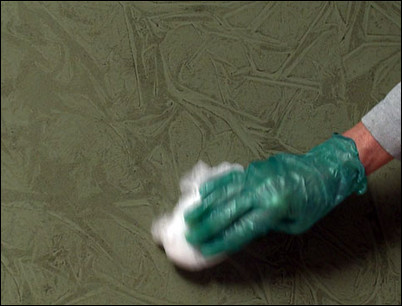
Gently wad up a piece of cheesecloth to comfortably fit in your hand. Dampen the cheesecloth with water, pressing out any excess. Lightly pat any areas where you feel the pattern is too intense. The cheesecloth will soften the look. The result is a soft, sophisticated faux leather pattern. If you wish, you can stop here. To add a second glaze color, continue on to the next steps.
Lightly pat the cheesecloth to soften the pattern.
Step 9: Mix the second glaze color.
We are mixing up another eggshell latex color by adding a slightly darker value to the first color. When you paint a large wall, these colors would be mixed in proportionally larger quantities based on the area of the space you will be treating. The second color layer will need to be more translucent than the first color layer so we are going to add about 20 percent more glaze to the second color. When planning for a faux painting project like this, it’s a good idea to try your color and pattern ideas on small practice boards first before committing to covering an entire wall.
Mix the second glaze.
Step 10: Apply the second glaze.
Use a roller to randomly apply the second process color over the first.
Apply the second glaze with a roller.
Step 11: Press the plastic in place and create the wrinkles.
Following steps #5 and #6, crumple a sheet of plastic into a small ball and then gently spread the plastic sheet over the wet second process color. Lay the crumpled plastic sheet out flat, very lightly pressing the plastic into the glaze coating so it stays in place. Again, press with the flat of your hand so that you don’t transfer finger marks to the pattern. If there is more area to cover, apply an additional section of crumpled plastic wrap. Taking a dry chip or stipple bush, lightly press the plastic wrap into the glaze. The random wrinkles created by the light brushing create a new faux leather pattern.
Use the stipple brush to create the wrinkles.
Step 12: Peel off the plastic.
With the pattern set, slowly peel away the plastic wrap. Be careful not to touch the wall. The texture should be immediately apparent.
Carefully remove the plastic.
Step 13: Use cheesecloth to soften the effect.
Use a dry cheesecloth to soften the effect by removing some of the second layer of glaze. You get much subtler results from dry cheesecloth than from a dampened cloth.
Use a dry wad of cheesecloth to lightly soften the effect.
Step 14: Enjoy the faux leather pattern effect.
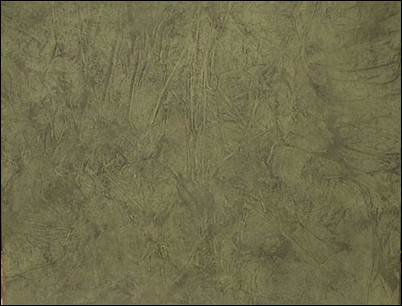
The two-process color leather effect has the same detailed results as the one glaze process but with a more pronounced pattern as a result of the second glaze. Whether you use one color glaze or two, the result is a rich, textured classic faux leather pattern to add a sophisticated look to any room.
Enjoy the new leather look.


