
Materials:
Step 1: Clean and prime the walls.
Your wall should be clean, sanded and smooth. Even if the existing paint is in good condition, it’s a good idea to prime the room again.
Prime the walls.
Step 2: Apply the base coat.

Start by applying your base coat. The base coat should always be either a satin or a semi-gloss finish, never a flat or gloss finish. We are using latex paint for both easy application and cleanup. Apply the base coat over the primer coat with a roller. Cover just a two- or three-foot section of the wall at a time, filling in the space between. In this example, we will be applying darker stripes over this lighter base. Based on your curtains and upholstery, you can experiment to determine what combination of colors will work well for your room. As you finish an area of your wall, go back, if necessary, to even the application of the base coat with overlapping passes of the roller. When you have evenly covered the entire wall, allow the paint to thoroughly dry.
Apply the base coat with a roller.
Step 3: Apply a second coat of the base coat.
After the base layer dries, you will often find areas missing paint called “holidays.” Rather than trying to touch up these area where the paint is thin, you will get better overall results if you give the walls another even coat of base paint. In addition to covering the holidays, the second coat adds depth to the color.
Apply a second layer of base coat.
Step 4: Measure and mark for the stripes.
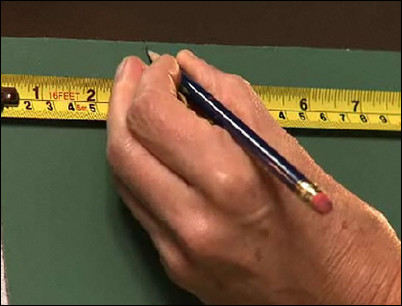
When the wall is completely dry, measure the length of the entire wall and decide how wide you want the stripes to be. One popular approach is to alternate a wide and a narrow stripe in proportion to the size of the wall. Once you have the width and number of stripes you want, make small marks for the edge of each stripe along the top of the wall. Make identical marks along the bottom of the wall.
Measure and mark the edge of each stripe.
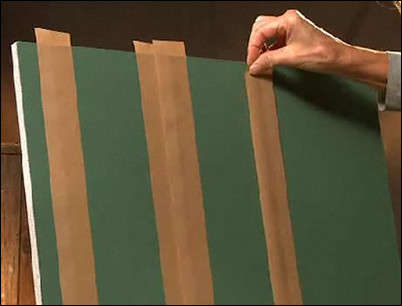
Step 5: Use tape to mask for the first stripe.
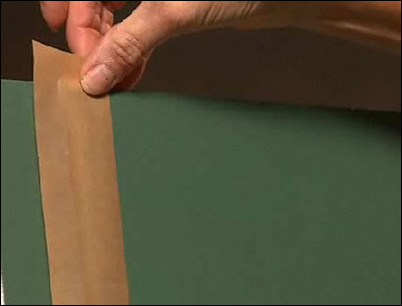
Using Kraft painter’s masking tape, which has a removable adhesive on just one half of the paper, carefully line the adhesive side of the paper with the marks on the wall and run a single length of tape down to the mark on the bottom of the wall. Press the adhesive for a tight seal. It’s much easier if you have someone help you with this part of the project.
Press the adhesive tape to create a tight seal.
Step 6: Mask the outside edge of the first stripe.
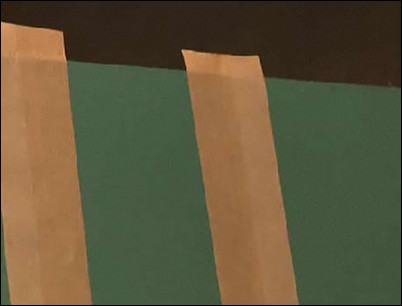
Next, align the masking paper tape with the lines marking the outside of the first stripe and run it down to the bottom mark.
Use another length of tape to completely mask the first stripe.
Step 7: Mask for the remaining stripes.
Following steps #5 and #6, continue using the adhesive tape for the remaining stripes.
Continue to mark for the stripes.
Step 8: Mix the latex faux glaze.
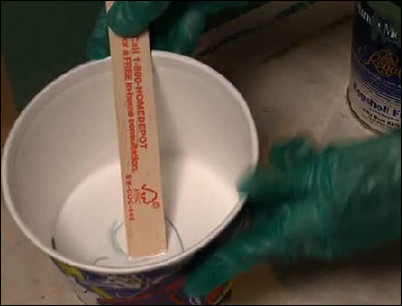
The next layer, or “process,” involves mixing a latex faux glaze. Faux glaze is a translucent medium that is mixed with paint or tints to create a translucent effect. Because the glaze dries slower than paint, it provides sufficient time to create a finish with a variety of faux painting techniques. We will mix this latex glaze with an eggshell finish latex paint, which will provide color for this process. Using the manufacturer’s paint coverage charts, determine the amount of paint you will need to cover the walls. Mix the latex paint in a ratio of one part latex paint to four parts of glaze. Measure and pour the glaze into the mixing bucket. Thoroughly stir the glaze and paint together.
Stir the paint and glaze together.
Step 9: Press the tape one more time.
Before you start to paint the first stripe, stop and carefully press the edges of the masking tape to set a tightly sealed edge.
Press the tape edges to create a tight seal.
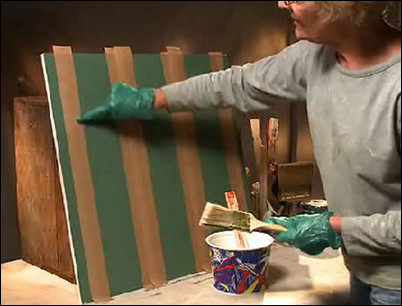
Step 10: Paint the stripe.
Using a quality 4-inch latex paint brush, apply the single-process color to the wall within the masked area for the stripe.
Paint the stripe.
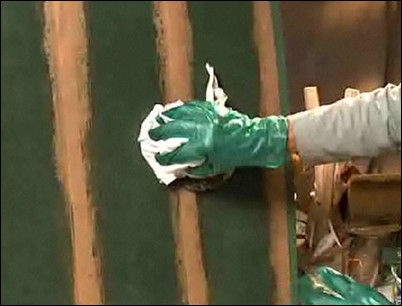
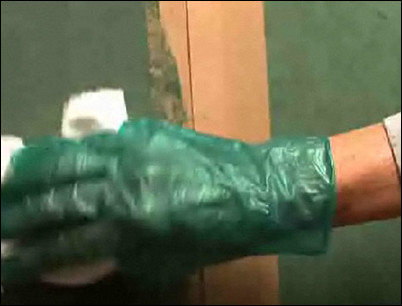
Step 11: Use a rag to create the pattern.
For the next step, you need to be wearing painter’s gloves. Shake out and crunch up a clean, white cotton rag into a loose ball. Gently pat the cotton rag on the wet process glaze, which removes glaze to set the pattern. As you pick up paint, turn the rag so you continue to work with a fresh area of cloth.
Gently pat the rag onto the wet glaze.
Step 12: Repeat steps #10 and #11.
After you apply the pattern to the first stripe or two, put aside the cotton rag and paint the process color on the next masked areas. Apply the process color with smooth, even strokes. Wad up a new, clean, cotton rag into a loose ball. Lightly pressing the rag to the wall, apply a pattern to the next stripe by removing some of the process paint.
Use a new cotton rag for the next couple stripes.
Step 13: Use a chip brush to bring the pattern to the edge of the stripe.
The trick to getting the pattern to extend to the edge of the stripe is to take a dry chip brush and lightly tap it along the edge of the stripe where it meets the masking tape.
Tap the brush to the edge of the stripe.
Step 14: Adjust the pattern as needed.
After applying the pattern to a couple of stripes, step back and look at the results. If the pattern is too sharp, you can use a clean cotton rag to soften the effect.
Use the cotton rag to make adjustments.
Step 15: Remove the masking tape.
As soon as you are satisfied with the pattern on the first couple of stripes, remove the paper masking tape by slowly and carefully pulling it out and away from the stripe. Remove just one piece of tape at a time, but don’t delay. The longer the tape stays on the wall, the greater the chance that the paint will creep up under the masking tape.
Remove the tape.
Step 16: Remove paint bleed.
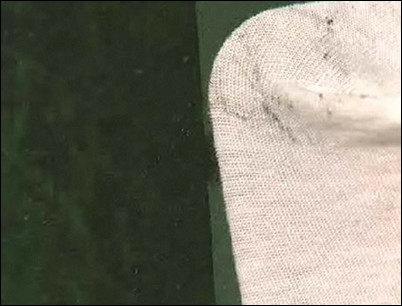
If the process paint does bleed under the tape, simply wrap a clean cotton cloth over a paint scraper, holding the ends of the rag to keep the cloth from touching the wall. Then, using the edge of the cotton-wrapped scraper, carefully wipe the paint away.
Use a rag-covered paint scraper to remove paint bleed.
Step 17: Touch up the base paint.
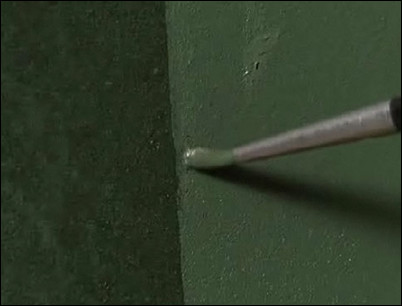
Use a modeler’s brush to touch up the stripes.
Use a modeler’s brush.
Step 18: Enjoy the new striped look of the walls.
The finished wall is an attractive two-color faux stripe with classic results.
Enjoy the new look of the walls.
Step 19: Texture-on-texture stripes: Begin with a first-process glaze.
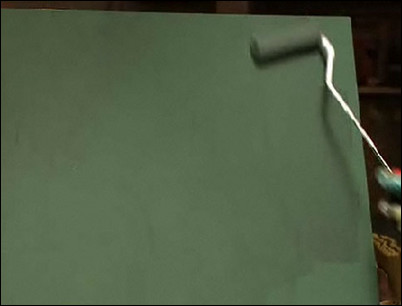
There are many variations to this striped faux painting technique. For a texture-on-texture striped effect, mix an eggshell latex paint with a slightly darker tone than the base coat. We will use a ratio of one part of this latex paint to four parts of a latex glaze. Thoroughly stir the latex paint and glaze together until they are completely blended. Roll the first process color glaze over the base coat, covering about a two-square-foot area at a time with a random pattern. Leave a little extra glaze at the edge of the area you are working, which is called leaving a wet edge, and it will make it easier for you to blend the edge of the section you are working on with the next area you work on.
Roll the first process glaze onto the base coat.
Step 20: Use a rag to create the first-process texture.
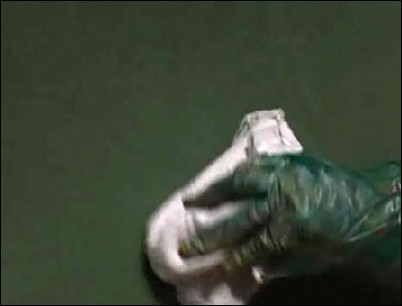
With the glaze in place, wad up a clean, lint-free cotton rag loosely in your hand. Starting at the top, lightly pat the surface of the glaze, laying down a pattern by lifting the glaze off the wall, which is called a subtractive faux painting process. As your rag fills with excess glaze, re-arrange the cloth to expose new, clean areas. As you complete each working area, lay down glaze in the adjoining area, again leaving the edge wet to make it easier to join each segment together, and then pat the area to create the pattern. The result of this ragging technique is a rich, textured hand-finished faux pattern for the base. Allow the glaze to completely dry.
Use a rag to apply the pattern for the first-process pattern.
Step 21: Mask for the stripes.
Follow steps #4 to #7 to measure, mark and mask for the stripes. Be sure to press down the edges of the masking tape to assure a tight seal.
Press down on the tape for a tight seal.
Step 22: Mix the glaze.
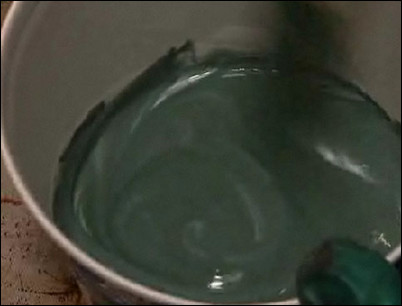
Next, mix a darker tone of green paint for the complementary stripe. As before, we will mix one part of paint to four parts of latex glaze. Mix until thoroughly blended. Again, press down the masking tape before applying the paint for each stripe.
Mix the glaze thoroughly.
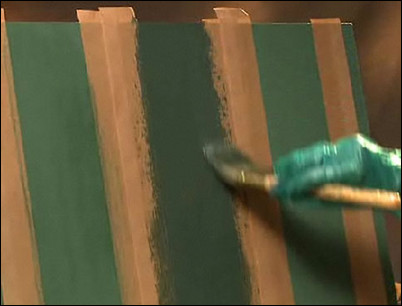
Step 23: Paint on the second glaze.
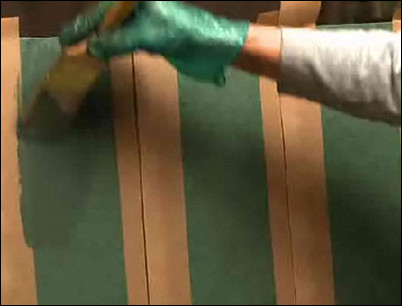
Apply the second glaze with a latex brush, lightly brushing the glaze on with straight, even vertical strokes.
Apply the second glaze.
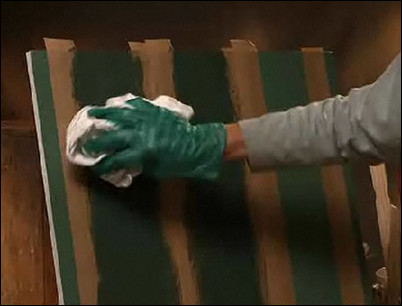
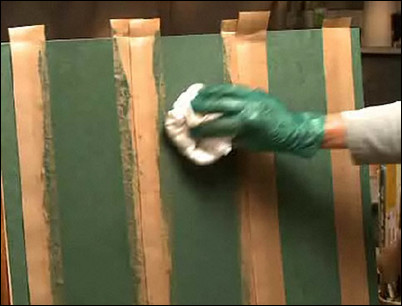
Step 24: Use a cotton rag to create the pattern on the stripes.
Balling up a fresh, clean, lint-free cotton rag, pat the surface of the wet glaze, laying down a pattern by lifting the glaze off the wall.
Pat the rag onto the freshly painted stripe glaze.
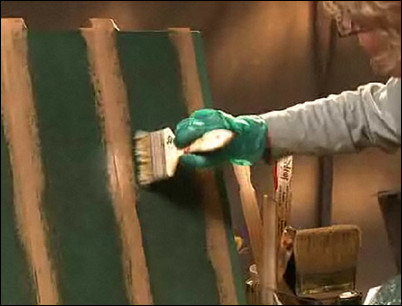
Step 25: Bring the glaze right to the edge of the tape.
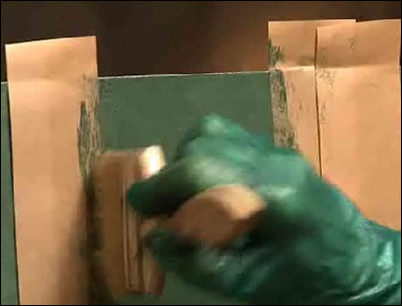
To assure that the strips are crisp edge to edge, use a two-inch stipple brush and gently tap the edges of the stripes to align the pattern to the edge.
Use a stipple brush to bring the color to the edge.
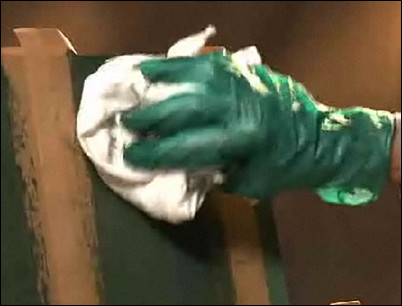
Step 26: Continue applying glaze for the stripes.
Continue down the wall, adding the second color glaze and setting the ragging pattern with a white cotton rag. Turn the rag as it loads with paint to keep the pattern crisp. Follow by tapping down the edges of stripes to set the pattern to the edges. Repeat the pattern on each newly glazed stripe.
Continue setting down the pattern for each stripe.
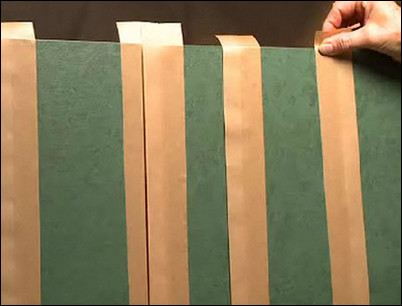
Step 27: Remove the masking tape.
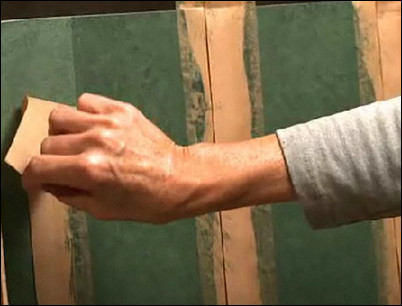
As soon as the stripes are completed, slowly lift the masking tape up and away from the freshly painted stripe. If any paint seeps under the masking tape, follow step #16 to wrap a clean, cotton rag tightly around a paint scraper and carefully wipe the spot of glaze away.
Remove the tape.
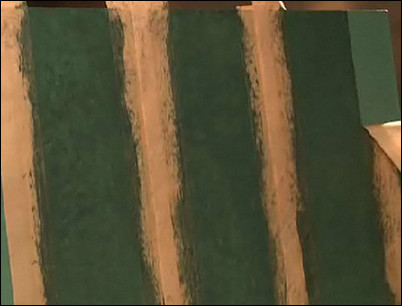
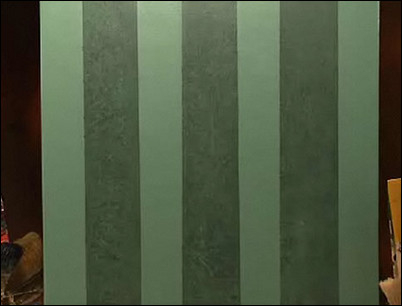
Step 28: Enjoy the new striped look to the wall.
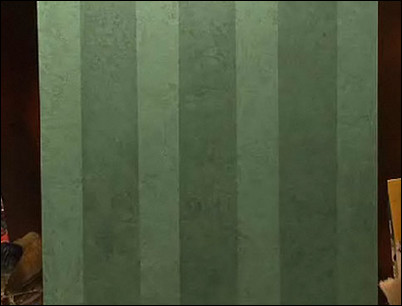
This texture-on-texture striped effect adds a bit more sophistication to the classic faux painting effect. You can alter the color combinations to create endless possibilities, but the result is the same: a classic faux painting pattern rich in texture and sophistication.
Enjoy the texture-on-texture striped look.


