
Materials:
Step 1: Prepare the work area.
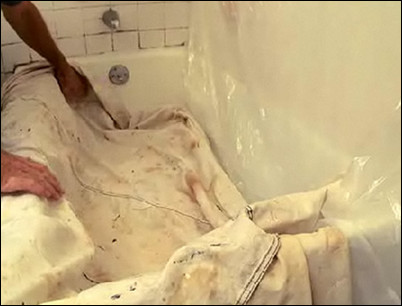
Tape plastic ground cloths to the tiles that are still in good shape, which will protect the tiles and surrounding walls. Cover the tub and floor with canvas drop cloths. Plastic drop cloths can slide over the tub surface and can create a slipping hazard.
Use canvas drop cloths instead of plastic.
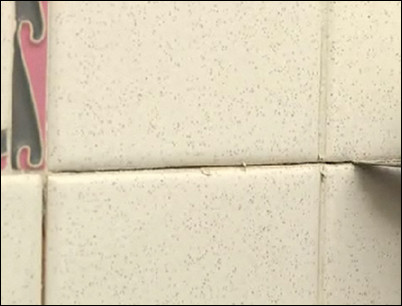
Step 2: Scrape away grout between the damaged tiles.
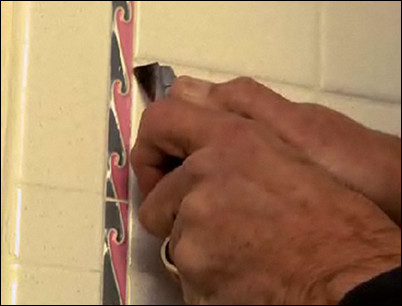
Start at the outside of the damaged area and, using a utility knife, scrape way as much of the grout between the damaged tiles as you can. This scraping will make it easier to remove the tiles and help prevent damaging adjacent tiles in the process. Hold the utility knife firmly with both hands to guide the blade. The grout at the edges of the damaged area will be harder to remove than the wet grout.
Use a utility knife to scrape away the grout.
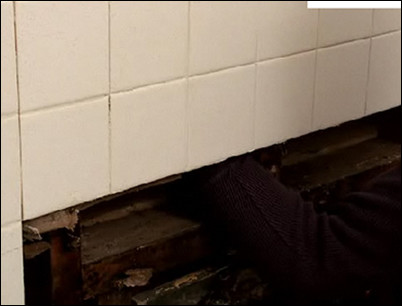
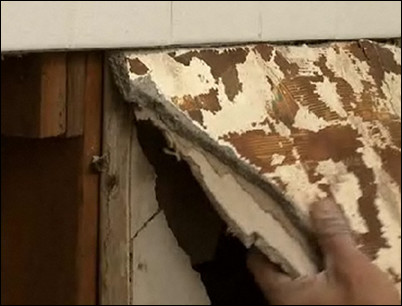
Step 3: Look for signs of water damage.
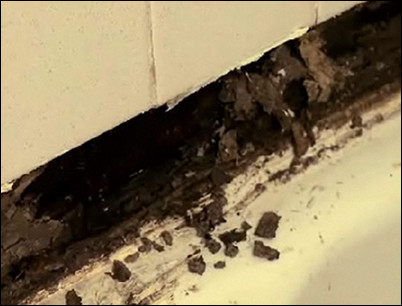
In areas closest to the most visible damage, the tiles may literally fall off in your hands. In this project, we found water-soaked black backing that crumbled as the tiles fell off. So, before we replace the tiles, we first have to repair the backing behind the tiles. It is also important to discover how the water was getting behind the wall and prevent any future leaks.
This water-damaged black backing will need to be replaced.
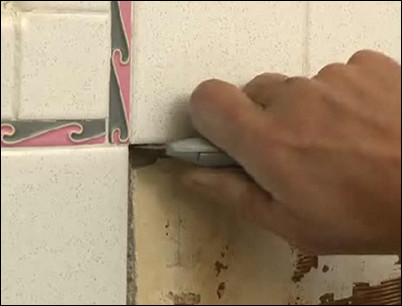
Step 4: Remove faucet fixtures.
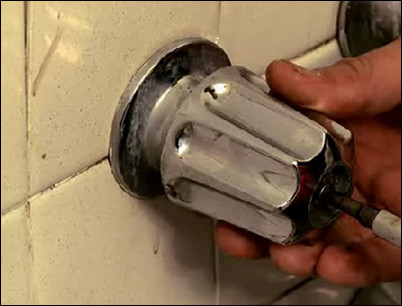
To remove the tiles near the faucets, you will need to remove the faucet handles first. Using a screwdriver, pry the plastic or metal cap from the end of the handle and then remove the screw holding the handle to the stem.
Remove the screw holding the handle to the stem.
Step 5: Remove the handle and unscrew the stem.
The stem will often have a decorative sleeve. Unscrew the sleeve by turning it counterclockwise.
Turn the sleeve counterclockwise to remove.
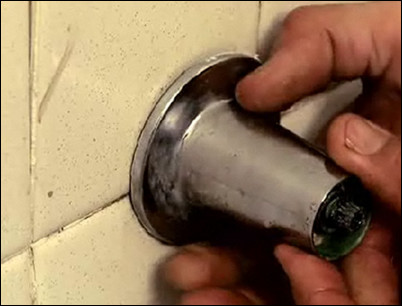
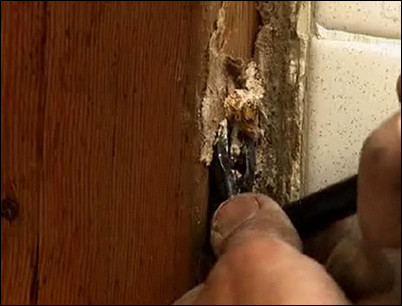
Step 6: Remove the spout.
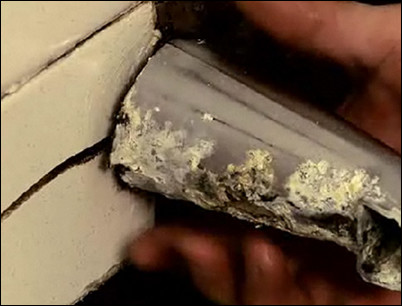
In the same manner, remove the spout by turning it counterclockwise. Normally, the spout would unscrew from the half-inch copper pipe. In this case, the threaded copper pipe came out with the spout, and the tiles started falling off by themselves. The water appears to have gotten behind the wall somewhere in this area.
Turn the spout counterclockwise.
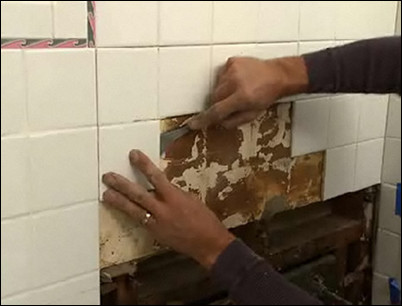
Step 7: Use a small pry bar to remove damaged tiles.
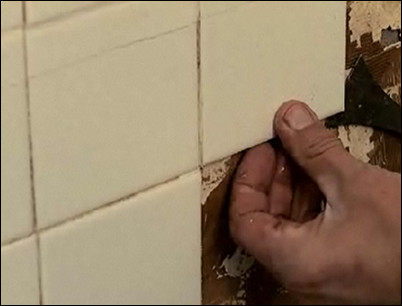
To assess the damage, the first step is to carefully remove the tiles, which will help determine how the water got in behind the tiles. In older houses, you might find some surprises. In this case, the tiles were glued with mastic to a plaster wallboard. When water soaked into the wallboard, the wallboard acted like a sponge, absorbing the water and destroying the wall. Today, there are better backing materials than wallboard and greenboard for shower and tub surrounds. As you move away from the wettest spots, use a small pry bar with a thin blade to pop the tiles off the wall. Our goal here is to repair the wall, not replace it, so we are only removing the tiles that are over the wet and damaged section of the wall.
Pop the tiles off the wall with a small pry bar.
Step 8: Remove all the damaged wallboard and underlayment.
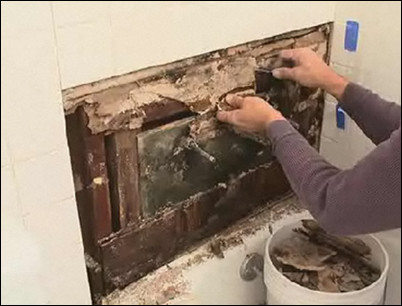
Use a utility knife and pry bar to carefully remove all of the damaged underlayment. The goal is to cut back the wall behind the tile until you reach the surrounding dry, solid, undamaged walls and tiles.
Use a pry bar to remove damaged underlayment.
Step 9: Reach up to gauge the extent of water damage.
Reach up behind the wall and feel for dampness or wetness. If it is even slightly damp, the tiles and wall should be cut out until you reach wall that is completely dry.
Feel for dampness underneath.
Step 10: Continue to remove grout with a utility knife.
Using a utility knife, carefully cut the grout between the tiles. Be careful when cutting away the old grout to avoid damaging the surrounding decorative tile trim when you pry up the old tiles. This is equally important in the corners where you don’t want to damage the tiles on the back wall. If you are careless in this step, you may end up having to do a lot more repair than needed.
Cut away the old grout carefully.
Step 11: Use the pry bar to remove tiles.
Once the grout is cut back, use a small, thin-bladed pry bar to gently pop the tiles from the wall.
Carefully pry up the old tiles.
Step 12: Remove the damaged wallboard.
With the tiles removed, use the utility knife to cut through the wallboard along the surrounding perimeter. Make a series of light, straight cuts, slowly cutting all the way through. In this case, the wall beneath the tiles is a wallboard covered with scratch coat. You may find wallboard, greenboard or cement board underneath. If the area to be removed is large, cut the backing into smaller sections for easier removal.
Cut through the wallboard with a utility knife.
Step 13: Pull the wallboard off.
Grabbing the wallboard firmly, pull the backing away from the studs. Work very gently and slowly so that you do as little damage as possible to the surrounding area.
Pull the wallboard away gently.
Step 14: Remove any screws or studs.
Clean up the opened area by prying up any screws from the studs with a pry bar and cutting away any remaining scraps of backing.
Remove studs or screws with a pry bar.
Step 15: Prepare the area for the next phase.
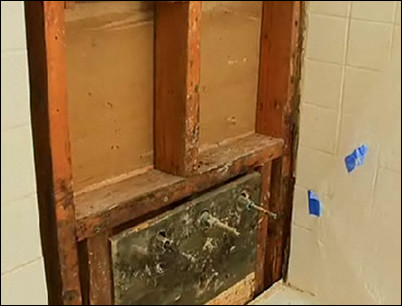
Brush and vacuum the opening and clean up the surrounding area. Be sure the corners are clean. In this project, a rectangular area has been cut back until completely dry backing was reached and there was no further evidence of water or tile damage in the surrounding area. The worst part of the job is over. Now it’s time to rebuild the wall.
Clean up the area completely.


