
Materials:
Step 1: Inspect Areas to be Insulated
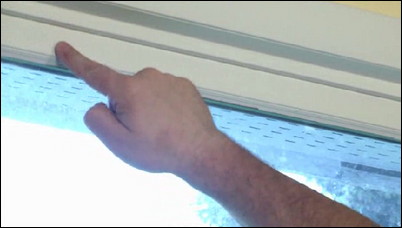
Inspect the areas likely to be missing an air seal. Two common places will be the tops and bottoms of windows.
The tops and bottoms of windows are likely areas.
Step 2: Prepare the Caulking Gun
Load the caulking gun with caulk. You’ll need to cut off the plastic tip of the tube of caulk.
Clip off the tip of the caulk tube.
Step 3: Clean the Surface
Clean the surfaces that are about to be caulked.
Clean the seams to be caulked.
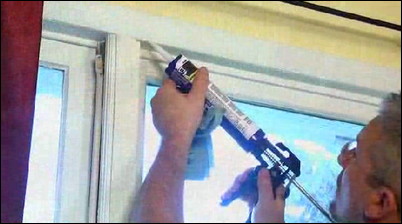
Step 4: Apply Caulk to the Joints

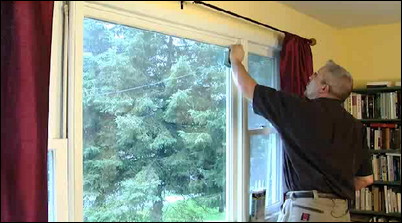
Apply the caulk to the joints along the window trim.
Run a bead of caulk down the joints.
Step 5: Take Extra Care When Caulking to Multi-Colored Painted Surfaces

In areas where the caulk is being applied to surfaces with two different paint colors, first apply the caulk to the area.
An extra step will be needed here.
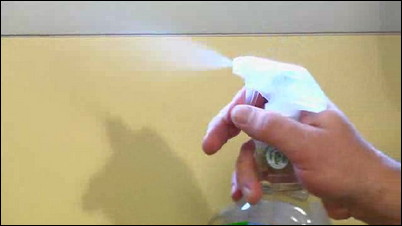
Step 6: Spray the Area
Spray a Windex-style solution over the freshly caulked area.
This spray will help keep the caulk from marring the painted surface.
Step 7: Press the Caulk into the Joint
Use a Formica chip or a similarly flat tool and press down along the line of caulk to work it into the seam. Wipe away the excess.
A chip of formica works nicely here.
Step 8: Perform a Finishing Stroke
Run your finger down the area in a “finishing stroke.”
This last step will ensure a clean surface.
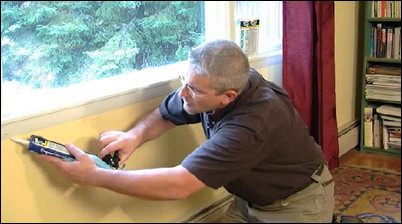
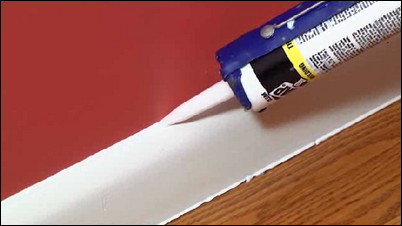
Step 9: Caulk the Baseboards
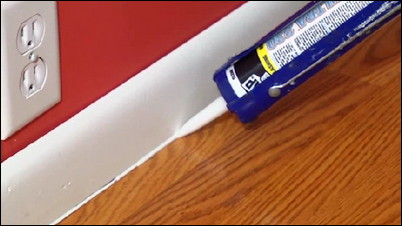
Follow the same techniques to apply caulk to the baseboard, another area where air infiltration and heat loss can occur.
Baseboards are common areas of heat loss.
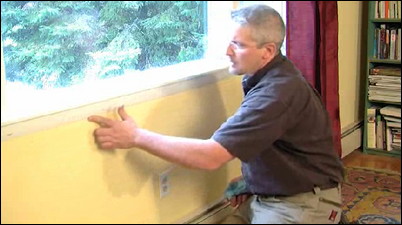
Step 10: Caulk both the Tops and Bottoms of the Baseboard

Caulk both the top of the baseboard and the bottom.
Both seams need to be addressed.
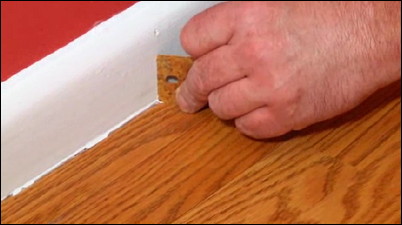
Step 11: Push the Caulk into the Joint
Once again, use the Formica chip to push the caulking into the joint and remove excess.
Follow the same step as with the windows.
Step 12: Clean Up the Area
Wipe up the excess with a clean rag.
One final step to finish the job.


