Beef Up Insulation
Even new homes can benefit from added insulation. The questions are where, what kind and how much. Basements and attics are great places to start, as the insulation in these spaces can either be lacking, missing altogether or in need of replacing. Addressing your home’s insulation needs and shortcomings does not require a license or special training. Expanding foam insulating kits make it easy for even the casual DIYer to start tackling under-insulated areas of the home. See how to use expanding foam to insulate a basement. Another option in this space is to use rigid foam insulation, which can go into the joist cavities. Watch this instructional video to learn how to do it on your own.
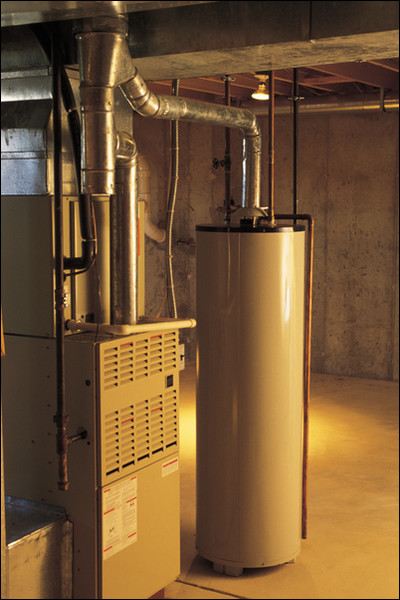
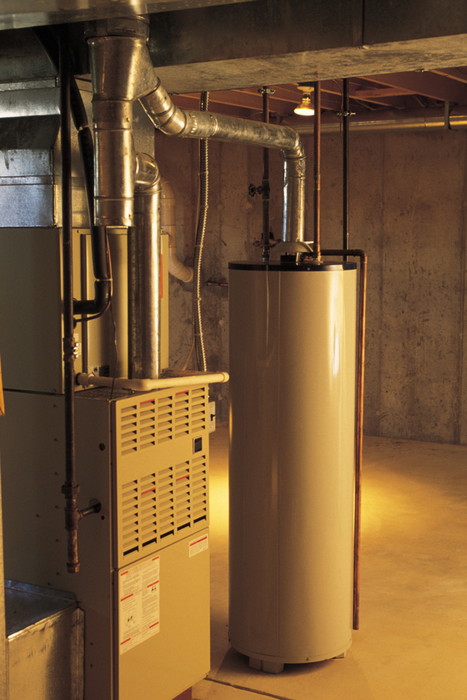
You’ll also want to insulate the water heater and pipes. Keeping the water heater insulated helps retain heat and keeps the water to temperature. Insulated pipes ensure that heat isn’t lost as the water travels along the cold, basement floor. This video will walk you through insulating the water heater and pipes as well as the attic space, which is another potential heat loss culprit.
For a more general look at adding insulation to an existing home, head over to the Department of Energy’s Insulation Page.
Prevent Pipes From Freezing

An ounce of prevention here can save on gallons of water lost when the pipes freeze and crack — which they do, every winter, in homes all across the country. It’s a shame, really, considering how easy it is to prevent. And prevention in this case saves hundreds, if not thousands, of dollars in repair and water damage remediation. Not to mention the potential mold infestation it could also be preventing.
This helpful How To video will guide you through the process of adding electric heating tape and insulation tape to those basement and garage pipes, which are the most prone to freezing. You’ll also want to have a heat gun and aluminum foil handy for defrosting purposes, just in case the pipes do freeze.
Assemble Winter Gear
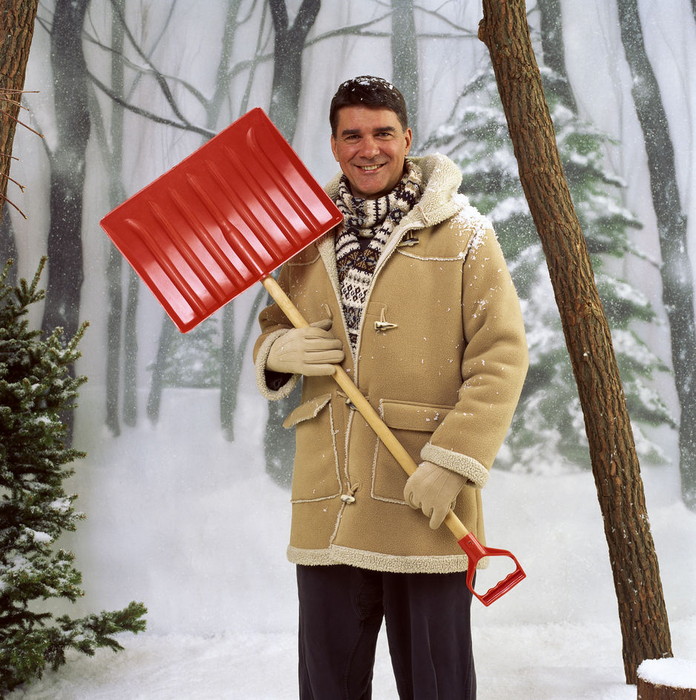
So you think you’re ready for winter? We’ll see about that.
Gear Checklist:
_Snow Shovel
_Ice chopper (sharpened)
_Snow Blower (tuned)
_Ice Melt Product
_Sand
_Heating Fuel Source (wood, pellets, oil, propane, etc.)
_Winter Clothes (sweaters, jacket, snow pants, hats, gloves)
Inspect and Repair Roof and Gutters

While the roof is still clear of snow, now is the time to do an inspection and, where necessary, repairs. (Note: Repairs on roofs with steep pitches are best left to professionals. Always use precaution when using a ladder and ascending to high locations on and around the home.) If possible, conduct the inspection from the ground, using a pair of binoculars. You should be able to spot faulty or damaged shingles from the ground. In the same manner, inspect the flashing around chimneys and vents.
Part of tending to the roof before winter involves preparing for, and — where possible — preventing ice dams. Ice damns occur when melting snow from the roof meets unmelted snow and ice on the roof’s edge and forces water up under the shingles, which then infiltrates the home’s attic spaces, causing wood rot and mold.
Ultimately, ice dam prevention is all about making sure heat is not lost through the attic and roof, which causes the initial snow/ice melt. So insulating the attic is a great place to start. Be sure you don’t block attic ventilation.
Now’s a good time to inspect and repair gutters, too. Improperly fastened gutters and downspouts can break off under the weight of snow. You’ll want to give the gutters one last cleaning of debris and leaves, too. Watch this video on Inspecting and Repairing Gutters.
For a more thorough walk thru of roof inspection, check out this Guide to Roof Inspection and Repair.
Clean and Maintain HVAC Systems
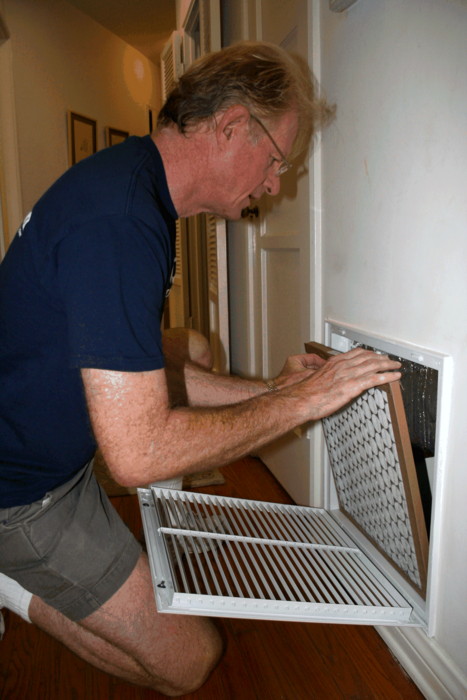
The home’s heating systems will only work efficiently when properly maintained. And efficient heating systems mean less energy waste and lower bills. More importantly, a well-maintained heating system can help reduce or eliminate the potential for fires or other hazards. For those with a Forced Air system, it’s a good idea to replace the filter at least once a year. Those ducts can use some attention, too. Read up on the ENERGY STAR’s guide to sealing the duct system.
Fireplaces and wood stoves come with their own set of maintenance guidelines. With the variety of fuel sources now available in both types of heating systems, it’s always wise to check the manufacturer’s product manual and follow the specific maintenance steps within. Take a look at this Guide to Fireplace Safety and be sure that all family members are aware of the warnings and best practices. Be sure to have the fireplace and wood stove inspected and cleaned by a specialist before using it this season.
Replace Windows
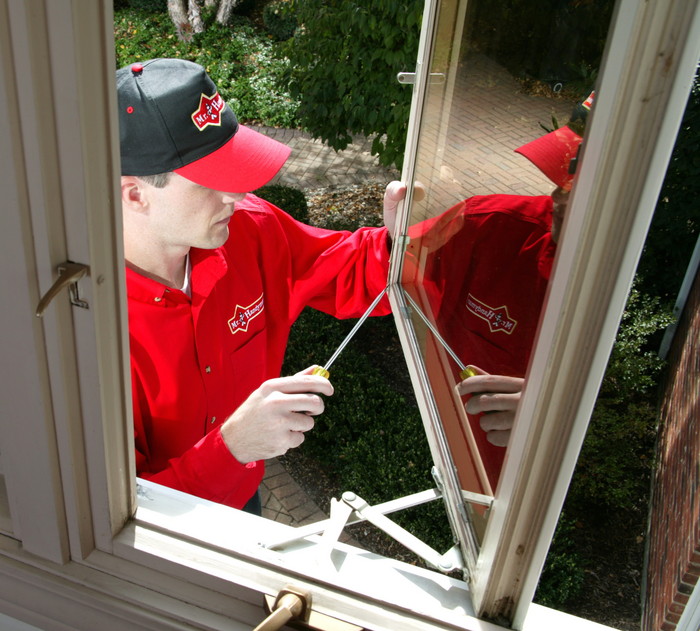
Window replacement is not cheap. But the costs of heating a home with outdated, inadequate or single-pane windows will, over time, far exceed the costs of installing more energy efficient windows.
When choosing replacement windows, look for the ENERGY STAR label. These products are at the top of the heap with respects to energy efficiency. If an ENERGY STAR window is out of your price range, look for a window with low U-Factor and low Air Leakage ratings. Be sure to check for local rebates and deals before making a purchase.
Weatherstripping and Caulking Windows and Doors
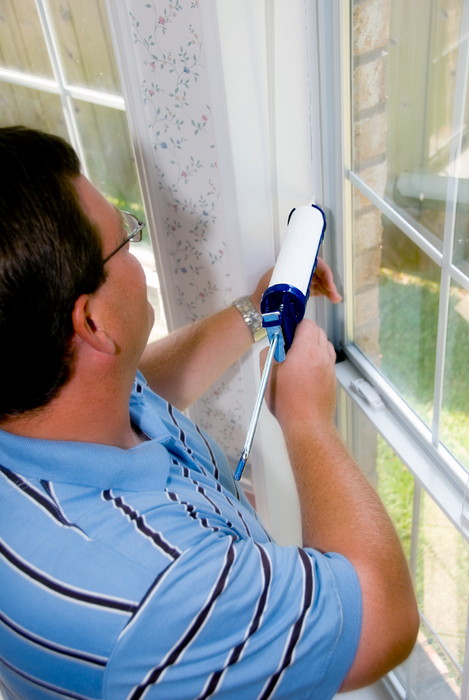
Weatherstripping is such a small facet of the home’s envelope it’s easy to see how it can be overlooked. But do so at the risk of a high heating bill this winter. A better idea would be to take an hour and inspect all the weatherstripping around windows and doors and make a list of those which need replacing. It’s another perfect DIY job for after work or a weekend, and the cost for materials is nothing compared to heat saved over the course of the winter months. Watch this video on How to Add Weatherstripping to attack the job like a pro.
Seal Up Cracks
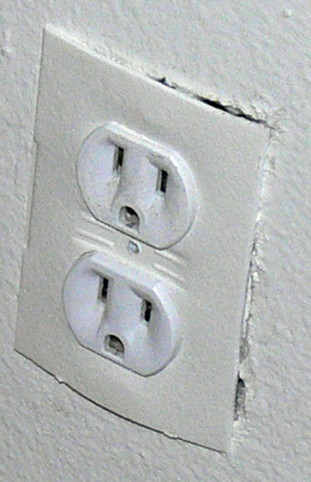
Adding insulation is just the first step. When your home was built, there were all sorts of nooks, crevices and cavities that were left uninsulated. Over time, other cracks can develop, inviting cold air in and allowing warm air to escape. It’s imperative that these cracks and cavities get sealed up and filled before the cold air hits, or those will be dollar signs you see flitting off into the great outdoors.
Fortunately, sealing up the home is another one of those straight-forward DIY jobs. Sure, it will take you an afternoon or even a day, but there are few tools and materials required and it’s a one person job. Take your time, be methodical, and with each step remind yourself of all the money you’ll be saving over the course of the season.
Here are a few How To Videos that will guide you through the process:


