
Materials:
Step 1: Unpack the Boxes
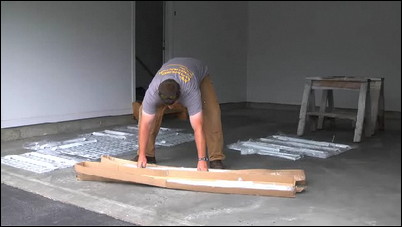
Unpack all of your boxes and lay the parts out on a clean, flat surface. Match all parts to the parts list section of the manual.
Unpack your boxes and make sure you have all the parts.
Step 2: Installing Above the Garage Door
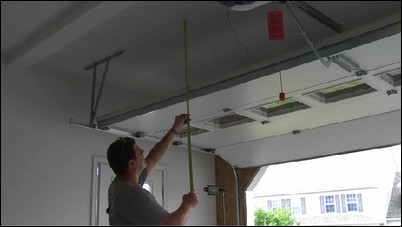
If you are installing above the garage door, open the garage door and measure the distance between the ceiling and the highest point of the garage door to make sure that there’s at least 21 inches of height for the unit to clear the door.
Measure the space between the garage door and ceiling.
Step 3: Finding the Ceiling Joints
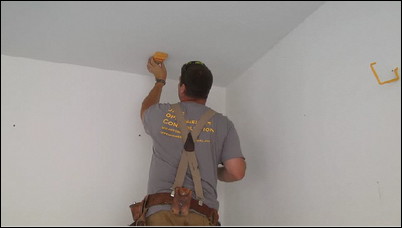
After you’ve determined positioning, identify the orientation and location of the ceiling joints, trusses, or rafters.
Identify the location of the ceiling joints, trusses, or rafters.
Step 4: Assemble the Corner Posts
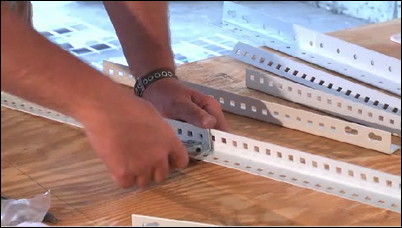
Once you’ve completed the preparatory steps, assemble the corner posts with two carriage posts and two flange lock nuts per corner set. The top post goes on the outside of the bottom post. Press the flat end of the carriage bolt with your thumb and tighten the lock nut. Do not over-tighten.
Use flange lock nuts and carriage posts to assemble the corner posts.
Step 5: Attaching the Corner Posts to the Ceiling
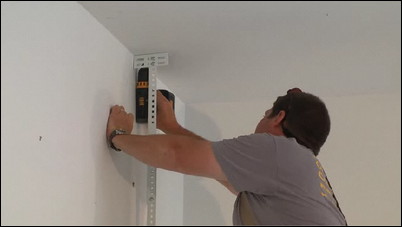
After you’ve assembled the corner posts, you can attach them to your garage ceiling. Attach a corner post to one of the four 5″ brackets using two carriage posts. Locate the center of your first ceiling support structure, then hold the five-inch ceiling bracket to the support structure. Mark the center of the two outer holes with a pencil. Using the pencil marks, drill pilot holes using a 3/16″ drill bit. Align the 5″ bracket to the holes and ceiling using a 3″ lag bolt with a washer. Make sure the bolts are tight, but do not overtighten.
Attach the corner posts to the ceiling using a 3″ lag bolt with a washer.
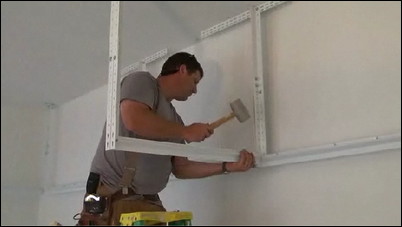
Step 6: Insert a Beam
Insert a beam into the bottom of the corner post, and use a rubber mallet to seat the beam’s rivets into the bottom post’s keyholes.
Use a rubber mallet to seat the beam into the bottom post
Step 7: Attach the Next Corner Post
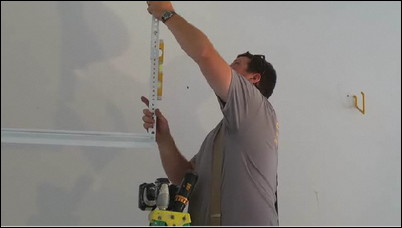
Go to the other end of the beam and attach another assembled corner post to the beam. Raise the post and beam toward the ceiling in order to locate where to secure the second ceiling bracket. A magnetic level can help you determine whether the corner post is perpendicular to the ceiling. Repeat the previous steps for the remaining corner posts. Make sure all four corner posts are identical in height, and all beams are properly inserted and secured in each keyhole of all bottom posts.
Use a magnetic level to determine whether the post is perpendicular to the ceiling.
Step 8: Install Shared Corner Posts

Because this rack system is in a continuous loft-style design, you must install shared corner posts in the middle of the system. In order to distribute the weight evenly and safely, use the 29″ extension brackets. This way, the weight from each post will be spread across two separate joists.
Use the 29″ extension brackets so that the weight will be evenly distributed.
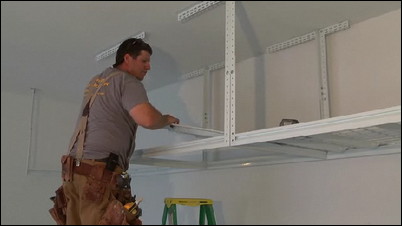
Step 9: Build Your Framework
As your posts are secured to the ceiling, continue to insert the horizontal beams to build out your outer framework.
Insert the horizontal beams to build the framework.
Step 10: Place the Wire Decks
After all posts and beams are installed and properly secured, place the wire decks on top of the beams, making sure the decks rest on top of the beams and over the welded clips on the beams.
Make sure the wire decks rest on top of the beams.
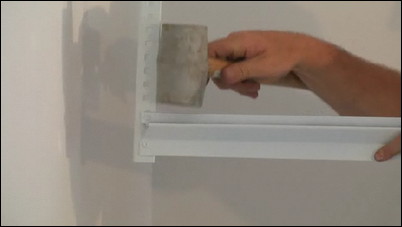
Step 11: Install Centerposts

The larger units are designed to have front and rear centerposts that prevent the system from bowing downward with heavy loads. Connect the two 2″ ceiling brackets to the ceiling joist with two 3″ lag bolts and two washers. Attach the supplied square clamp to the inside of the beam and align the clamp with the hole of the bottom center post. Make sure the lip of the clamp is upward. After your center posts are installed, you can tighten all screws and nuts.
Attach the supplied square clamp to the inside of the beam.
Step 12: Place the Storage Bins on the Decks
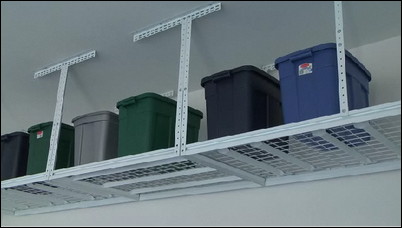
Remember to evenly distribute the load when placing items on the wire decks.
Evenly distribute your storage bins.


