The dovetail is both a decorative mark of fine woodworking and a strong and long-lasting joint. In a through dovetail, both of the pieces go entirely through one another, leaving the joint visible on the outside.
Once the pins have been laid out, you’ll be cutting them, first by making cut lines and then removing the tail material (the material between the pins) at the band saw, jig saw or router. Be careful not to burn through your cut line and into the pins.
Watch this Video!
STEP ONE:
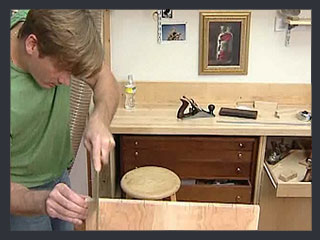
Use a hand saw to begin your cuts
Use a pairing block to act as a guide as you make initial cut line for the pins, following the angled marks. Be cautious not to cut beyond the marking gauge line. Make steady, long cuts into the wood.
STEP TWO:
Continue the cuts
Continue down the length of the board edge, making the cuts. Flip the pairing block around and do the opposing angled cut lines for each pin.
STEP THREE:
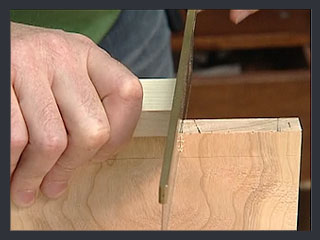
Make guide marks for tail removal

Use a pencil to make square marks just to the outside of each of your pin cut lines. This is where you’ll be making your initial cut with the band saw to remove the tail material.
STEP FOUR:
Remove the tail material
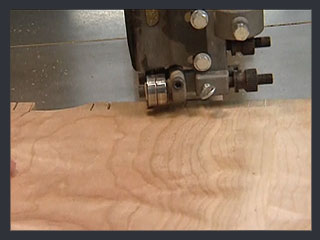
Use a band saw, jig saw or router to remove the tail material. Start by following the guide marks you made in the previous step. You don’t want to saw all the way to the pin cut lines. Also, be careful not to remove tail material beyond the marking gauge line.
STEP FIVE:
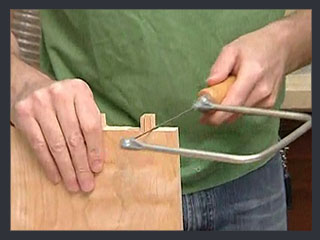
Use a coping saw to finish cutting the pins

The pins should now be square and ready for their final cut. Use a coping saw to remove the rest of the tail material, cutting all the way to the pin cut line you made in steps #1 and #2. Be careful not to burn past the cut line and into the pin.
With the pins cut out, it’s time to pair the pins.