
The dovetail is both a decorative mark of fine woodworking and a strong and long-lasting joint. In a through dovetail, both of the pieces go entirely through one another, leaving the joint visible on the outside. Making through dove tails begins with proper pin layout. In this How To, we’re using a couple of tools needed for cutting dovetails, including a marking gauge and a pairing block. You can also use a bevel gauge if you don’t have a pairing block. Watch this Video!
STEP ONE:
Set Your Marking Gauge
Set your marking gauge so that the knife is just barely touching the outside edge of the wood.
STEP TWO:
Score a Line

Using your marking gauge, score a line across the outside face of the board. Flip the board and repeat on the inside face, at the same end.
STEP THREE:
Clip the Edges

Use the marking gauge to finish your line across the edges.
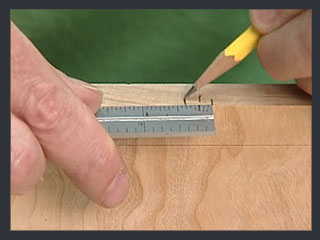
STEP FOUR:
Begin Marking the Pins
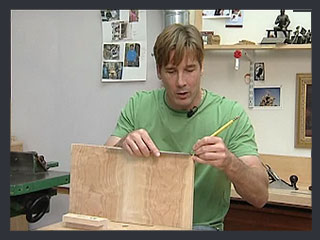
With the board secured in a vice, use a ruler and pencil to start marking your pins. In this instance, the first mark is made 1/2 inch from the outside edge on both ends of the board.
STEP FIVE:
Mark the Center Line for the Two Outside Pins
Mark a center line for each of the two outside pins. (Note: In this case, the center line for the two outside pins is 1/4 inch from the edge.)
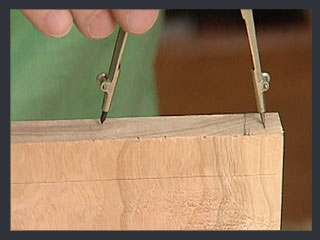
STEP SIX:
Use a Divider to Mark the Remaining Center Lines
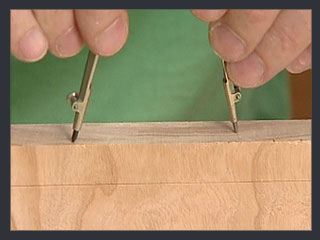
Make marks along the board for the center line of each pin, using the previous pin’s center line. The distance between each center line is entirely up to you.
STEP SEVEN:
Measure and Mark the Outside Edges of Each Pin
Using each center line, a rule and a pencil, mark the outside edge of each pin. In this case, the outside edges are each 3/16 of an inch from the center line.
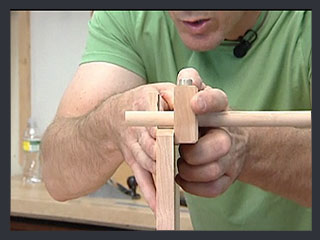
STEP EIGHT:
Strike the Pin Lines
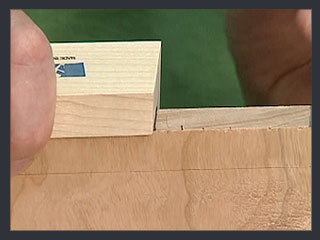
Using a pairing block (or bevel gauge set to a 1:6) begin striking the angled lines of the pins. If you have a pairing block you can also continue the plumb line down the inside face of the board. If you do not have a pairing block, use a square for the plumb line.
STEP NINE:
Continue Striking the Lines
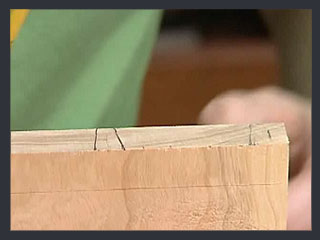
Use the pairing block to lay out the rest of each pin.
With the pins laid out, it’s time to cut them.