
Materials:
Step 1: Prepare the room.
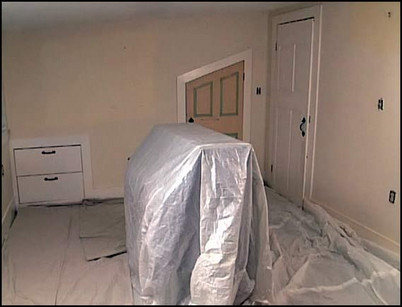
To prepare a room for a ceiling paint job, first empty the room of furniture and other items. Big pieces that are difficult to move should be brought closer to the middle of the room and covered in drop cloth. Be sure to cover the floors with drop cloth as well.
Cover the floors and furniture with drop cloths.
Step 2: Clean the ceiling.
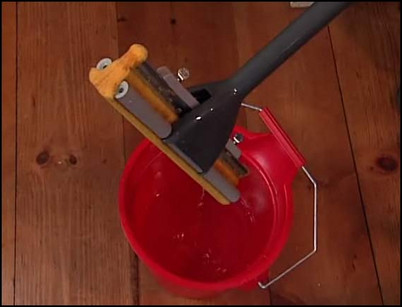
Soot, dirt, and mildew can interfere with the new paint, so it is important to clean the ceiling first. Use an industrial cleaner like Tri-Sodium Phosphate (TSP) and a similar substitute, mixing the cleaner with water according to instructions. Dip a new sponge-mop into the cleaning solution, wring, and scrub the ceiling as you would a floor. Work in four-square-foot sections. Once clean, thoroughly rinse all ceiling surfaces with water and allow to dry completely.
Use a new sponge-mop and cleaning solution.
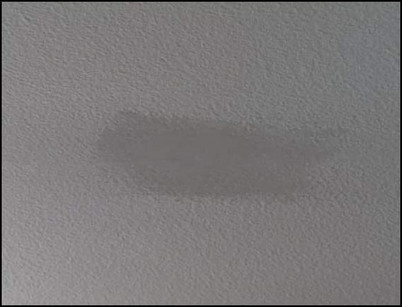
Step 3: Repair any damaged ceiling spots.
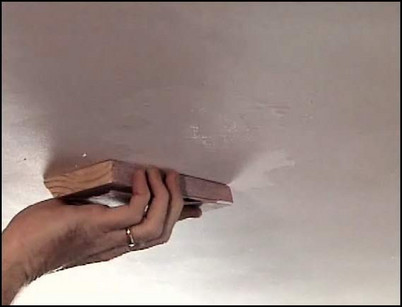
Damage caused by leaks should be repaired before painting. Be sure to first address the cause of the leak or the newly painted ceiling will degrade as well. In the damaged area, use a sharp paint scraper to scrape away loose paint. Now sand the damaged area with medium grain sandpaper. If you don’t have a sanding block, a block of wood or some other flat surface will do.
Sand the damaged area with medium grain sandpaper.
Step 4: Spackle the sanded area.
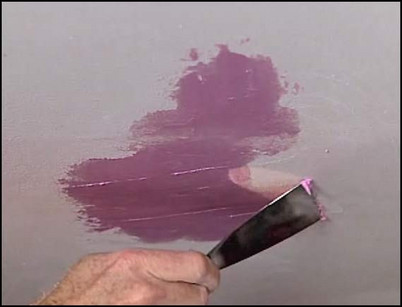
Open a can of spackle and stir to soften the spackle. Load the spackle onto a hawk and apply to the damaged area with a 5-inch plaster knife. When the spackle is dry, lightly sand the the surface with a fine sandpaper, working in a circular motion. Use a sanding block or a similar flat surface. Apply a second coat and repeat, if necessary.
Apply spackle with a 5-inch plaster knife.
Step 5: Prime the repaired area and any bare spots.
Paint the repaired areas with a well-stirred, white alkaloid primer. Any additional bare or un-painted areas like new molding should also be primed. Allow the primer to dry.
Paint the repaired areas with a primer.
Step 6: Paint the ceiling edges.
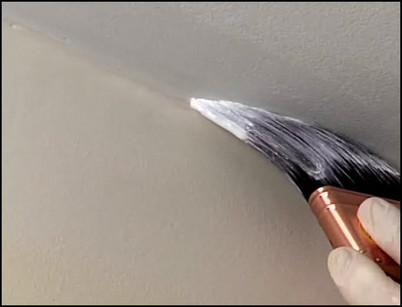
Use a high-quality flat latex paint, stirred thoroughly. With a synthetic bristle sash brush, cut an area four inches around the perimeter of the ceiling. The angled bristles of the sash brush will allow you to paint right to the edge of the wall without needing masking tape.
Cut the edges of the ceiling with a sash brush.
Step 7: Paint the rest of the ceiling.
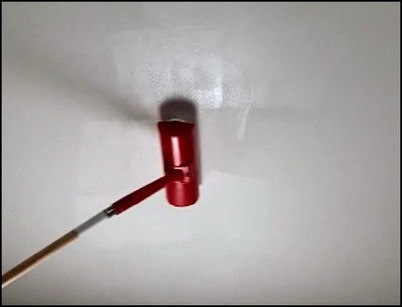
Use a 3/8″ or 1/2″ roller to paint the rest of the ceiling. Consider using a special ceiling roller, which has a hood that protects against splatter and drippage. Start painting in the corner farthest from the door, using an extension handle if the ceiling is very high. Make a “W” about three feet in size with the roller and fill in the area. Work slowly to avoid time-consuming clean-up. If necessary, apply a second coat when the first one dries for an even finish. Enjoy your newly-painted ceiling.
Finish painting the ceiling with a ceiling roller.


