
Materials:
Step 1: Prime the walls.
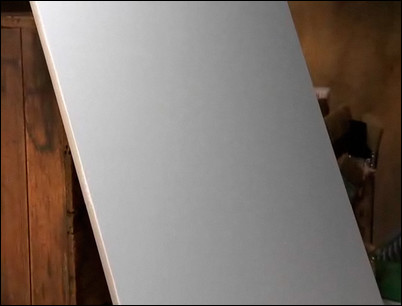
To add a faux finish to a wall, begin by painting two coats of primer over the wall. The wall should be clean, sanded and smooth. Even if the existing paint is in good condition, it is wise to prime the room again.
Begin with a clean, sanded, smooth and primed wall.
Step 2: Apply the base coat.
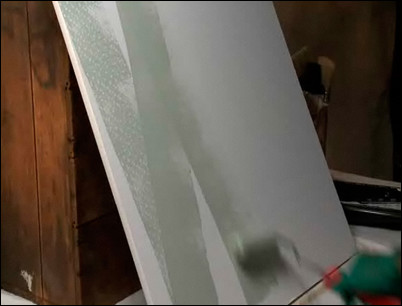
The base coat should always be either a satin or a semi-gloss finish. We are using latex paint here for both easy application and cleanup. Apply the base coat over the primer coat with a roller. Apply the base coat over a two- or three-foot section of the wall, filling in the space between. After the base layer dries, you will often find areas missing paint. You will get better overall results if you give the walls another even coat of base paint before you start.
Apply the base coat over three-foot sections and fill in the spaces between.
Step 3: Measure, mix and stir the glaze color.
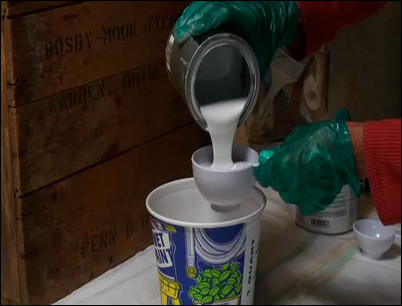
The glaze to be applied with a rag is made up of a latex semi-gloss, gloss or eggshell color. This is mixed with a latex glaze. The glaze is a clear carrier that you use to make the color more transparent and to allow you enough time to lay down the pattern. The mixing ratio is five parts of latex glaze to one part of eggshell latex paint. The glaze looks milky white, but it dries clear. Measure and pour the glaze into the mixing bucket first and then the paint. Stir the glaze thoroughly to blend the glaze and paint together.
Mis together five parts latex glaze to one part latex paint.
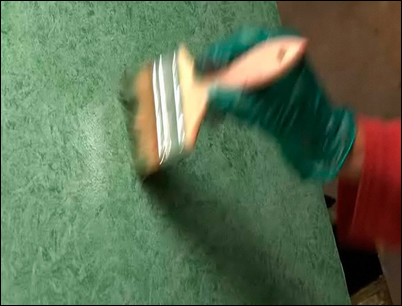
Step 4: Apply the single process color with a latex brush.
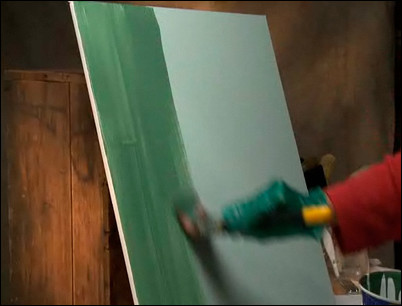
Using a quality, 4-inch latex paintbrush, apply the single process color to the wall in an even, straight, vertical pattern. As you finish applying the glaze to your working area, leave a little extra glaze at the edge of the area you are working on. This is called leaving a wet edge, and it will make it easier for you to blend the edge of the section you are working on with the next area.
Use a latex brush to apply the color.
Step 5: Use a cloth rag to lift off the glaze.
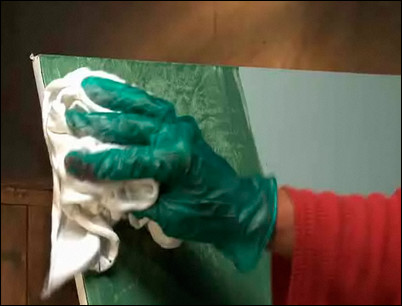
With the glaze in place, wad a clean, lint-free cotton rag loosely in your hand. Starting at the top, lightly pat the surface of the glaze, laying down a pattern by lifting the glaze off the wall. This is called a subtractive process.
Lightly pat the glaze with the rag, lifting the glaze off.
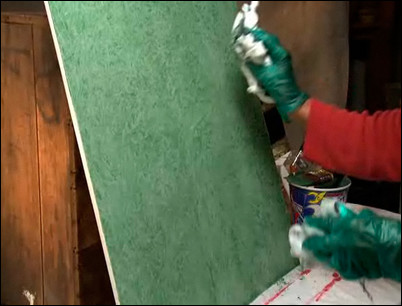
Step 6: Continue applying the glaze and lifting it off with the cloth.
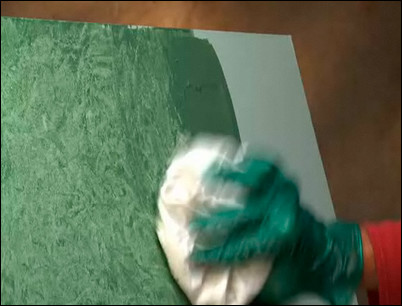
As you complete each working area, lay down glaze in the adjoining area, again leaving the edge wet to make it easier to join each segment together. Start working the lap-line first, blending the wet edge into the new working area. As your rag fills with excess glaze, re-arrange the cloth to expose new, clean areas of cloth. Continue to turn your rag and dab an even pattern over the glazed area. When the rag becomes saturated, replace it with a new one.
Continue dabbing the cloth in an even pattern over the newly painted glaze.
Step 7: Use a cheesecloth to soften the pattern.
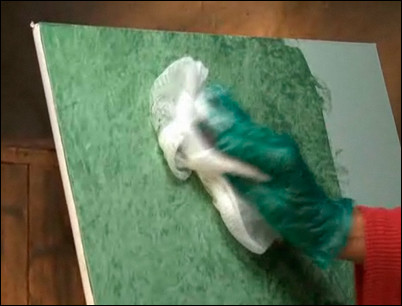
You can soften the pattern using a wad of cheesecloth. Wad up the cheesecloth as you did with the cotton rag and lightly pat the surface. You can lighten any dark spots by patting them, which creates a softer, even surface.
Pat the surface with the cheesecloth.
Step 8: Fix the lap lines with an additive process.
Sometimes the edges between work areas, called laps lines, look too light and you can see where the areas join. To fix, use an additive process by applying some glaze directly to the rag and patting the light area along the lap line.
Apply some glaze to the rag and pat it onto the light areas.
Step 9: Use a stipple brush to fix areas.
Another approach to deal with random areas that need fixing is to load a stipple or chip brush with tinted glaze. Tap the ends of the bristles on the areas to be repaired. You can re-apply the pattern with a cotton cloth and soften the results with cheesecloth.
Apply glaze with a stipple brush, then rag with a cloth.
Step 10: Allow the walls to dry.

Once the paint dries, the result of ragging is a rich, textured, hand-finished faux pattern that adds sophistication to your living space.
Enjoy the new sophisticated look that ragging brings to your room.


