
Materials:
Step 1: Check windows and doors for air movement and drafts
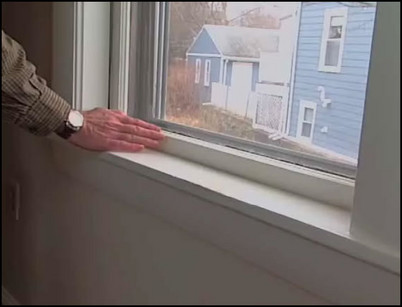
Windows and doors often have gaps that allow cold or warm air to penetrate the home. It is simple to locate these drafty spots and stop up the air leaks with weatherstripping. On a windy day, run your hand in front of door and window edges to see where air transfer may be happening. You can also look for gaps where the window meets the sill or the door meets the threshold.
Use your hand to feel for air movement around doors and windows.
Step 2: Measure the space for weatherstripping
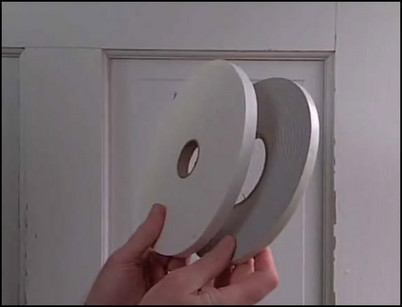
Weatherstrip adhesives are easy to cut and install. First, measure the length and width of the door jamb or windowsill you plan to cover. Weatherstripping comes in a variety of widths and lengths to suit any space. Cut the lengths to fit.
Weatherstripping comes in a variety of widths and lengths.
Step 3: Apply the weatherstripping
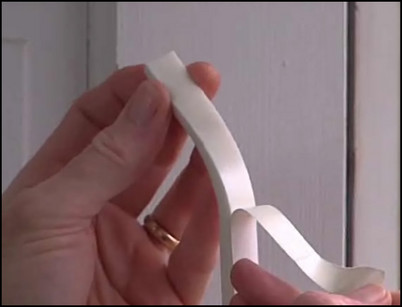
Prepare the jamb or sill by cleaning it thoroughly. In order for weatherstripping to stick, the surface must be clean and dry. It is also best to apply the weatherstripping on a day when the temperature is above 50 degrees. Cut the weatherstripping to the proper length and peel the paper backing away. Apply weatherstrip directly to the surface. Note that the paper does not cover the adhesive side of the weatherstripping; it covers the face of the tape and prevents the adhesive side from sticking to it while it is rolled up.
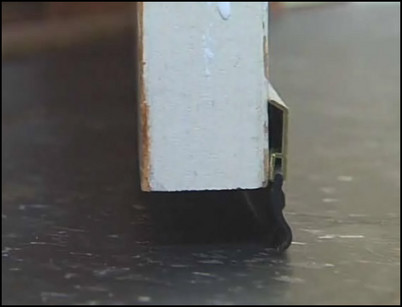
Peel-and-stick weatherstripping is easy to cut and apply.
Step 4: Cover all gaps completely to stop drafts
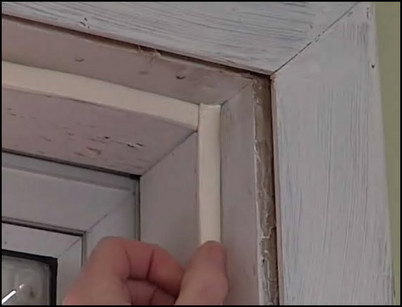
Apply the weatherstripping all the way around the top and sides of the door jamb. When the door closes, the insulating weatherstripping will fill all the gaps around the door. Adhesive weatherstripping is just as effective on windows. Simply measure, cut and apply the insulating weatherstripping to the bottom edge of the window where it meets the sill. When closed, it will stop drafts from entering along the bottom edge.
Apply weatherstripping all around the jamb to seal out drafts along the top and sides of the door.
Step 5: Adjustable door sweeps stop drafts from under doors
Gaps under doors often let in large amounts of air. Adjustable threshold weatherstrips with rubber or brush sweeps can be installed to block the airflow.
Adjustable door sweeps have a brush or rubber skirt that extends from the door to the threshold.
Step 6: Cut the door sweep to fit and attach it to the door
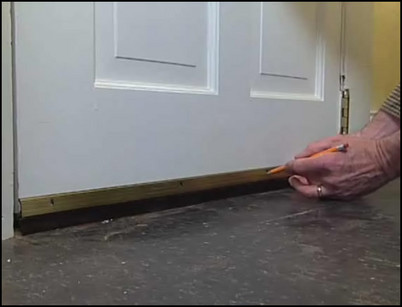
Use a hacksaw to cut the metal threshold strip to fit the door bottom. Then position the weatherstrip along the bottom of the door so that the sweep meets the threshold along the bottom. Mark the holes for the screws with a pencil. Drill small pilot holes for the screws. Screw the threshold in place and check to be sure the sweep meets the floor.
Hold the sweep in place and mark for the screws with a pencil through the openings.
Step 7: Temporary weather seals
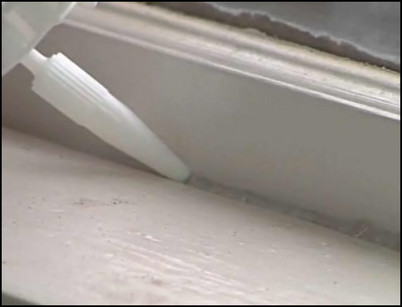
There are temporary weatherstripping options that can be applied to windows or doors and removed once the season is over. Moldable weather seals can be pushed into gaps and openings on windows or doors that do not need to be opened. Clear weatherstripping sealer can also be sprayed into cracks like a caulk. These clear sealers close gaps on doors and windows during the cold season but are easily removed when no longer needed. Temporary weather seals are not for use on doors or windows that will be opened and closed.
Temporary weather seals can be molded or sprayed into fill gaps around doors and windows.
Step 8: Insulate switch plates and electrical outlets
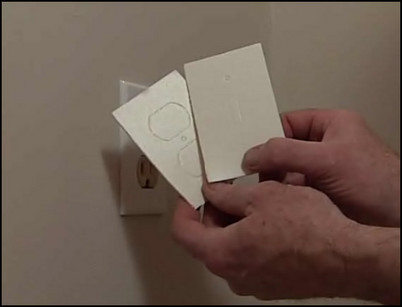
Electrical outlets and switch plates can allow cold air into the home. There are special insulation kits made especially for these openings. Begin by shutting down the power source. Before removing the switch plate or outlet cover, check with a voltage tester to be sure no current is flowing to the outlet or switch. Remove the cover and select the insulation patch to fit the outlet or switch box. Punch out the inserts and fit the patch over the outlets or switch. Replace the cover plate and screw in place. Turn on the power.
Special insulation patches stop up drafty outlets and switches.


