
Materials:
Step 1: Determine the cause of the squeaky floor
Squeaky wooden floors can be caused by the movement between the individual floorboards, between the floorboards and the sub-flooring, or between the sub-flooring and the floor joists underneath. Determine the cause of the squeak and follow the appropriate steps.
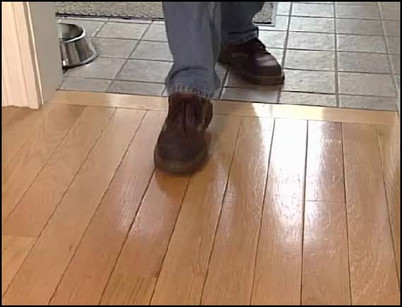
Squeaking floors are a nuisance.
Step 2: Use lubricant on squeaks caused by movement between floorboards
To silence squeaking caused by movement between floorboards, lubricate the rubbing surface around the source of the noise with powdered graphite or talcum powder. Work the lubricant in by stepping on the section repeatedly until the squeaking is gone. Wipe away any excess lubricant.
Apply lubricant to the rubbing surface.
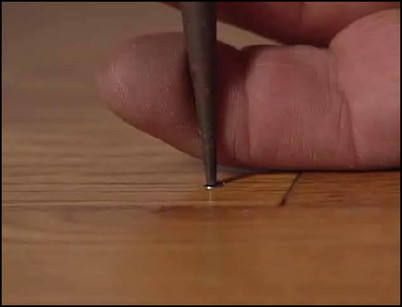
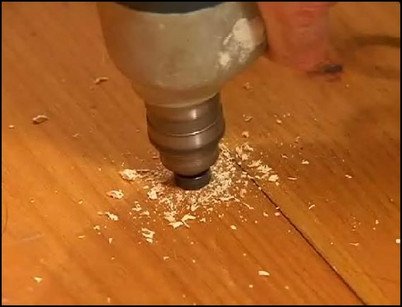
Step 3: Refasten warped floorboards that have pulled away from the sub-flooring
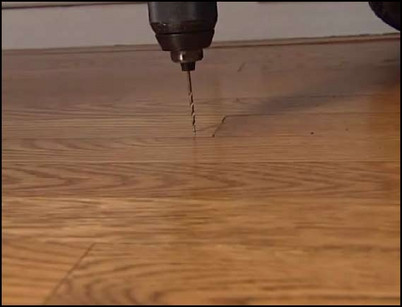
Squeaks can also be caused by movement between the floorboards and the sub-flooring. To refasten the floorboards, drill pilot holes into the face of the floorboard. Drill the holes a half an inch away from the edge of the board to avoid splitting.
Drill pilot holes into the face of the floorboard.
Step 4: Drive nails into the pilot holes
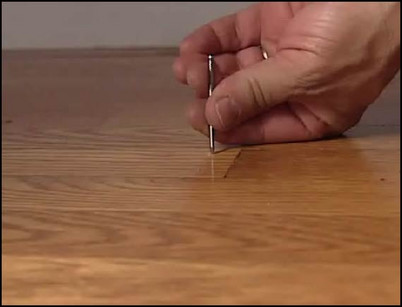
Use a hammer to drive 6-8d flooring nails into the pilot holes to press the flooring board firmly against the sub-flooring.
Hammer the nails through the pilot holes.
Step 5: Set the nails and fill the holes
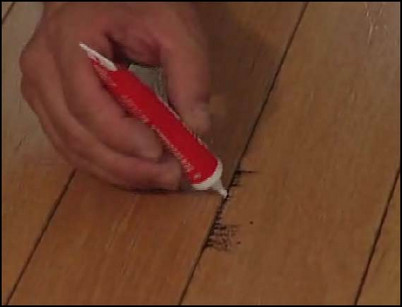
Use a nail set to set the nails in place. Fill the holes with wood putty. Wipe away any excess putty.
Set the nails with a nail set.
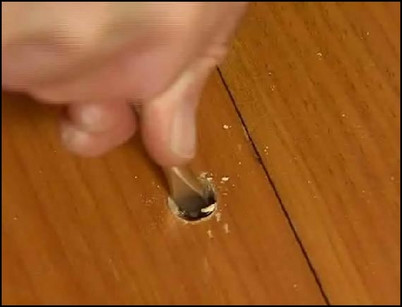
Step 6: For a better alternative to nails, use screws to refasten the floorboard to the sub-flooring
Drill a pilot hole into the floorboard using a profile bit, which will allow the screw to set below the level of the floorboard. Be sure to check for any mechanical, plumbing, or electrical equipment in the area before drilling.
Use a profile bit to drill a pilot hole in the floorboard.
Step 7: Drive the screw into the floorboard
Use a screwdriver to drive the screw into the floorboard until it pulls the floorboard tight to the sub-floor.
The screw should set below the level of the floorboard.
Step 8: Use a plug cutter to make a bung or a plug for the hole
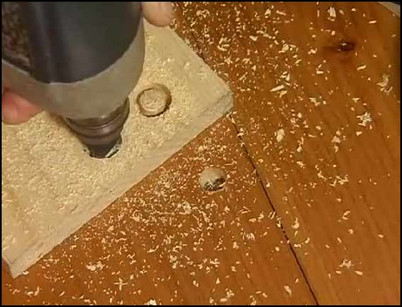
Use a plug cutter to drill a bung from a scrap of wood that is the same species as the floorboard. Pop the bung out with a screwdriver.
Drill the plug cutter into the scrap board to make a bung.
Step 9: Insert the bung into the hole

Cover the sides of the bung with wood glue. Press or lightly tap the bung into the hole. Be sure that the rough side of the bung is facing up and the grain is in line with the floorboard.
Position the bung in place.
Step 10: Trim, sand, and stain the bung
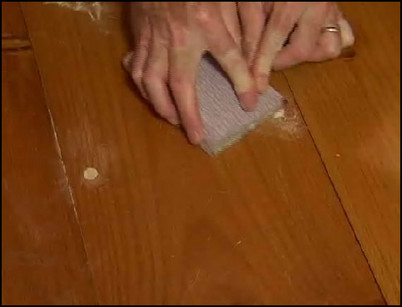
After the glue has dried, trim the excess bung material with a chisel if necessary. Lightly sand the bung to make the surface flush and smooth. Use a matching stain, gloss, or surface finish on the bung.
Sand the bung until it is flush and smooth.
Step 11: Some squeaks are caused by friction between the sub-flooring and the floor joists
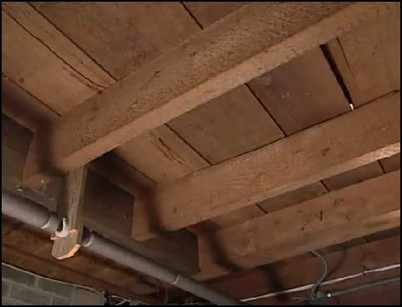
If you have access to the underside of the floor, look for spaces between the sub-flooring and the joists that might be causing the squeaks.
Look for spaces between the sub-flooring and the joists.
Step 12: Drive a shim between the sub-flooring and the joist
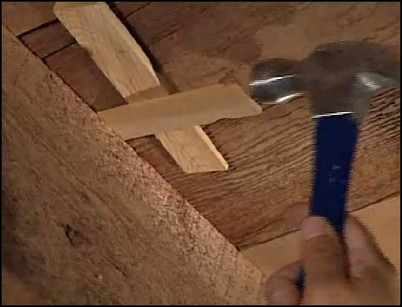
Apply glue to the surface of a wooden shim. Drive the shim into the space between the sub-flooring and the joist.
Use a hammer to drive the shim into the space.


