
Materials:
Step 1: Unplug the dryer.
Pull the dryer unit back from the wall. You should see the dryer vent and a plug. Electric dryers use a 220-volt plug, and gas dryers use a 120-volt plug. Unplug the dryer from the wall.
Unplug the dryer from the wall.
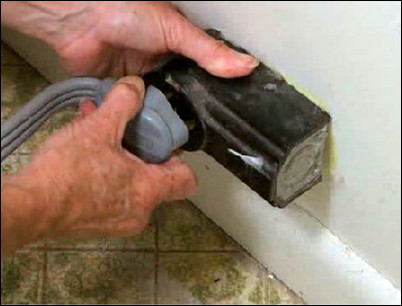
Step 2: Detach the flexible hose.
Using a screwdriver, unscrew the clamp holding the flexible vent hose to the aluminum elbow. Detach the flexible hose. Remove the aluminum elbow, and inspect for lint.
Unscrew the clamp and inspect the elbow for lint.
Step 3: Inspect the dryer vent.
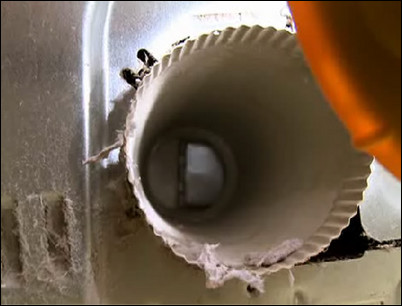
Using a flashlight, inspect the vent inside the dryer to make sure articles of clothing or other objects have not become lodged in the vent pipe.
Use a flashlight to inspect the vent inside the dryer.
Step 4: Use a vacuum to clean the area and the vents.
Using an industrial vacuum cleaner, clean the back of the dryer. Then, vacuum the area surrounding the vent pipe. Vacuum out the inside of the internal dryer vent. Vacuum all the lint from the inside of the dryer vent hose. It’s also a good idea to vacuum up all the lint and dust behind the dryer.
Use a shop vacuum to clean out the dryer vent hose.
Step 5: Wash the area surrounding the dryer.
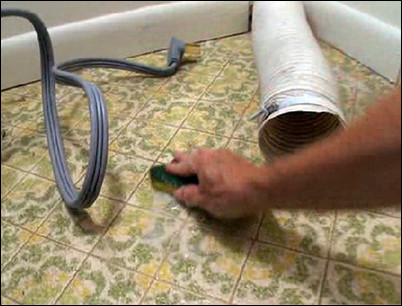
Use a sponge and soap to scrub the area behind the dryer to rid it of soap scum, which lint will stick to.
Scrub the area.
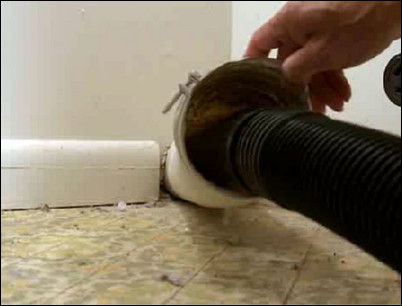
Step 6: Re-attach the vent hose and elbow to the dryer vent pipe.

Slide the flexible dryer vent hose over the aluminum elbow. Using a screwdriver, tighten the hose clamp until the connection is snug. Then, slide the aluminum elbow over the end of the dryer vent pipe.
Secure the elbow back to the vent pipe.
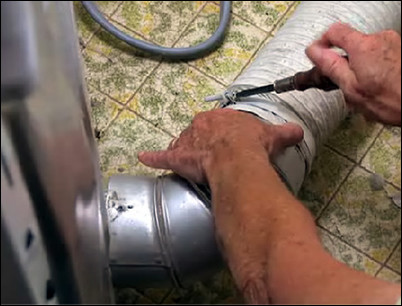
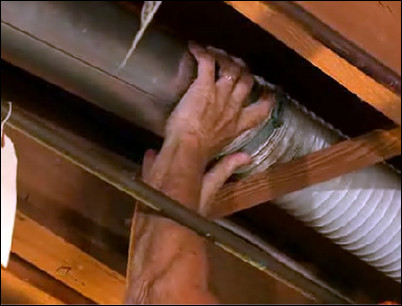
Step 7: Clean out vent pipe leading to the outdoors.
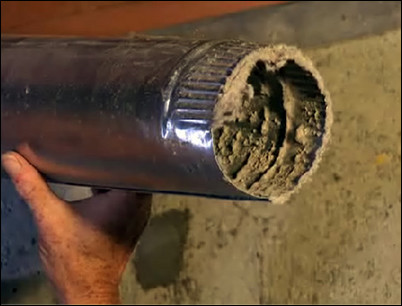
Every dryer venting system is different. This one passes through the wall, under the floor and through the outside wall. Dryer vent lines should be as short as possible. Loosen the hose clamps and disconnect the vent pipe running under the floor. Pull apart the sections of duct. The longer the dryer vent pipe run, the more buildup of lint you can expect in the pipes. It’s not unusual to find a buildup of lint coating the inside of each section of pipe. Without regular cleaning, the lint will continue to accumulate, blocking the passage of air, which will reduce the dryer’s efficiency and pose a fire hazard. To remove the lint, simply vacuum it out of each section of pipe with an industrial vacuum cleaner. Also, vacuum out any flexible connecting duct pipe until it is lint-free.
Remove and inspect sections of pipe, cleaning out all lint along the way.
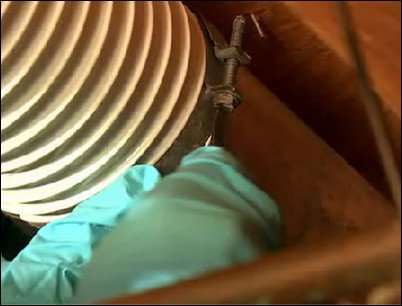
Step 8: Remove insulation around the exterior vent.
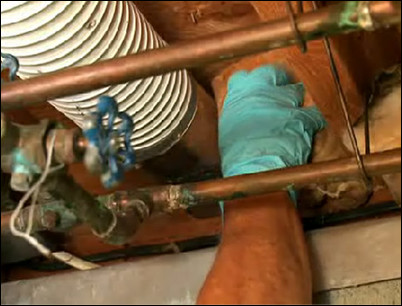
Wearing gloves, a dust mask and safety glasses, remove the insulation stuffed around the duct leading to the exterior vent.
Remove the insulation.
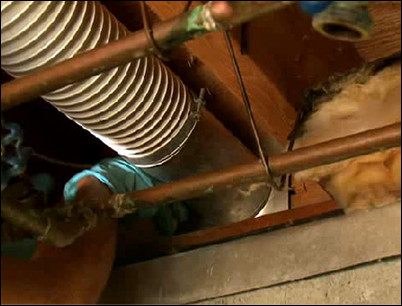
Step 9: Separate the hose from the exterior vent.

Unscrew the hose clamp holding the flexible vent to the exterior vent. Separate the hose from the exterior vent.
Unscrew the hose clamp and separate the hose from the vent.
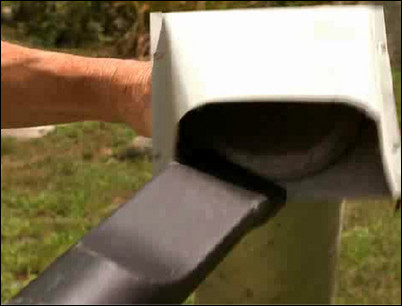
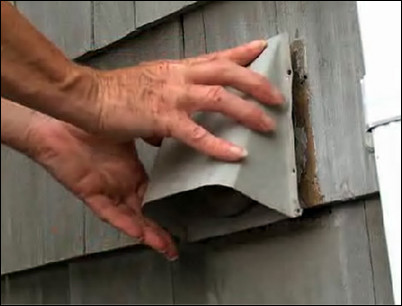
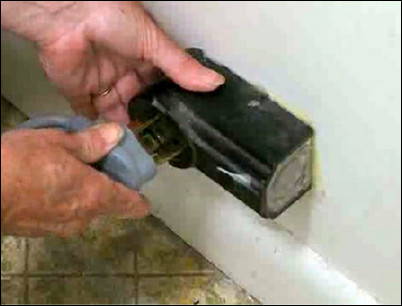
Step 10: Remove the exterior vent.
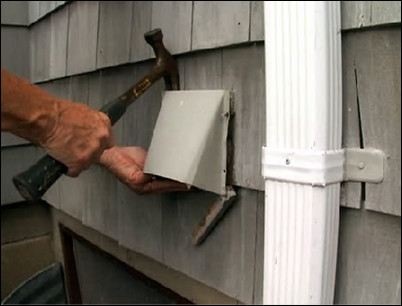
The exterior vent will either be nailed or screwed to the outer surface of the house. Carefully remove the fasteners, and gently slide it out and away from the house.
Use a hammer to gently remove the vent.
Step 11: Clean out the exterior vent.
Vacuum out the inside of the exterior vent. Be sure to vacuum up under the vent. If lint gets stuck outside the hinged weather door, it can prevent the lint door from opening.
Vacuum out the inside of the exterior vent.
Step 12: Replace the exterior vent.
Replace the exterior vent, and refasten it in place with either nails or screws.
Replace the exterior vent.
Step 13: Re-attach the hose to the exterior vent pipe.
Back inside, re-connect the flexible hose to the exterior vent pipe. Tighten the hose clamp.
Tighten the hose clamp.
Step 14: Replace the fiberglass insulation.
Place fiberglass batting all the way around the vent duct. This insulation will prevent heat loss and drafts.
Place fiberglass batting around the vent duct.
Step 15: Re-connect all the sections of vent pipe.
Attach the other end of the flexible duct to the rigid aluminum ducting that runs under the floor. Tighten the clamp. Connect all the sections of rigid aluminum duct together.
Re-assemble the flexible pipe from the laundry room to the duct pipe that runs across the basement and tighten the clamp that secures the flexible hose to the rigid duct. Make one last check to make sure all the connections are tight and the duct runs straight and level.
Connect the flexible duct back to the rigid aluminum ducting.
Step 16: Plug the dryer back in.
Plug the dryer back in. Push the dryer back into place. The dryer is now ready for efficient and safe use.
Plug the dryer in.


