
Materials:
Step 1: Check that the studs are even
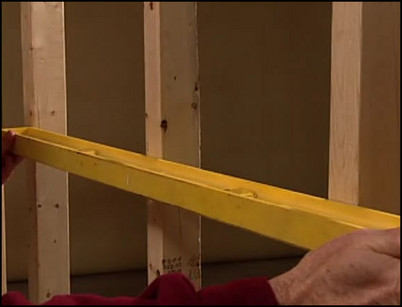
Before you attach the wallboard, check the studs with a straight edge to make sure they are even. If there is a low spot, a shim will be necessary to make the stud even with the others before attaching the new wallboard.
Use a straight edge to make sure that the fronts of the studs are even.
Step 2: Shim any stud that is set back
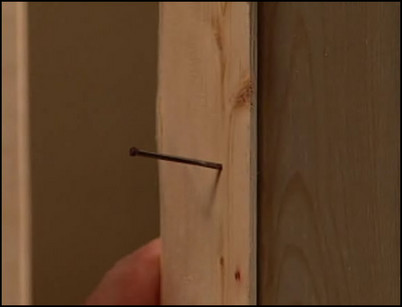
Shim any studs that are not in line to correct low spots and avoid dips in the drywall when you attach it to the framing.
Shim the face of a low stud to bring it in line with the others.
Step 3: Plane down high spots

Mark and plane down any high spots on the studs using a wood plane to scrape away the excess. Time spent now to make the studs ready will pay off with a smooth, finished surface.
Use a plane to shave away high spots on the studs.
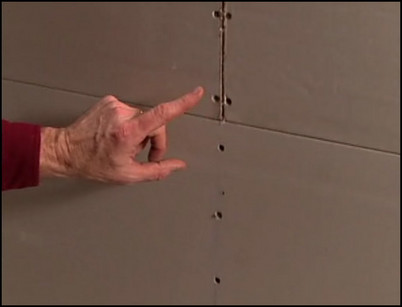
Step 4: Hang the first sheet of drywall
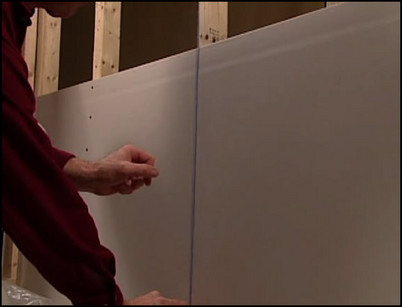
Start at an inside corner and place the sheet against the studs horizontally, with the bottom edge resting on the floor. Screw the wallboard to one stud using drywall screws. Once the first sheet is attached, snap a line down the studs and onto the face of the drywall so that you have a guide to follow to keep you in line with the studs when driving the screws.
Snap a line along the stud and the face of the drywall for a guide.
Step 5: Attach the wallboard and continue to attach sheets horizontally
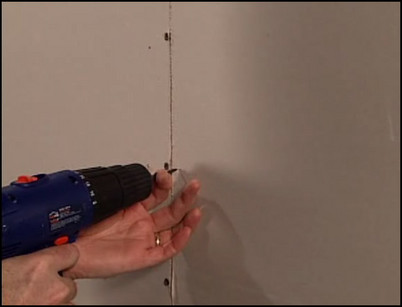
Drive the screws through the wallboard and into the studs every four inches. Continue the row horizontally by butting each successive sheet against the one before it. Continue to the end of the row and measure for any piece that must be fitted to complete the wall.
Butt each new sheet of wallboard against the previous one and drive screws every four inches.
Step 6: Cut wallboard to fit
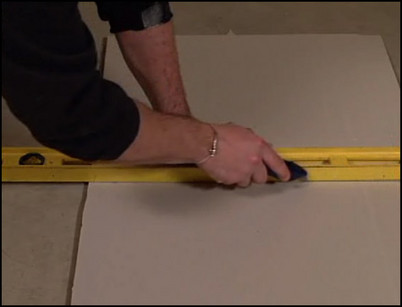
To cut a remaining section of wallboard, mark the measurement on the face of the wallboard. Using a straightedge as a guide, score deeply along the line with a utility knife. Turn the board so that the uncut back face is facing you and pull the wallboard back away from the cut. Once the board snaps, use a utility knife to cut the paper along the fold. Use a utility knife to knock off any high points or lightly sand with a coarse-grit sandpaper for an even edge. Butt the section against the previous board and screw in place.
Use a utility knife and straightedge to score a deep cut along the marked line on the face of the wallboard.
Step 7: Stagger the joints on each row
When the first row is complete, continue with the second row, starting in the corner. If you have a partial sheet, use it first so that the joints will be staggered and not line up exactly. This makes for a stronger wall.
Stagger the joints from one row to the next for a stronger wall.
Step 8: Begin the second wall
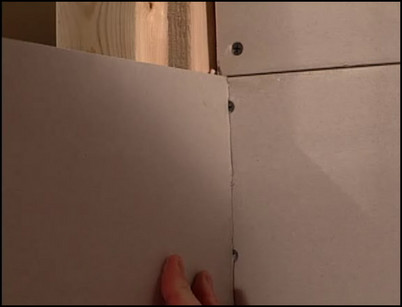
Starting in the corner where the two walls meet, fit the wallboard snugly into the corner and against the other corner sheet. Snap lines to follow and continue horizontally as you did with the first wall. Once the walls are completely covered and the drywall firmly attached, you are ready to finish the seams.
Set the first sheet of the second wall firmly in the corner, butted up against the corner sheet on the adjacent wall.


