
Materials:
Step 1: Purchase a water filtration system to match the available space
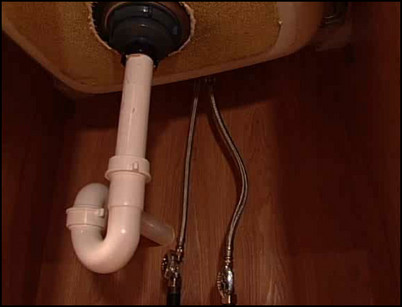
Evaluate the space below the sink and the holes in the faucet fixture. Make sure the water filtration system will fit in the available space below the counter and that there is an available hole in the faucet fixture to install the filtration faucet. This is usually the hole reserved for a spray nozzle.
Evaluate the space below the counter.
Step 2: Turn off the cold water supply valve
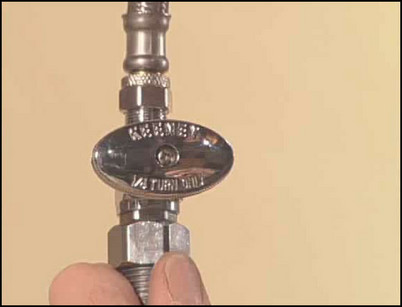
Find the cold water supply valve and turn it off to completely stop the flow of cold water. Open the faucet to allow any water in the pipes to drain and to release pressure.
Shut off the cold water below the sink.
Step 3: Set the new filtration faucet in place
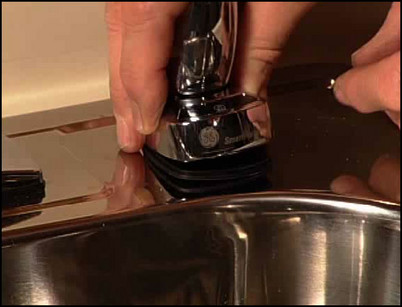
Remove the cover plate for the accessory hole by unscrewing or unclipping it underneath the sink and popping it off the top of the sink. Set the new filtration faucet in place. The faucet should sit squarely and firmly, and the gasket should form a solid seal. Hand-tighten the retaining nut, temporarily holding the faucet in place. If applicable, center the retaining plate or washer over the hole. Now properly align the faucet from above before tightening the nut below. Add any remaining pieces to the faucet.
Set the new faucet squarely over the hole, forming a tight seal with the gasket underneath.
Step 4: Choose a mounting location for the water filtration system
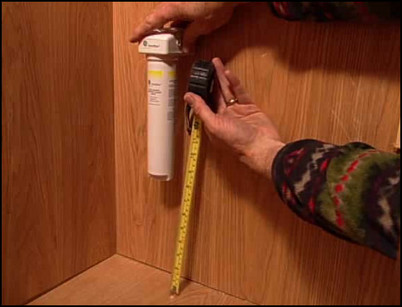
Decide where to mount the filter. It should be close to the cold water feed line and the filter faucet. It should also be high enough for easy access to the filter when you need to remove and replace it. Locate and mark the location of the mounting bracket screws as directed by the water filtration system instructions.
Find a good location for the new filtration system.
Step 5: Mount the water filter
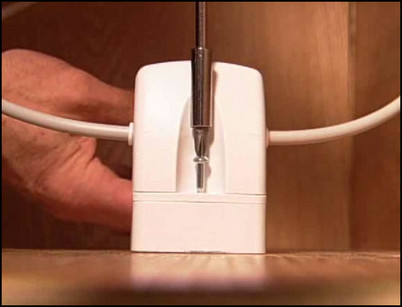
Know what is behind cabinet before drilling. Drill pilot holes in the cabinet using a drill bit slightly smaller than the screws. Attach the outbound and inbound filter lines to the water filter, following the instructions that come with the system. Attach the filtration unit to the wall of the cabinet.
Mount the water filter unit to the wall of the cabinet.
Step 6: Attach the filter supply valve
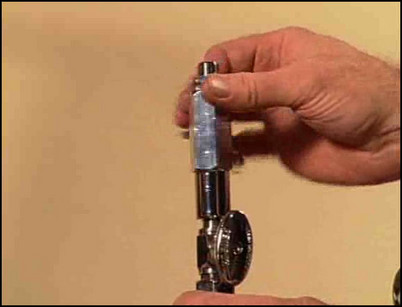
Detach the cold water supply line from the kitchen faucet. Insert the filtration supply valve. Tighten the nut until snug by hand or with a wrench. Do not overtighten. Re-attach the kitchen faucet supply line to the top end of the supply valve. Use a wrench to tighten until snug. Do not overtighten.
Insert the filtration supply valve to the cold water line.
Step 7: Connect the filter supply line to the filter supply valve
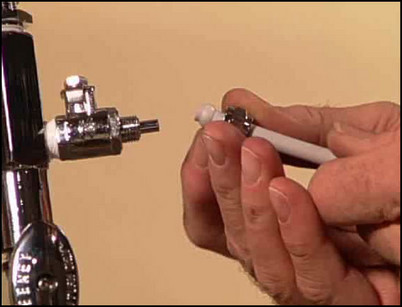
Attach the filter supply line to the filter supply valve. This line runs from the filter to the filtration faucet. Follow the instructions that come with the system to attach and secure the line to the valve, as each system varies. Tighten the nut over the supply line by hand and wrench until snug. Do not overtighten.
Follow instructions to connect the filter supply line to the filter supply valve.
Step 8: Open the water supply and test the system
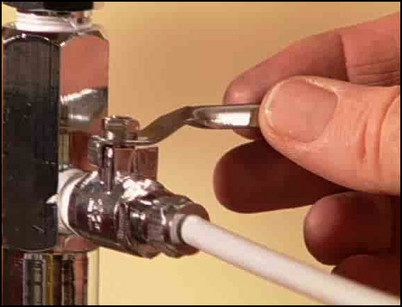
Remove the aerator from the kitchen faucet to allow sediment to flush out. Slowly open the cold water shut-off valve. Open the standard kitchen faucet and allow water to run for 30 seconds. Check for leaks. Open the supply valve on the supply line to the filter. Run the filtered water faucet. Filtered water should flow freely from the filtration faucet.
Open the supply valve on the supply line to the filter.


