
Materials:
Step 1: Know the key maintenance steps.
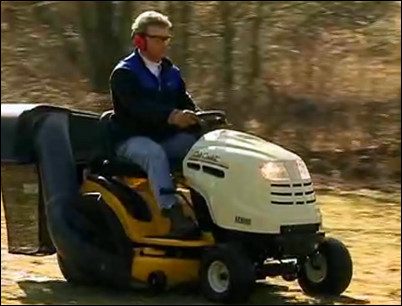
For most riding lawn mowers, the four key maintenance steps are: changing the oil and filter, inspecting and replacing the spark plug, replacing or cleaning the air filter, and lubricating the grease fittings.
Complete all four maintenance steps to keep the mower running well.
Step 2: Prepare the mower to change the oil.
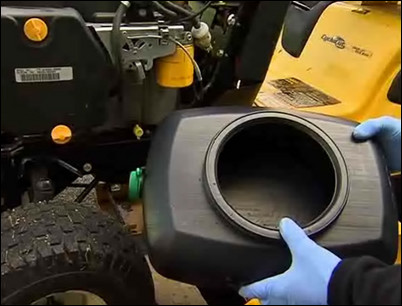
Run the engine long enough to heat the oil, which will let the oil drain quickly and flush out more sediment from the engine. Locate and remove the oil filler cap and set it aside. Locate the oil drain plug and position a properly sized waste container under the drain.
Position a waste container below the drain plug.
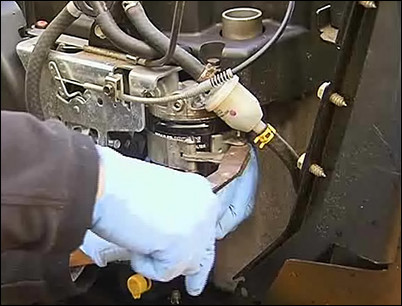
Step 3: Drain the oil.
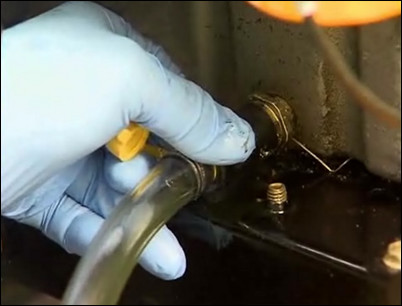
Some mowers can use a drain hose to help drain the oil into a container. If this is the case, remove the drain plug cap and slide the oil drain hose over the oil drain valve. Direct the other end of the hose into the container. Push the oil drain valve in slightly, rotate counterclockwise and then pull outward to begin draining the oil. Check your manual for specific oil draining procedure.
Pull the valve out to begin draining.
Step 4: Remove the hose and replace the cap.
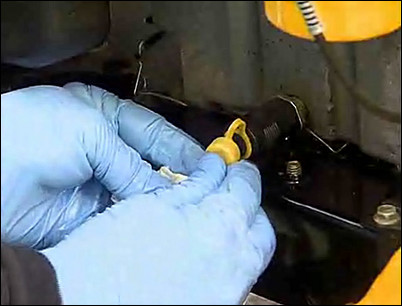
When the oil is done draining, remove the hose and close and tighten the valve by pushing in and turning clockwise. Replace the protective cap.
Replace the cap over the drain plug valve.
Step 5: Remove the oil filter.
Use a special oil filter wrench to remove the oil filter. Slide the wrench over the oil filter and remove it by turning counterclockwise. When the filter is loose, you can finish removing it by hand. Be careful with the old filter as it will be filled with oil. Dispose of the oil and the filter properly.
Use an oil filter wrench to loosen the oil filter.
Step 6: Prepare the new filter.
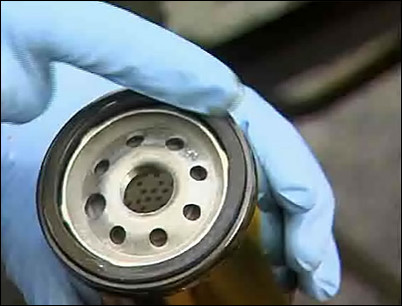
Using the end of your finger, apply a drop of waste oil to the gasket of the new oil filter. The oil will seal the connection between the rubber gasket and the engine.
Apply waste oil to the gasket.
Step 7: Attach the new filter.
To install the new filter, turn it clockwise by hand until the rubber gasket makes tight contact with the base. Turn the filter a half turn more using the oil filter wrench.
Finish tightening the oil filter with the oil filter wrench.
Step 8: Fill the mower with new oil.
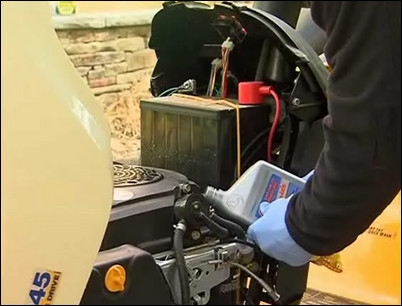
Always check the manual to determine what weight oil and how much should be used. Do not overfill. Use a high0quality detergent oil. Temperate climates call for a 10-30 weight oil. Fill the mower with oil until the level touches the “full” mark on the dipstick. Replace the oil fill cap and run the engine for 30 seconds. Then stop the engine and remove the key.
Fill with the correct amount and weight of oil.
Step 9: Remove the air cleaner cover.
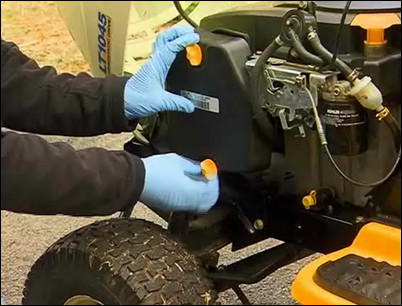
Locate and remove the air cleaner cover. Inside the cover there may be a foam pre-cleaner. Set the cover aside.
Find and remove the air cleaner cover.
Step 10: Remove the paper air filter.
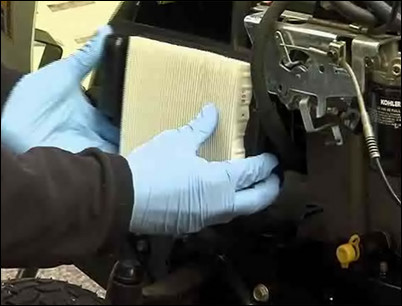
Remove the paper air filter. Inspect the filter for dirt. The air filter should be replaced ever season, after every 100 hours of use or when it is dirty.
Remove the filter and inspect it for dirt.
Step 11: Install the replacement filter.

Insert the new replacement filter, making sure no dust or dirt falls into the carburetor.
Replace the filter.
Step 12: Replace the foam pre-cleaner.
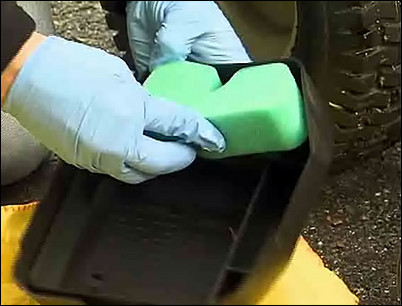
Remove the old foam pre-cleaner and set it aside. Apply a few tablespoons of oil onto a new foam pre-cleaner and work the oil in thoroughly. Insert the new foam pre-cleaner into the air cleaner cover and replace the cover, making sure to tighten the nuts securely. The old foam pre-cleaner can be washed in hot soapy water, dried, oiled and re-used.
Insert the new, oiled pre-cleaner into the cover.
Step 13: Locate and remove the old spark plug.
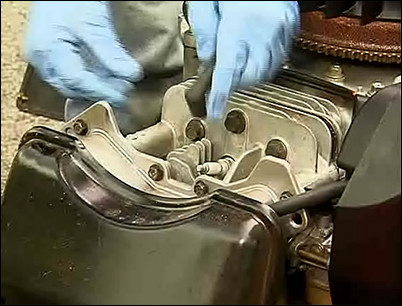
Remove any protective covers to access the spark plug. Pull off the spark plug boot, exposing the spark plug. Use a ratchet and a deep spark plug socket to turn the spark plug counterclockwise, loosening it. Finish unscrewing the spark plug by hand.
Remove the spark plug boot to expose the spark plug.
Step 14: Set the gap in the new spark plug.
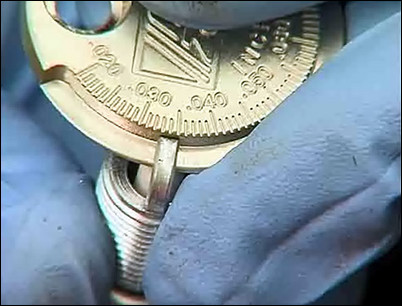
Use a replacement spark plug identical to the old one. Set the spark plug gap using a spark plug feeler gauge. Gently tap or spread the tip until it is set to the measurement specified in the owner’s manual. Thread the new spark plug into place by hand first. Once it is tight, finish tightening with a ratchet and socket by turning clockwise. Replace the spark plug boot by pressing it onto the spark plug until it clicks.
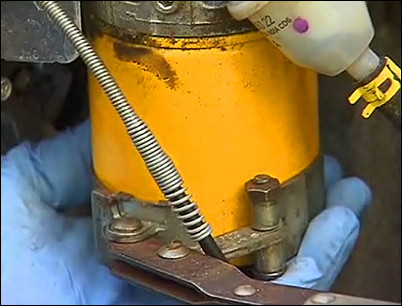
Step 15: Grease the fittings.
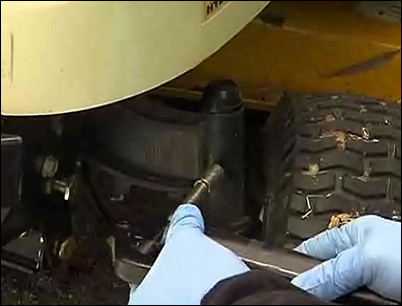
Refer to the owner’s manual to locate all the fittings that need to be lubricated. Clean all the fittings with a rag, and use a grease gun with #2 multi-purpose grease to lubricate each fitting. With new oil, filters and grease, your riding lawn mower is ready for another season.
Apply grease to each fitting with a grease gun.


