
Materials:
Step 1: Turn off the propane.
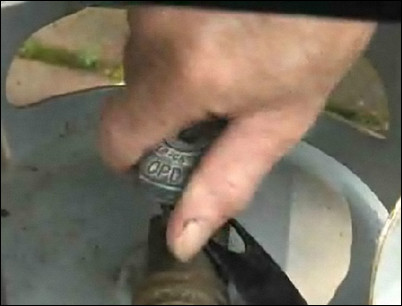
First, be sure the propane tank is turned off. The propane tank should always be turned off when the grill is not in use.
Make sure the propane is off.
Step 2: Remove the old grill and flavorizer bars.
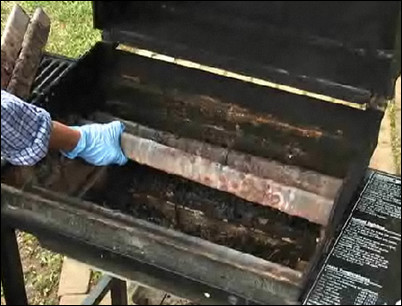
Remove the old grill and flavorizer bars from their places in the grill. Some grills use lava rocks to disperse the heat. If this is the case, remove them. If these parts are starting to rust, it is a good idea to buy replacements.
Remove the grill and bars.
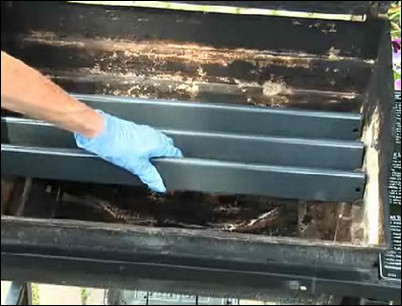
Step 3: Scrape and vacuum the inside.
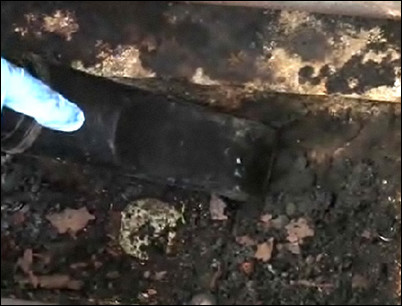
Use a shop vacuum to clean out the inside of the grill. Use a paint scraper to scrape off the baked-on food, and vacuum it away. Continue until the sides and bottom are clean. You may want to use steel wool and some hot, soapy water to give the inside a thorough cleaning.
Vacuum the inside of the grill.
Step 4: Brush off the burners.
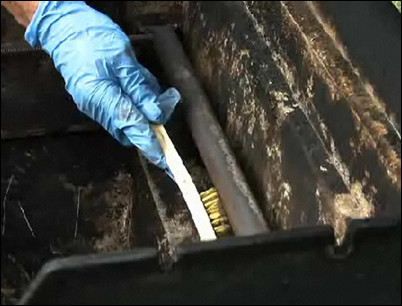
Using a brass wire brush, clean all the burners to ensure consistent cooking. Brush over all the holes of the front, sides and back burners to remove rust and scale. Brass wire will not leave bits of steel behind, which rust over time.
Use a brass wire brush to clean the burners.
Step 5: Clean the catch pan.
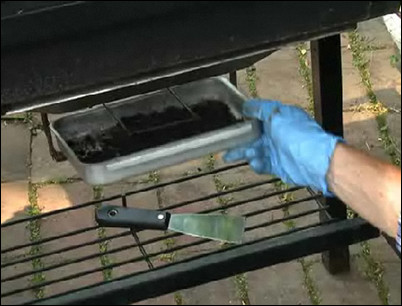
Remove the drip pan and dump out the crusted grease. Clean the pan with soap and water, or buy replacement pans to give the grill a clean, new look.
Remove the pan and clean it out or replace it.
Step 6: Remove the spider stopper guard.
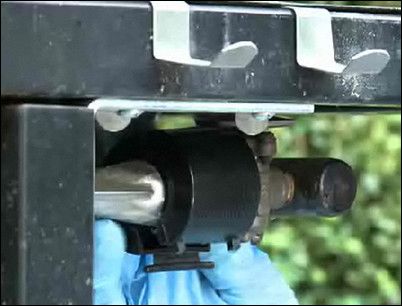
In some parts of the country, spiders can get into the burner feed pipes and prevent efficient, consistent burning. Often, grills will come with spider stopper guards designed to prevent spiders from entering the feed pipes. If your grill has such a guard, remove it to expose the air intake.
Remove the guard.
Step 7: Clean out the air intake.
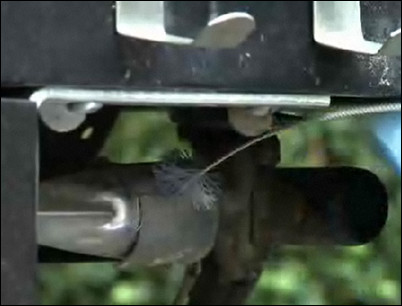
Use a special bristle brush to clean out the air mixture vent and clean out any spider webs. Move the brush in and out to completely remove any blockages. Repeat this step for every burner inlet.
Use the bristle brush to clean out the air mixture vent.
Step 8: Reassemble the grill.
With the grill clean, it’s time to reassemble. Set the replacement flavorizer bars into place, and then insert the replacement grills. If your grill takes lava rocks, follow the instructions to replace them. With the grill reassembled, turn on the gas supply, press the igniter and throw on a steak to kick off another season of grilling.
Insert the replacement flavorizer bars.


