
Materials:
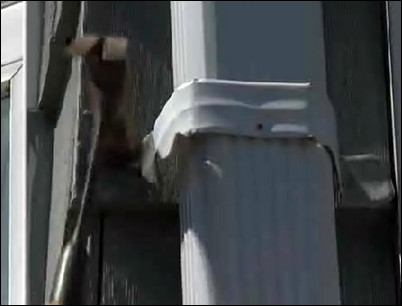
Step 1: Remove the downspout where the barrel will be installed.
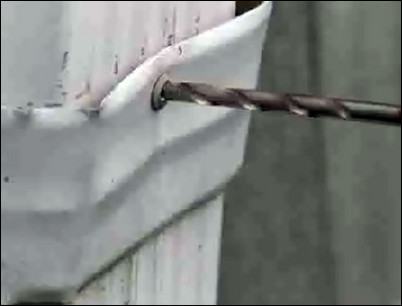
To make room for the barrel, remove the downspout leading to the installation area. Use a screwdriver or a drill to unscrew and remove the bracket that holds the downspout in place. Next, temporarily remove the section of downspout leading to the barrel installation area.
Unscrew the screws or rivets holding the bracket to the house.
Step 2: Prepare the installation area.
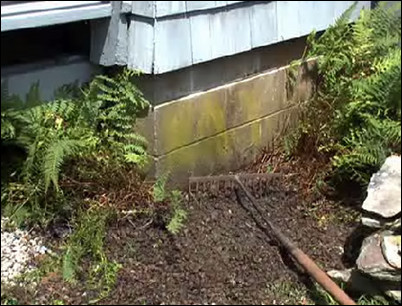
The area where the barrel will be placed must be very stable and flat. Clean away any grass or other plants, and dig down three inches into the soil. The depression should be wide enough to support the barrel with a few additional inches on either side. Use a rake to level the excavated area, and spread and level driveway gravel until it is about even with the surrounding area.
Level the depression with a rake.
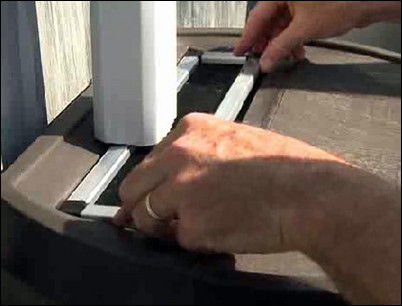
Step 3: Place cinder blocks down.
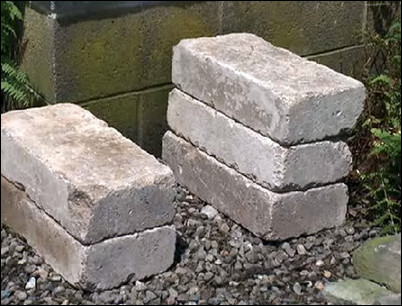
Set down two cinder blocks or similar pavers. The blocks will raise the barrel off the ground so that gravity can help distribute the water. Wiggle the cinder blocks in place to give them a firm footing. Check with a level to make sure that the cinder blocks are level both front-to-back and side-to-side. Build up the cinder blocks to the desired height, making sure with each level that the blocks are stable and level.
Build up the cinder block base.
Step 4: Place the rain barrel on the blocks.

Place the rain barrel on the cinder blocks. Make sure that the weight of the barrel is evenly distributed. Check that the barrel is level. Adjust, if necessary.
Check that the rain barrel is level.
Step 5: Cut and attach the downspout.
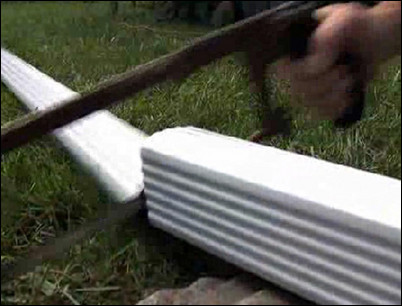
Measure the distance from the gutter downspout connection to the barrel. Cut the removed section of to fit the distance between the gutter downspout connection and the opening in the barrel. Re-insert the downspout into the gutter above.
Cut the downspout to size with a hacksaw.
Step 6: Attach the downspout bracket.
Fasten the bracket holding the downspout to the house. With the downspout resting on the rain barrel, you may not need to refasten the downspout to the bracket.
Screw the bracket back into the house.
Step 7: Wrap plumber’s tape around the faucet.
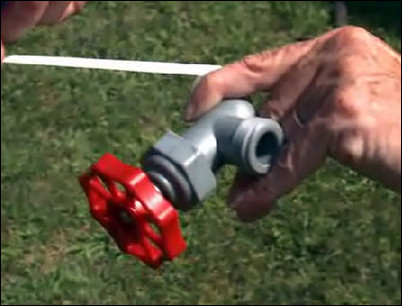
Wrap three turns of plumber’s tape around the threads of the rain barrel faucet, which helps make a drip-proof connection.
Wrap three turns of tape around the faucet.
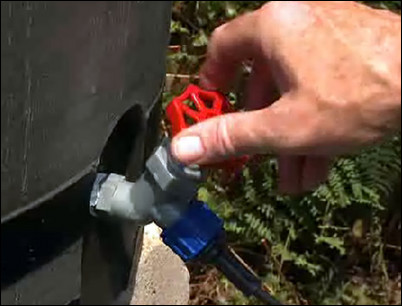
Step 8: Attach the faucet to the barrel.
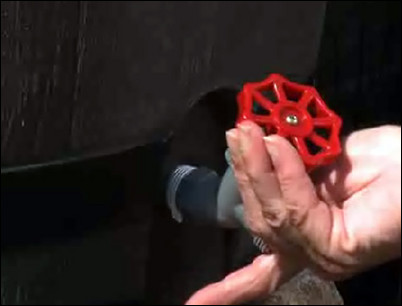
Screw the faucet into the rain barrel. Stop when the connection is snug and the faucet is upright. These are plastic threads, so don’t over-tighten or you will strip them.
Screw the faucet into the barrel.
Step 9: Insert the protective screen into the barrel.
Insert the screen over the opening of the rain barrel. This is important because it keeps bugs, animals, leaves and fine shingle gravel from getting into the barrel and clogging the irrigation system. Clean off the screen regularly. This is about the only regular maintenance you will have to do.
Place the screen into the top of the barrel.
Step 10: Choose an irrigation system.
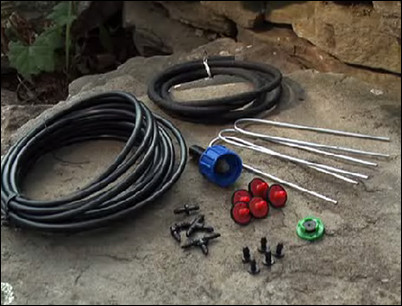
You will need to decide on and install an irrigation system. We’ve chosen a drip irrigation system kit that places small amounts of water directly onto the roots of flowers and plants. The typical kit comes with a main distribution line, T fittings, elbows and brackets to help neatly steer the water supply to the plants you wish to water. There are also drippers and miniature soaker hoses to release the water directly over your plants. These kits are made to connect to your outdoor faucets, but as long as your rain barrel is higher than the plants you want to water, these kits work well with a gravity-fed rain barrel water supply.
Choose an irrigation kit to work with your gravity-fed rain barrel water supply.
Step 11: Install the filter washer for the irrigation system.
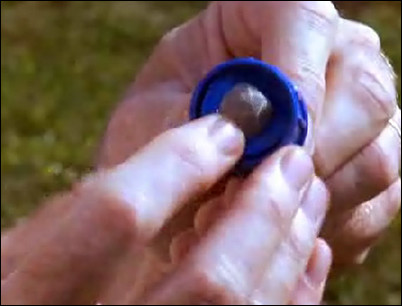
To install the drip irrigation system, first insert the filter washer into the faucet adapter for the irrigation system. This is particularly important in a rain barrel-fed irrigation system because gravel or grit that finds its way into the rain barrel can easily clog the small openings of the drippers.
Insert the filter into the faucet adapter.
Step 12: Attach the distribution line to the adapter.
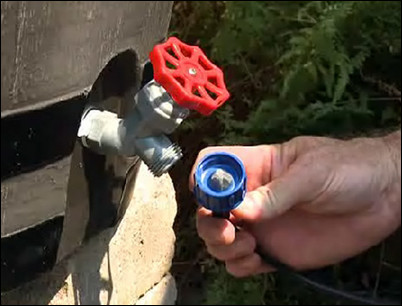
Following the instructions that come with the drip irrigation kit, attach the distribution line to the adapter and screw the adapter to the rain barrel faucet.
Attach the line to the adapter.
Step 13: Lay the distribution line down.
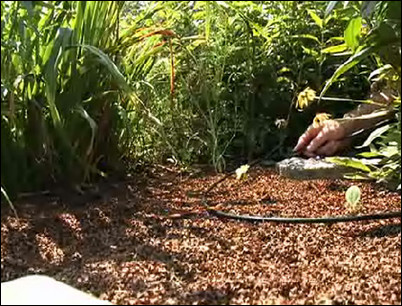
Distribute the line so that it follows the course of the plants you want to water. Because this system relies on gravity to deliver the water to the plants, make sure the hose always runs downhill from the rain barrel faucet to the area you want to water. The instructions will suggest typical layouts for your watering situation.
Lay the distribution line along the areas to water.
Step 14: Make T-fittings and anchor lines as needed.
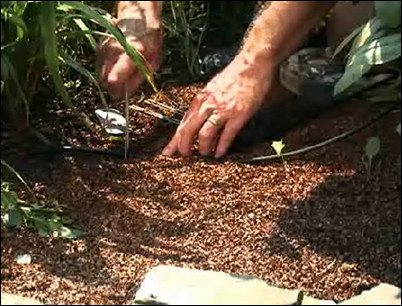
Distribute the water to your plants by cutting the line where appropriate and inserting the T-fittings or elbows to set up your watering network. Anchor the lines in place with the metal anchors designed for your drip irrigation system. Place each drip irrigation dripper at the base of plant right over the roots. Place the soaker hose sections along the rows of plants or around the stem of larger plants you wish to water.
Anchor the lines into the ground.
Step 15: Open the faucet to use the irrigation system.
To use the water in the rain barrel to water the plants, just open the rain barrel faucet and your captured rain water will begin flowing to your thirsty plants. With every rainfall, your rain barrel will be recharged with fresh rainwater to feed your plants on future dry and sunny days.
Open the faucet to water the plants.


