
Materials:
Step 1: Prime the walls.
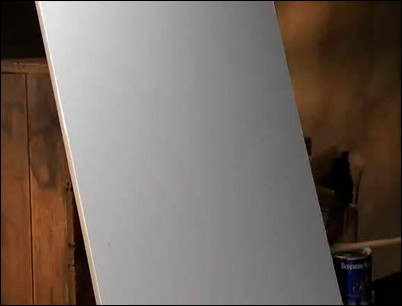
To add a faux finish to a wall, begin by painting two coats of primer over the wall. The wall should be clean, sanded and smooth. Even if the existing paint is in good condition, it is wise to prime the room.
Begin with a clean, sanded, smooth and primed wall.
Step 2: Add the base coat.
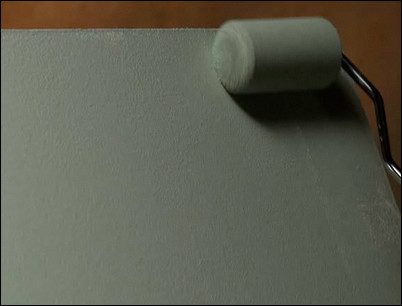
The base coat should always be either a satin or a semi-gloss finish. We are using latex paint here for both easy application and cleanup. Apply the base coat over the primer coat with a roller. Apply the base coat over a two- or three-foot section of the wall, filling in the space between. After the base layer dries, you will often find areas missing paint. You will get better overall results if you give the walls another even coat of base paint before you start.
Apply the base coat over three-foot sections and fill in the spaces between.
Step 3: Prepare the glazes.
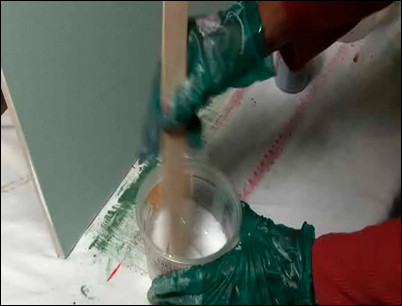
To form the plastique effect, we will apply two separate, tinted glazes made up of a blend of a latex semi-gloss, gloss or eggshell color mixed a latex glaze. The glaze is a clear carrier that you use to make the color more transparent and allow you enough time to lay down the pattern. The mixing ratio is five parts of latex glaze to one part of latex paint. The glaze looks milky white, but it dries clear. Measure and pour the glaze into the mixing bucket first, then add the blue latex paint we have selected for the first process color. Follow this process for the second color, mixing it with the glaze in a separate bucket. You will be going back and forth between the two colors to form the plastique pattern.
Mix together five parts latex glaze to one part latex paint.
Step 4: Apply the first color.
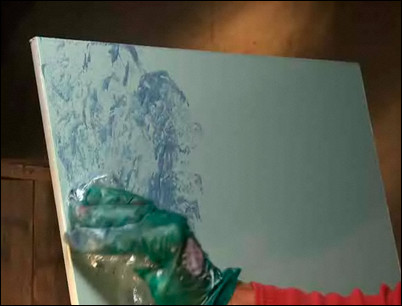
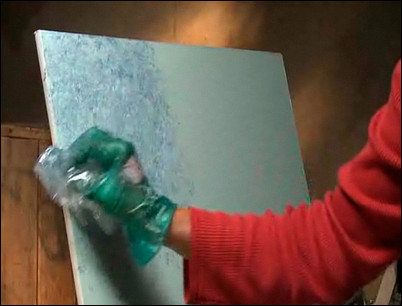
Start with a wadded up piece of soft plastic. Plastic shopping bags work well. This plastic happens to be the wrapper for a dry-cleaned shirt. Any soft plastic wrap will do. Always start with the dark color first. In this case, we start with the blue. Dip the bunched-up plastic in the tinted glaze mix, wipe off the excess and then pat the plastic in a clean roller pan to distribute the paint. Now, starting with the top corner, pat the wall with the plastic wrap, evenly laying out an interesting pattern.
Pat the wall with the plastic wrap to evenly lay out the pattern.
Step 5: Apply the second color.
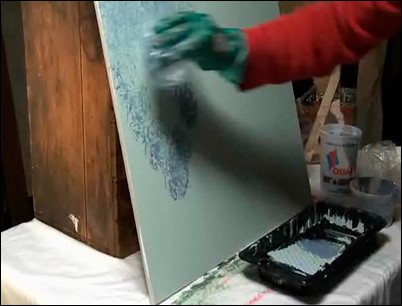
To apply the second process color, start with a clean piece of plastic. Wad it into a pad, and dip it into the lighter green highlight color, which is our second process color. Gently pat this color over the first, randomly blending the two patterns together.
Pat the second color over the first to blend the two patterns.
Step 6: Continue applying the two colors over the wall.
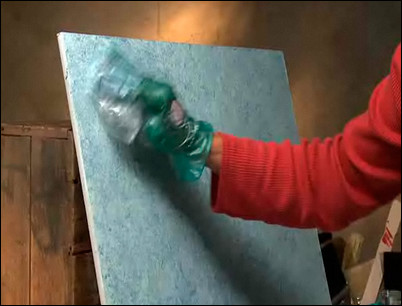
When you have covered the area with bits of each color, return to the original darker color. Dipping the original plastic in the darker color, pat the plastic into the roller to distribute the paint then randomly distribute the paint pattern over the neighboring area. When you have successfully covered the new area with the first color, switch back to the lighter color and repeat the process, gently patting the lighter color over the darker color.
Follow steps #4 and #5 to add the two colors along the wall.
Step 7: Tips and tricks.
The trick to the plastique faux painting technique is keeping the work area neat, clean and organized so that you can move quickly from the first process color to the second process color and back again. The idea is to create your own artistic pattern, keeping the abstract design interesting. When the pad gets too saturated with glaze, lightly tap the wall with the plastic pad and rotate the pad. Stand back from the wall from time to time to make sure the results are uniform in color and density. You can always go back and touch up an area with either the lighter or darker color to make it even.
Rotate the pad when it gets saturated with glaze.
Step 8: Allow the paint to dry.
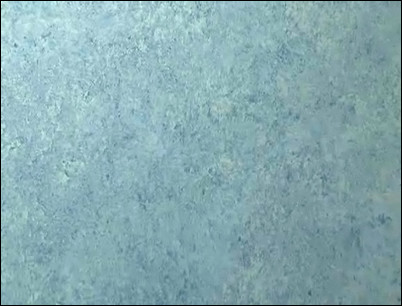
When the wall is covered with both colors, allow the paint to dry. The result will be a richly textured, hand-wrought pattern.
The plastique faux finish leaves a richly textured pattern.


