
Materials:
Step 1: Sweep the Floor
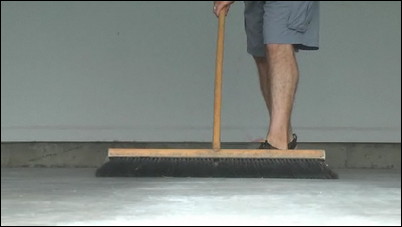
First, sweep or blow out loose dust and debris. A stiff push broom or wire brush can be used to dislodge any caked-on dirt and debris.
Use a stiff push broom to dislodge dirt and debris.
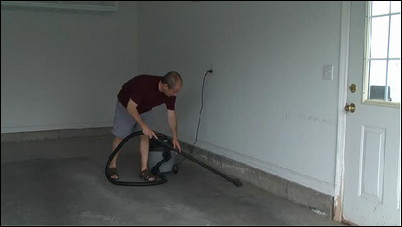
Step 2: Vacuum the Floor
A final vacuuming is necessary to make sure the floor is completely clean and dust-free.
Make sure to vacuum before you begin.
Step 3: Remove Stains

Stains on your garage floor can be caused by dirt, oil, or grease. Most concrete cleaners are suitable for removing these stains. Before applying, make sure to spot-test the cleaner to make sure it doesn’t create a stain of its own. Also make sure to follow the instructions that come with the stain remover.
Remove stains using a concrete cleaner and a brush.
Step 4: Wash the Floor
In a large bucket, mix a cup of vinegar per gallon of either cold or warm water. Apply the solution to the garage floor with an ordinary household mop. There’s no need to rinse the floor — simply allow it to dry.
Use a vinegar and water solution to mop the floor.
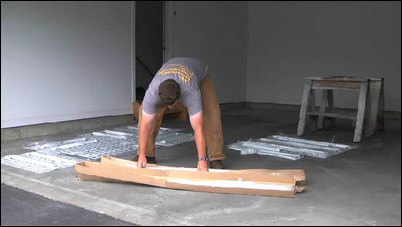
Step 5: Fill Unsightly Cracks
Cracks in the floor can be filled with either a patching caulk or mortar-type cement. Make sure you follow the instructions carefully for the filler you choose. We recommend using gloves during the filling process.
Fill cracks using cement or patching caulk.
Step 6: Apply the Sealer

One option is to use a water-sealing sealer, which can be applied with a brush, roller, or garden-type sprayer. Start at the back of your garage and work towards the front, applying the sealer evenly. One gallon of sealer covers from 250 to 400 square feet. Let the sealer dry for two hours, then apply a second coat if desired.
Evenly apply the sealer to your garage floor.


