
Materials:
Step 1: Treat Rollers, Hinges, Roller Tracks, and Latches
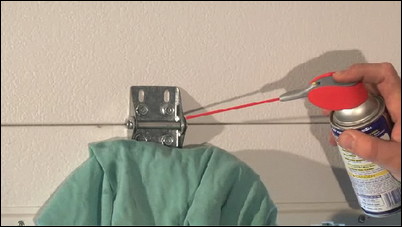
Treat all rollers, hinges, roller tracks, and latches with a penetrating solvent like WD-40 or a citrus-based solvent. We recommend wearing safety glasses to protect your eyes when spraying WD-40 or other solvents.
Use a solvent to treat your door’s rollers, hinges, tracks, and latches.
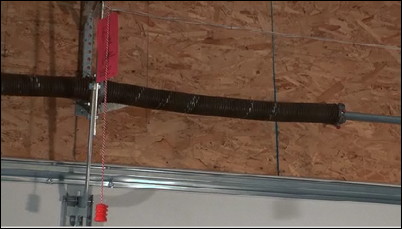
Step 2: Lubricate the Pulleys and Bearings
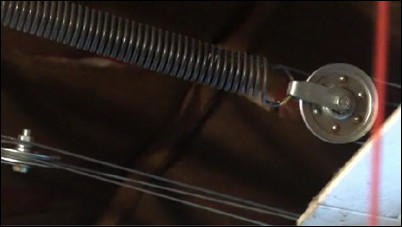
Lubricate the pulleys on extension spring openers and the bearings on torsion spring openers.
Lubricate the mechanisms used for opening the door.
Step 3: Oil the Door Hardware

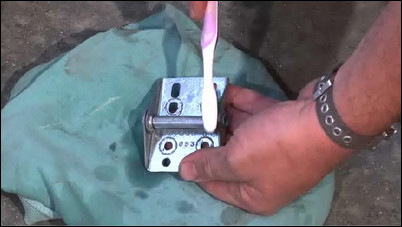
Wipe everything clean, and then apply a light oil, such as a 3 in 1 lubricant or a sprayable white lithium grease to the same parts.
Apply a light oil to the door hinges.
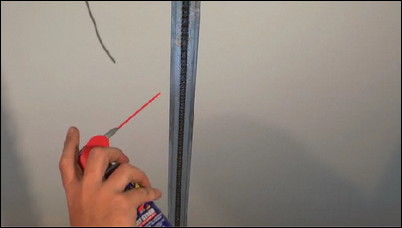
Step 4: Individually Lubricate the Sticky Rollers and Hinges
If any rollers or hinges seem to be sticking, they can be removed individually. Use a small brush, like a toothbrush, to work your solvent into the cracks. Wipe all parts clean, and then apply your lubricant.
Use a small brush to work your solvent into the cracks.
Step 5: Tighten Bolts and Fasteners
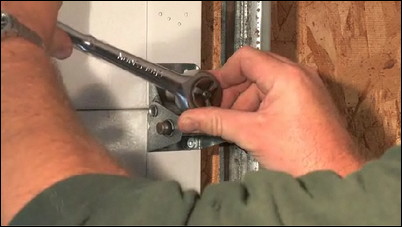
Check all bolts and fasteners for tightness. Occasionally, they can come loose and need to be re-tightened.
Make sure the bolts are tightened.
Step 6: Tune up the Chain or Drive Screw
If your garage door opener is operated by a chain or drive screw, set a cloth beneath the assembly, then apply lubricant to the full length.
Lubricate the chain or drive screw.
Step 7: Check the Weather Stripping
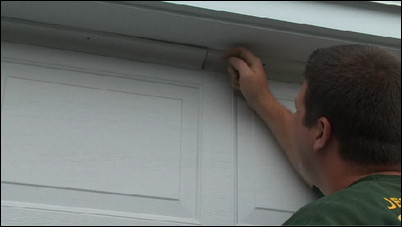
Check any weather stripping along the sides of the doors. Adjust if it’s jamming against the sides, and secure any stripping that has come loose.
Secure any loose weather stripping around your door.
Step 8: Test Your Door’s Emergency Features
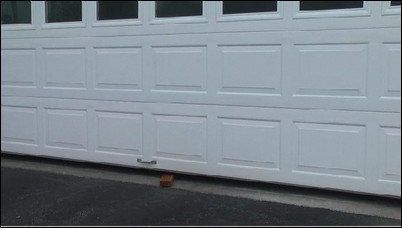
At least once every year, it’s important to test the emergency return feature on your door. To do this, place a two-by-four block on the floor beneath the door. Operate the door, and it should return to the up position after contacting the block. It’s also a good idea to check the motion sensor light on the bottom of the door.
Your door should return to the up position after contacting the two-by-four block.
Step 9: Adjusting the Springs
If your door returns slowly, you may need to get your springs adjusted. We recommend that springs be adjusted by a trained professional. Never attempt to adjust the springs with the door in the closed position, as the springs are under tremendous tension and can cause serious injury if suddenly released.
If your door returns slowly, have a trained professional adjust the springs.


