
Materials:
Step 1: Turn Off Power to the Outlet
At the electrical panel, turn off power to the outlet.
This is an important first step!
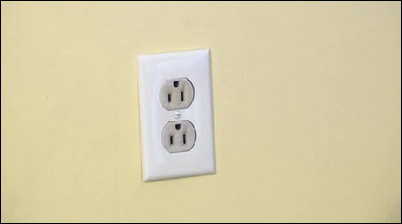
Step 2: Unscrew and Remove the Outlet Cover
Use a screwdriver to remove the screw holding the outlet plate to the wall.
Remove the faceplate.
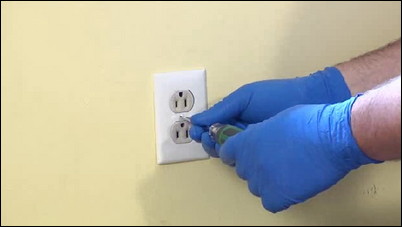
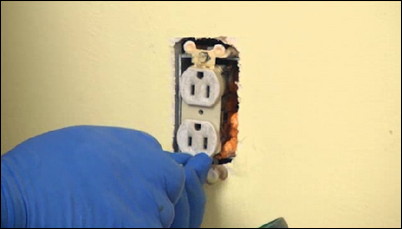
Step 3: Unscrew the Outlet from the Wall
Use the screwdriver to free the outlet from the wall. Pull the outlet from the wall partially to allow access to the cavity.
Gently work the outlet from the wall cavity.
Step 4: Attach Tubing to Foam Gun
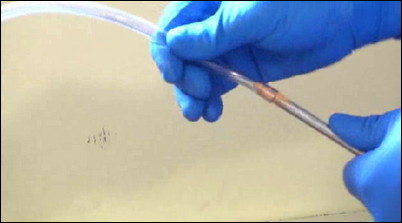
Attach a non-conducting clear tubing to the end of the foam gun. This will allow for application to the cavity behind the outlet.
The tubing will extend the reach of the gun.
Step 5: Aplly Foam to the Holes

With the gun in an upright position, locate and foam any holes in the wall cavity. Include the holes that wires are coming through.
Do not apply so much foam that the oulet won’t fit back into the cavity.
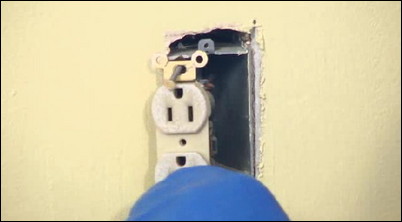
Step 6: Reattach the Outlet to the Wall
Reattach the outlet to the wall.
Follow step #3, in reverse.
Step 7: Apply Foam to the Outlet Perimeter
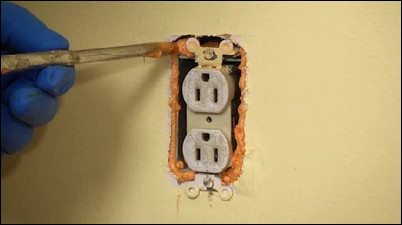
Apply foam to the perimeter of the outlet box.
Use a slow, steady bead to avoid over-application.
Step 8: Reattach the Oulet Faceplate
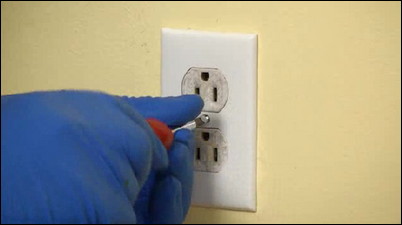
Reattach the outlet faceplate using the screwdriver. You can now turn power back on to the outlet!
Follow step #2, in reverse.


