
Materials:
Step 1: Assemble Your Foam Kit
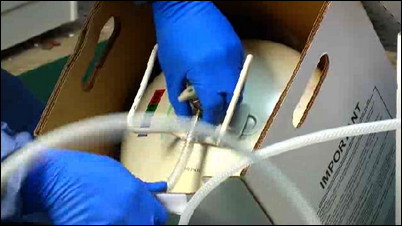
Many insulating foams come in kits, like this one here. Follow the instructions to load the foam gun and follow all safety precautions, including wearing gloves and respiration protection gear.
Put the foam kit together.
Step 2: Test the Foam
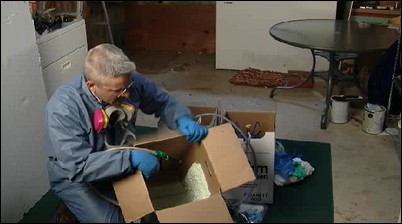
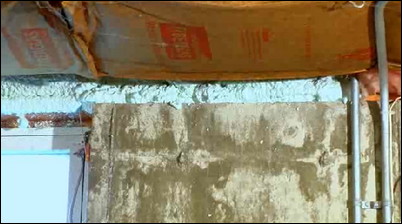
Use a cardboard box to test-spray the foam. Make sure the foam cures properly.
Make sure the foam is drying and hardening properly.
Step 3: Follow the 1-inch Lift Guideline

When spraying the foam, you should aim for a 1-inch layer of foam at once. Allow that layer to cure and harden, and then apply another layer.
Each layer of foam should be about 1 inch in thickness.
Step 4: Clear out the Joist Bays
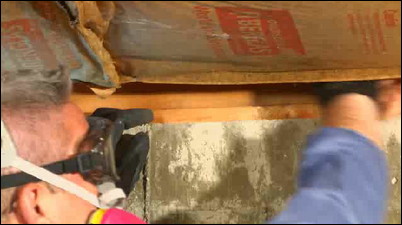
Clean out the joist bays of any old, loose fiberglass insulation. Free the area of dust.
The area to be sprayed should be clean of debris.
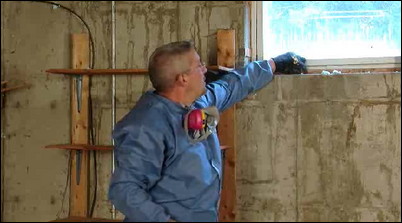
Step 5: Apply the Foam Insulation
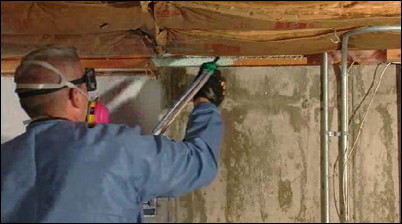
Begin applying the foam insulation in a series of layers. Apply the foam along an area to create a 1-inch layer or “lift,” and then move onto another area. When the original area dries and hardens, you can apply another layer over it.
Remember to apply in 1-inch layers.
Step 6: Continue to Layer the Foam
Your goal should be at least 3 inches of foam in any given area treated. This will provide both an air barrier and insulation to the space, greatly reducing air infiltration and heat loss.
Strive for a 3-inch total layer of foam.
Step 7: Clean Up As Necessary
The act of applying the foam can result in bits and pieces of foam that spit out. Take a sweep of the area and clean up any loose foam.
Remove foam debris.


